This article shows you how to add a border to an image in Flutter.
What is the point?
To display an image in Flutter, we use the Image widget. However, it doesn’t ship a direct option for us to set up a border. To do so, we can wrap our image within a Container widget that supports border configuration, like this:
Container(
          decoration: BoxDecoration(
              // add border
              border: Border.all(/* ... */),
          // add image
          child: Image.network(/* ... */),
),
For more clarity, examine the examples below.
Examples
Image with border
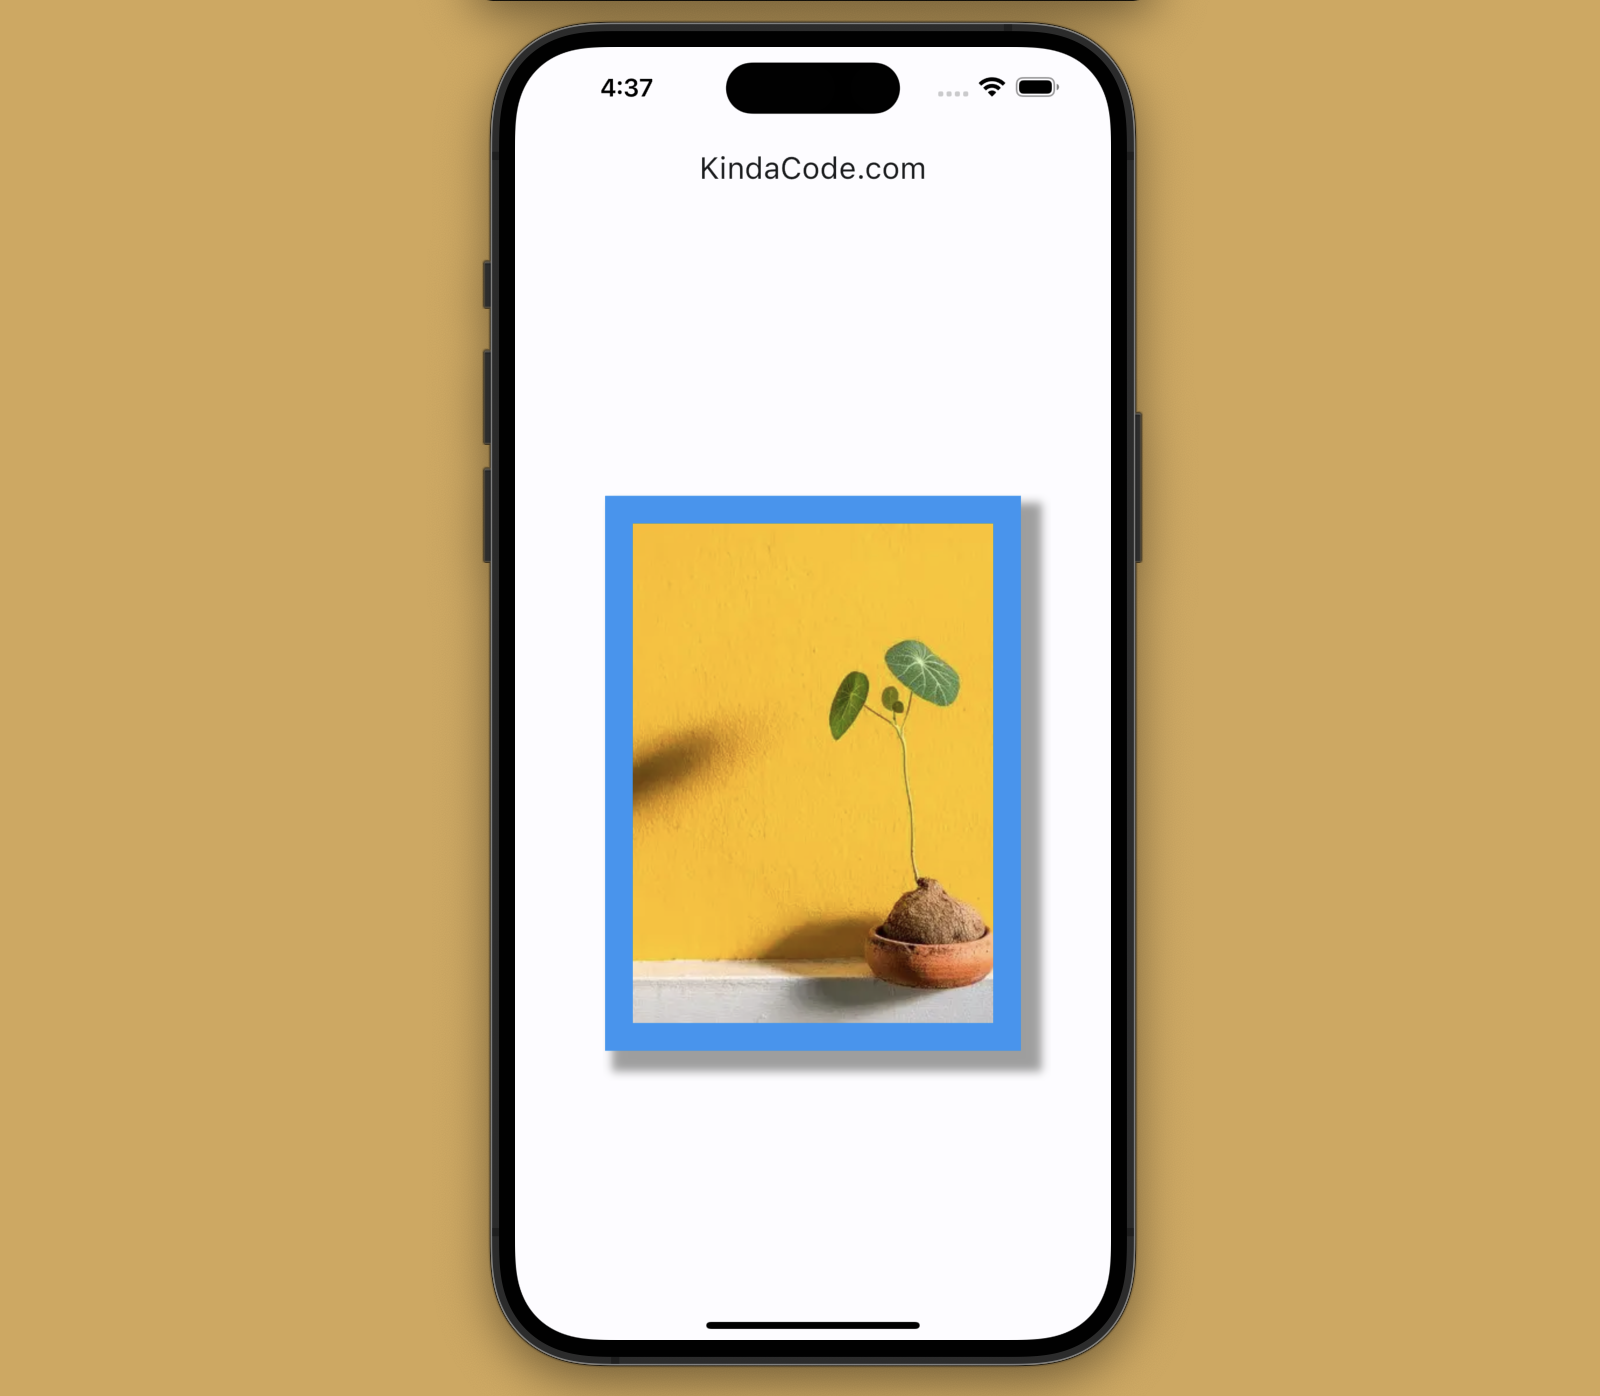
This example shows an image with a thick bluish border (as well as a drop shadow).
Screenshot:
The code:
Scaffold(
      appBar: AppBar(title: const Text('KindaCode.com')),
      body: Center(
        child: Container(
          width: 300,
          height: 400,
          decoration: BoxDecoration(
              // add border
              border: Border.all(width: 20, color: Colors.blue.shade500),
              // add drop shadow
              boxShadow: const [
                BoxShadow(
                    offset: Offset(10, 10),
                    blurRadius: 5,
                    spreadRadius: 5,
                    color: Colors.grey)
              ]),
          // implement image
          child: Image.network(
            'https://www.kindacode.com/wp-content/uploads/2022/07/plant-example.jpeg',
            fit: BoxFit.cover,
          ),
        ),
      ),
);
Images with rounded/circular borders
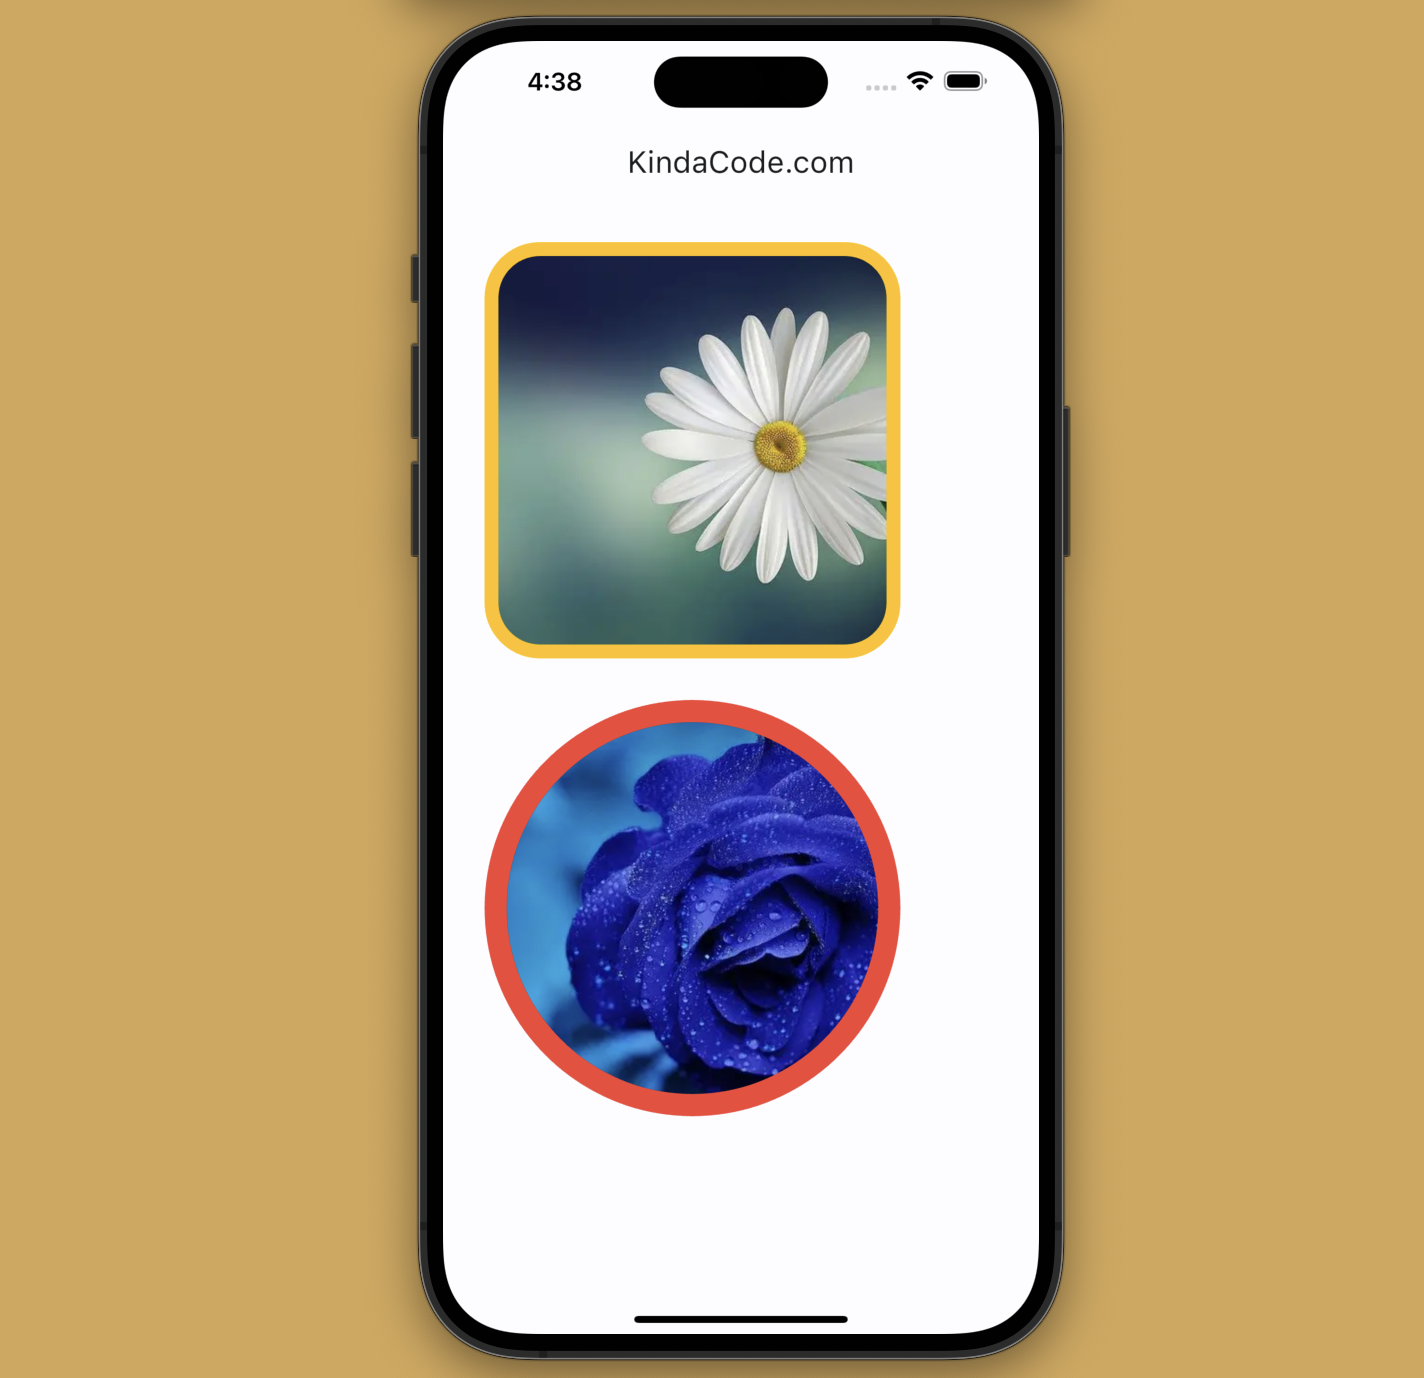
This example creates a rounded-corner image and a circle image with nice borders. To round the border of a Container, we make use of the borderRadius property of the BoxDecoration class:
borderRadius: BorderRadius.circular(/* value */)To ensure that the edges of the inner image are smooth, we add a ClipRRect widget:
ClipRRect(
                borderRadius: BorderRadius.circular(/*...*/),
                // implement image
                child: Image.network(/* ... */),
),
Screenshot:
The code:
Scaffold(
      appBar: AppBar(title: const Text('KindaCode.com')),
      body: Padding(
        padding: const EdgeInsets.all(30),
        child: Column(
          children: [
            Container(
              width: 300,
              height: 300,
              decoration: BoxDecoration(
                // add border
                border: Border.all(width: 10, color: Colors.amber),
                // set border radius
                borderRadius: BorderRadius.circular(40),
              ),
              child: ClipRRect(
                borderRadius: BorderRadius.circular(30),
                // implement image
                child: Image.network(
                  'https://www.kindacode.com/wp-content/uploads/2022/07/flower-1.jpeg',
                  fit: BoxFit.cover,
                ),
              ),
            ),
            const SizedBox(
              height: 30,
            ),
            Container(
              width: 300,
              height: 300,
              foregroundDecoration: BoxDecoration(
                  // add border
                  border: Border.all(width: 16, color: Colors.red),
                  // round the corners
                  borderRadius: BorderRadius.circular(150)),
              // implement image
              child: ClipRRect(
                borderRadius: BorderRadius.circular(150),
                child: Image.network(
                  'https://www.kindacode.com/wp-content/uploads/2022/07/flower-2.jpeg',
                  fit: BoxFit.cover,
                ),
              ),
            ),
          ],
        ),
      ),
);
Image with one-side border (only bottom, top, left, or right border)
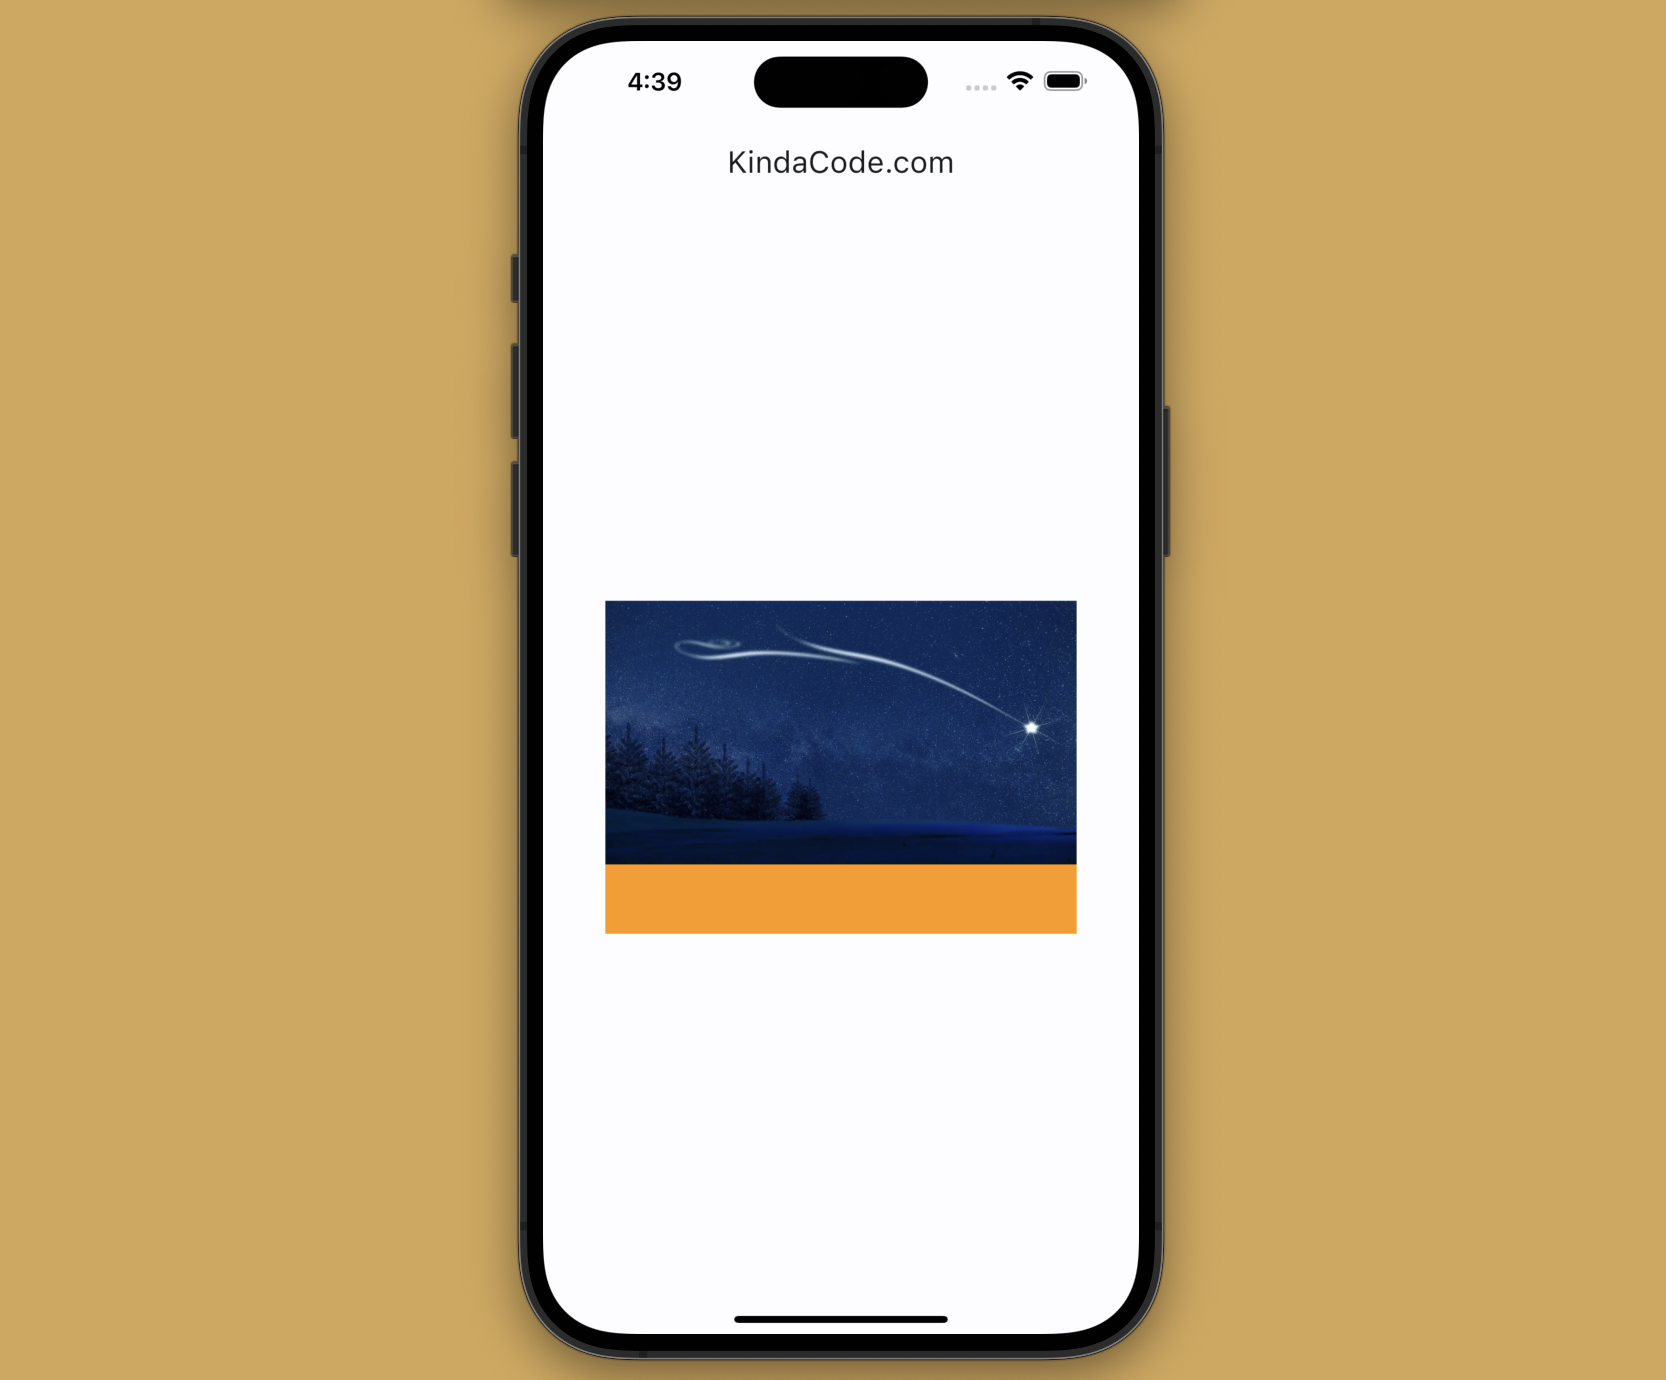
Under certain circumstances, you might only want to add a side border to your image. If this is the case, do like so:
decoration: const BoxDecoration(
                border: Border(
                    bottom: BorderSide(/* ... */)
                )
),
Screenshot:
The code:
Scaffold(
        appBar: AppBar(title: const Text('KindaCode.com')),
        body: Center(
          child: Container(
            width: 340,
            height: 240,
            decoration: const BoxDecoration(
                border: Border(
                    bottom: BorderSide(width: 50, color: Colors.orange))),
            child: Image.network(
              'https://www.kindacode.com/wp-content/uploads/2022/06/night-sky.jpeg',
              fit: BoxFit.cover,
            ),
          ),
));
Epilogue
You’ve learned the technique to add borders to images and walked through a few examples of applying that knowledge in action. Continue practicing and strengthening your Flutter skills by taking a look at the following articles:
- Flutter: Creating Transparent/Translucent App Bars
- Flutter: ExpansionTile examples
- Creating Masonry Layout in Flutter with Staggered Grid View
- Flutter: Firebase Remote Config example
- How to create selectable text in Flutter
- How to Get Device ID in Flutter (2 approaches)
You can also tour around our Flutter topic page or Dart topic page for the most recent tutorials and examples.

