This article walks you through a complete example of using the AnimatedContainer widget in Flutter.
A Quick Note
The AnimatedContainer widget, as its name self describes, is used to make containers that automatically animate between the old and new values of properties when they change using the provided curve and duration.
Key points:
- The properties that are null are not animated.
- AnimatedContainer’s child and descendants are not animated.
For more clarity, please see the example below.
Complete Example
App Preview
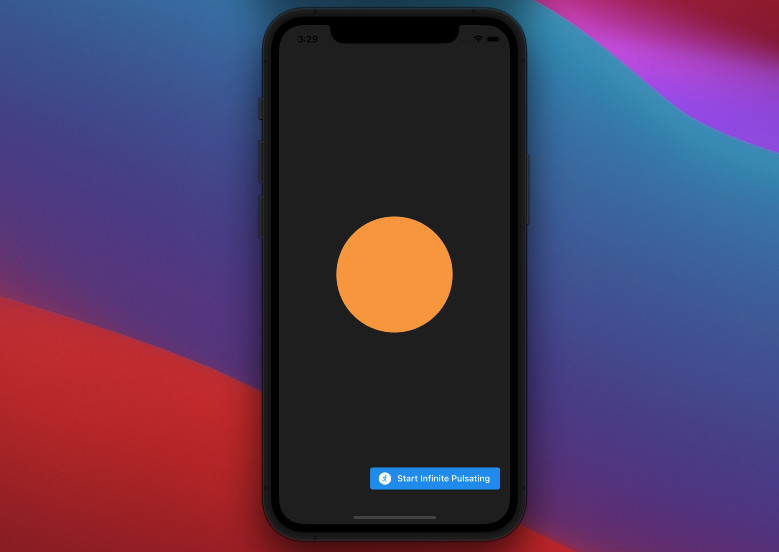
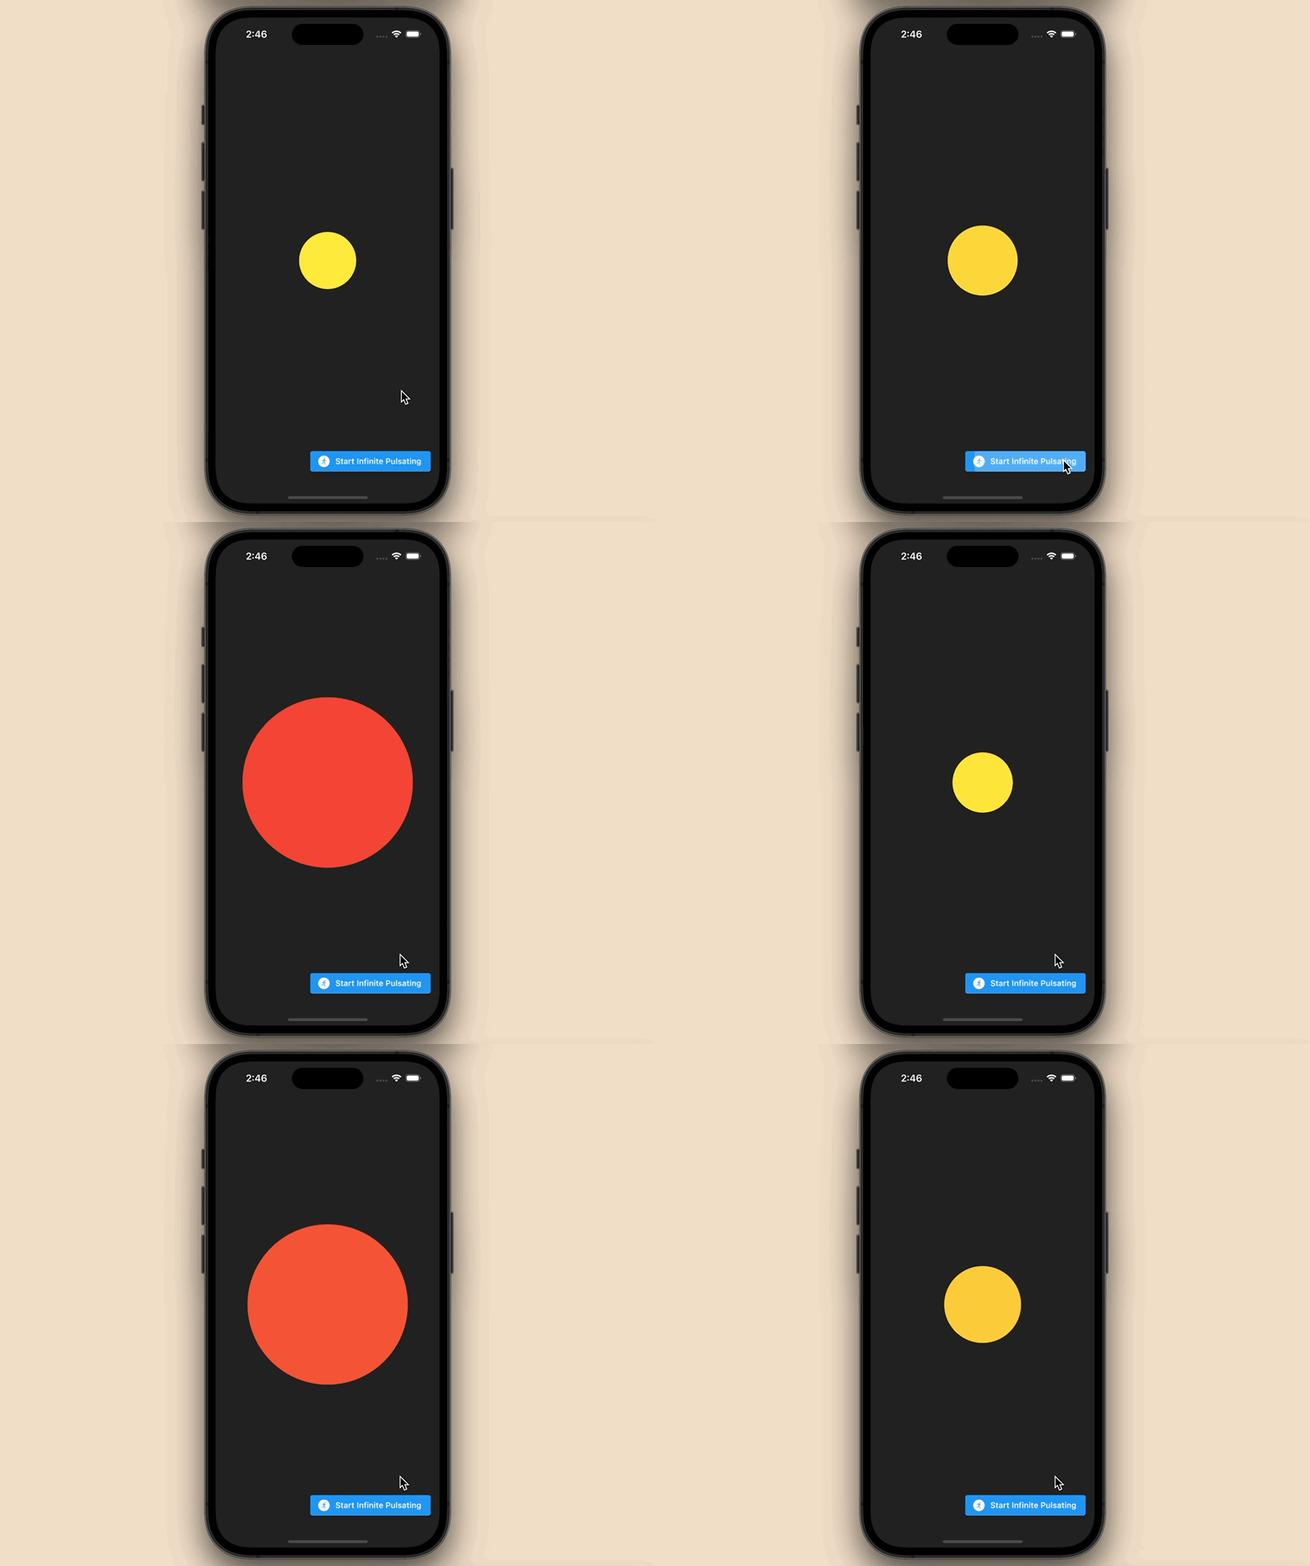
The app we are going to build displays a pulsing star in the center of the screen. This small round star is constantly rising or falling in size. Its color also changes from yellow to red and vice versa in endless cycles.
Our app also has a floating action button that will be used to start the animation. Here’s how it works:
The code
The full source code in main.dart with explanations:
// main.dart
import 'package:flutter/material.dart';

void main() {
  runApp(const MyApp());
}

class MyApp extends StatelessWidget {
  const MyApp({Key? key}) : super(key: key);

  @override
  Widget build(BuildContext context) {
    return const MaterialApp(
      // Hide the debug banner
      debugShowCheckedModeBanner: false,
      title: 'Kindacode.com',
      home: HomePage(),
    );
  }
}

class HomePage extends StatefulWidget {
  const HomePage({Key? key}) : super(key: key);

  @override
  State<HomePage> createState() => _HomePageState();
}

class _HomePageState extends State<HomePage> {
  double _width = 100; // the width at the beginning
  double _height = 100; // the height at the beginning
  Color _color = Colors.yellow; // the color at the beginning

  // This function is used to start the animation
  // It will be triggered when the floating action button is pressed
  void _start() {
    setState(() {
      _width = 300;
      _height = 300;
      _color = Colors.red;
    });
  }

  @override
  Widget build(BuildContext context) {
    return Scaffold(
      body: Container(
        alignment: Alignment.center,
        color: Colors.black87,
        // The AnimatedContainer is used to animate the width, height, and color
        child: AnimatedContainer(
          duration: const Duration(seconds: 2),
          width: _width,
          height: _height,
          decoration: BoxDecoration(shape: BoxShape.circle, color: _color),
          curve: Curves.decelerate,
          onEnd: () {
            setState(() {
              _width = _width == 100 ? 300 : 100;
              _height = _height == 100 ? 300 : 100;
              _color = _color == Colors.yellow ? Colors.red : Colors.yellow;
            });
          },
        ),
      ),
      // This button is used to start the animation
      floatingActionButton: ElevatedButton.icon(
          onPressed: _start,
          icon: const Icon(Icons.run_circle),
          label: const Text('Start Infinite Pulsating')),
    );
  }
}
Final Words
We’ve examined a complete example of using the AnimatedContainer widget to create a cool animation. If you’d like to explore more new and amazing stuff in Flutter, take a look at the following articles:
- 2 Ways to Create Flipping Card Animation in Flutter
- Flutter: How to Make Spinning Animation without Plugins
- Top Plugins to Easily Create Animations in Flutter
- Flutter: Firing multiple Futures at the same time with FutureGroup
- Flutter: Making a Dropdown Multiselect with Checkboxes
- Flutter: Creating OTP/PIN Input Fields (2 approaches)
You can also check out our Flutter category page or Dart category page for the latest tutorials and examples.
