This article shows you how to add a clear button to a TextField in a Flutter application so that a user can quickly remove the text he or she has entered.
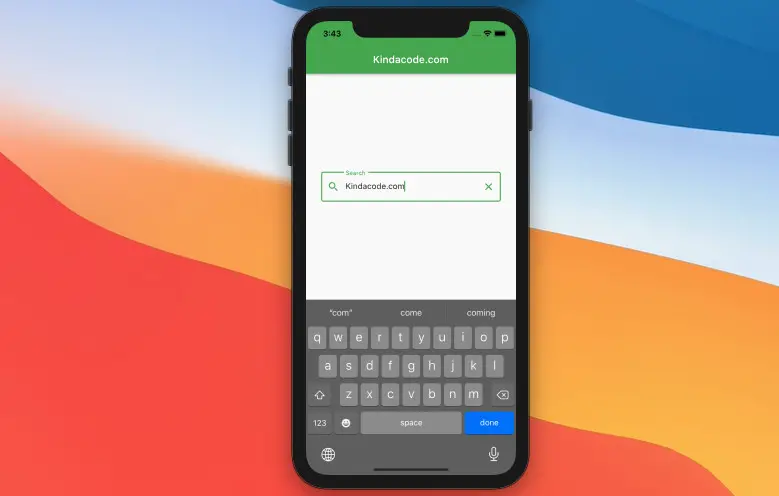
Table of Contents
What is the point?
We’ll create a TextEditiongController (let’s say it’s named _controller) and connect it to the TextField:
final TextEditingController _controller = TextEditingController();
/* ... */

TextField(
   controller: _controller,
   /* ... */
}
To empty the TextFiled, call the clear() method, like this:
_controller.clear();To display the clear button, we use the suffixIcon property of the InputDecroation class:
TextFiled(
  decoration: InputDecoration(
    suffixIcon: // The button here
  ),
)
For more clarity, see the complete example below.
Example
Preview
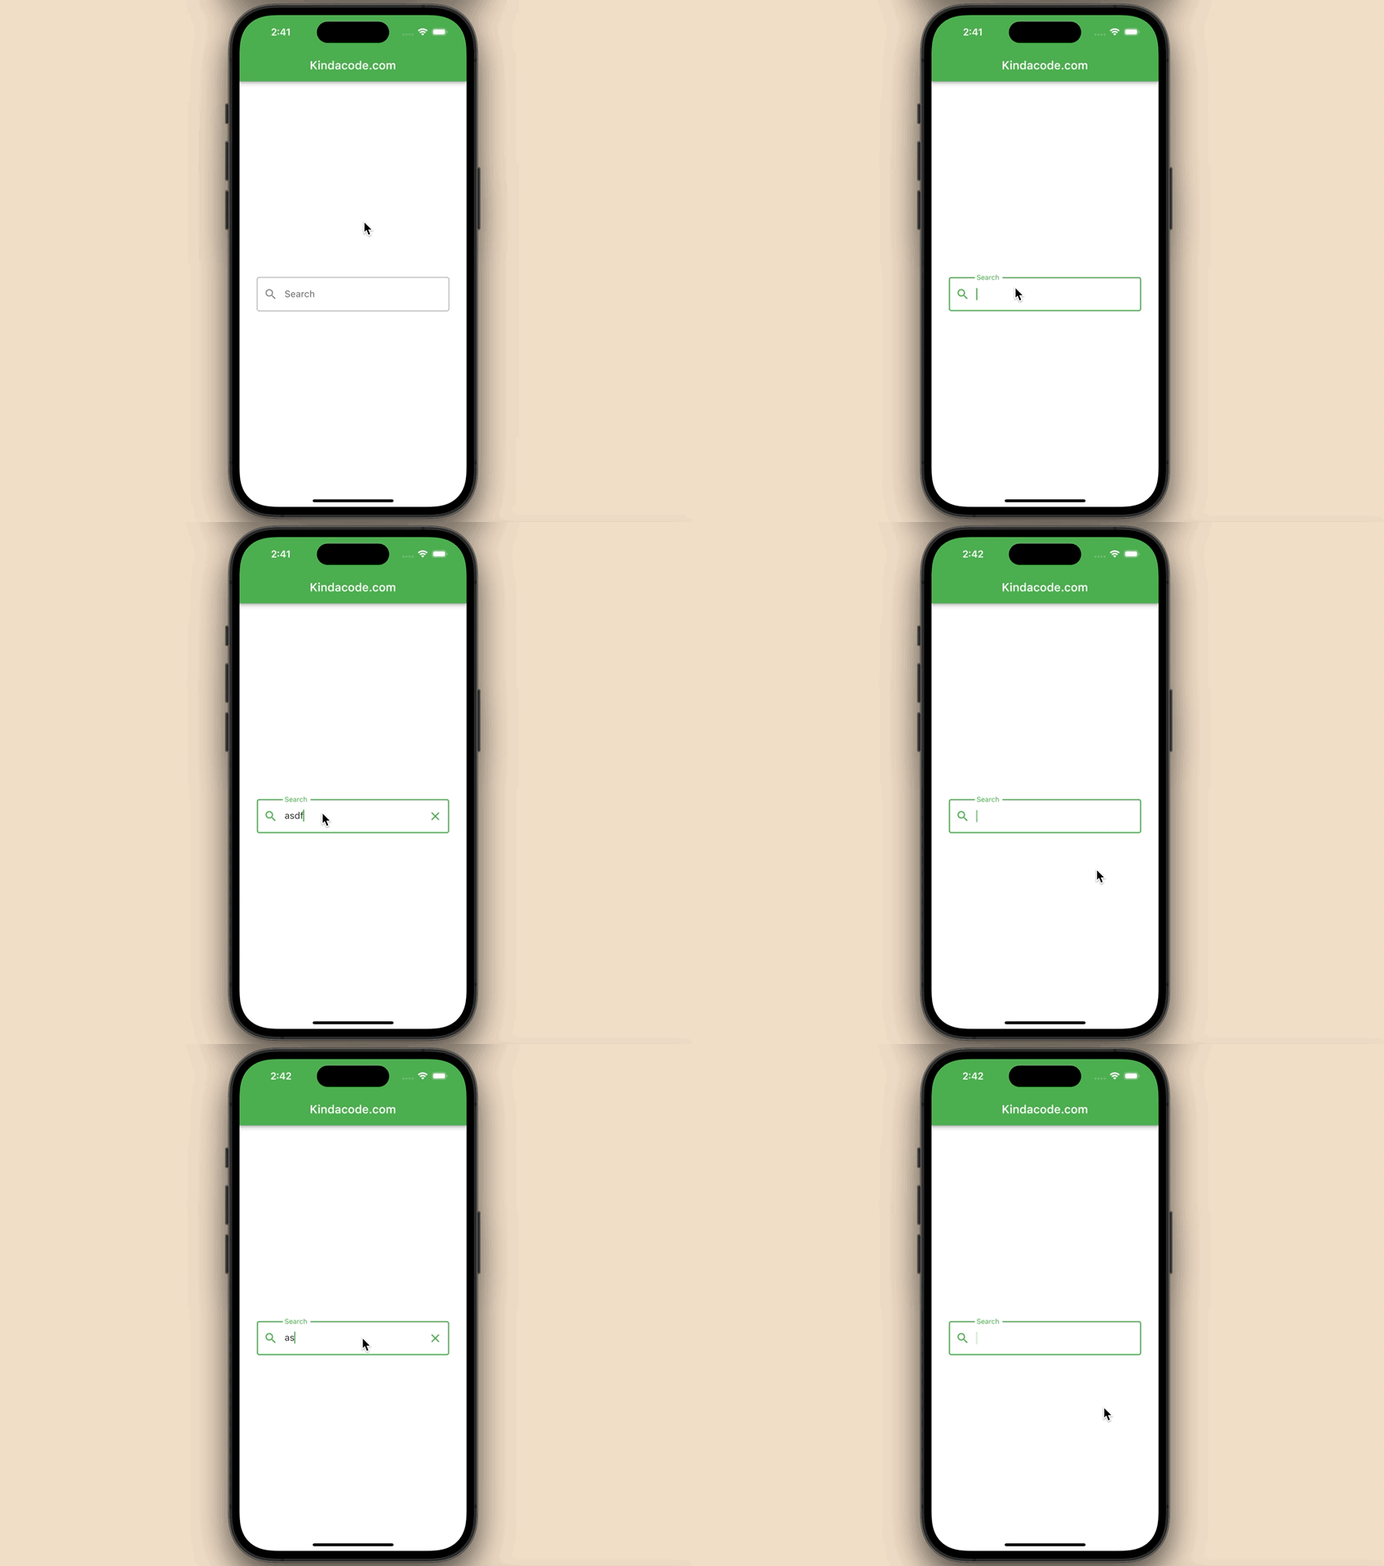
This example app contains a TextField in the center of the screen:
- If the TextField is blank, then the clear button is invisible (this makes sense because the clear button is unnecessary when the TextField is empty).
- As soon as the user enters something, the button will show up.
- When the button is pressed, the TextField will be cleared, and the button will go away.
Here’s how it works:
The code
Below’s the full source code in main.dart with explanations within the comments:
// main.dart
import 'package:flutter/material.dart';

void main() {
  runApp(const MyApp());
}

class MyApp extends StatelessWidget {
  const MyApp({Key? key}) : super(key: key);

  @override
  Widget build(BuildContext context) {
    return MaterialApp(
      // Remove the debug banner
      debugShowCheckedModeBanner: false,
      title: 'Kindacode.com',
      theme: ThemeData(
        primarySwatch: Colors.green,
      ),
      home: const HomePage(),
    );
  }
}

class HomePage extends StatefulWidget {
  const HomePage({Key? key}) : super(key: key);

  @override
  State<HomePage> createState() => _HomePageState();
}

class _HomePageState extends State<HomePage> {
  // The controller for the text field
  final TextEditingController _controller = TextEditingController();

  // This function is triggered when the clear buttion is pressed
  void _clearTextField() {
    // Clear everything in the text field
    _controller.clear();
    // Call setState to update the UI
    setState(() {});
  }

  @override
  Widget build(BuildContext context) {
    return Scaffold(
      appBar: AppBar(
        title: const Text('Kindacode.com'),
      ),
      body: Padding(
        padding: const EdgeInsets.all(30),
        child: Center(
          child: TextField(
            controller: _controller,
            onChanged: (value) {
              // Call setState to update the UI
              setState(() {});
            },
            decoration: InputDecoration(
              labelText: 'Search',
              border: const OutlineInputBorder(),
              prefixIcon: const Icon(Icons.search),
              suffixIcon: _controller.text.isEmpty
                  ? null // Show nothing if the text field is empty
                  : IconButton(
                      icon: const Icon(Icons.clear),
                      onPressed: _clearTextField,
                    ), // Show the clear button if the text field has something
            ),
          ),
        ),
      ),
    );
  }
}
Conclusion
You’ve learned how to create a clear button for a TextField widget in Flutter. Explore more about the TextField widget and other stuff in Flutter by taking a look at the following articles:
- Flutter: Add a Character Counter to TextField
- Flutter: Creating OTP/PIN Input Fields (2 approaches)
- Flutter: Show/Hide Password in TextField/TextFormField
- Customize Borders of TextField/TextFormField in Flutter
- Flutter and Firestore Database: CRUD example
- Flutter Autocomplete example
You can also check out our Flutter topic page or Dart topic page for the latest tutorials and examples.
