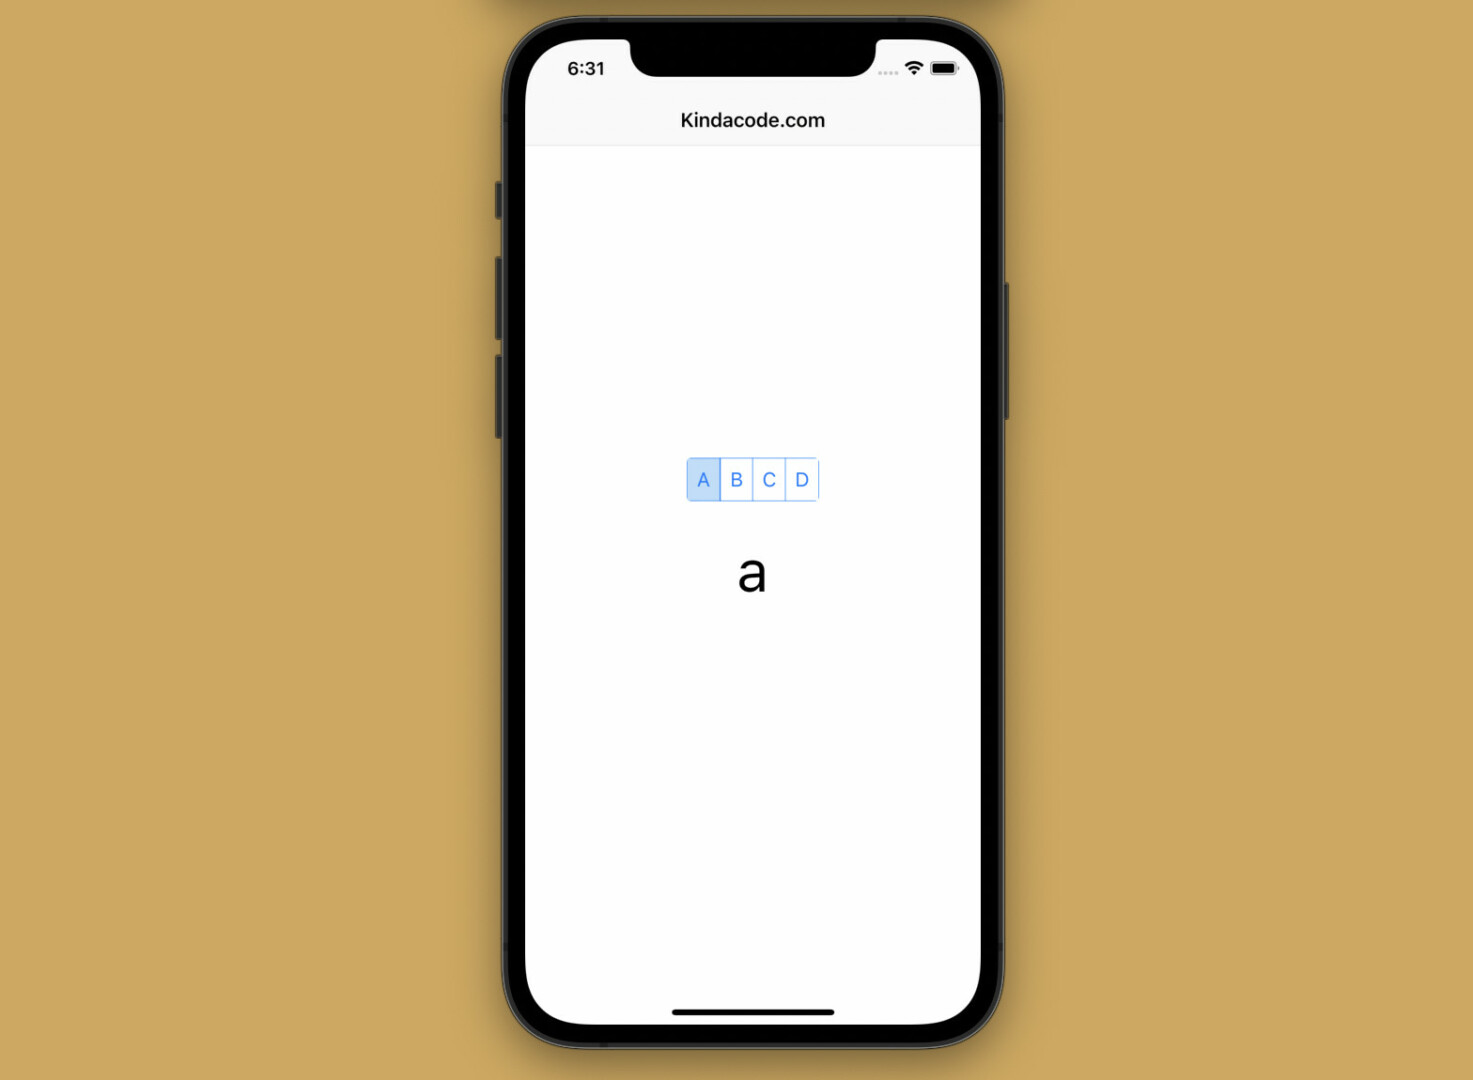
The CupertinoSegmentedControl widget in Flutter displays widgets from a map in a horizontal list and also creates an iOS-style segmented control bar. When one option in the segmented control is selected, the other options in the segmented control cease to be selected.
Table of Contents
Quick Overview
Before using CupertinoSegmentedControl, you need to import the Cupertino library:
import 'package:flutter/cupertino.dart';Implementation:
CupertinoSegmentedControl(
     children: {
          /*
          value(1): widget(1)
          ...
          value(n): widget(n)
          */
     },
     onValueChanged: (value){
         /* ... */
     },
),
For more clarity, see the complete example below.
Complete Example
Preview
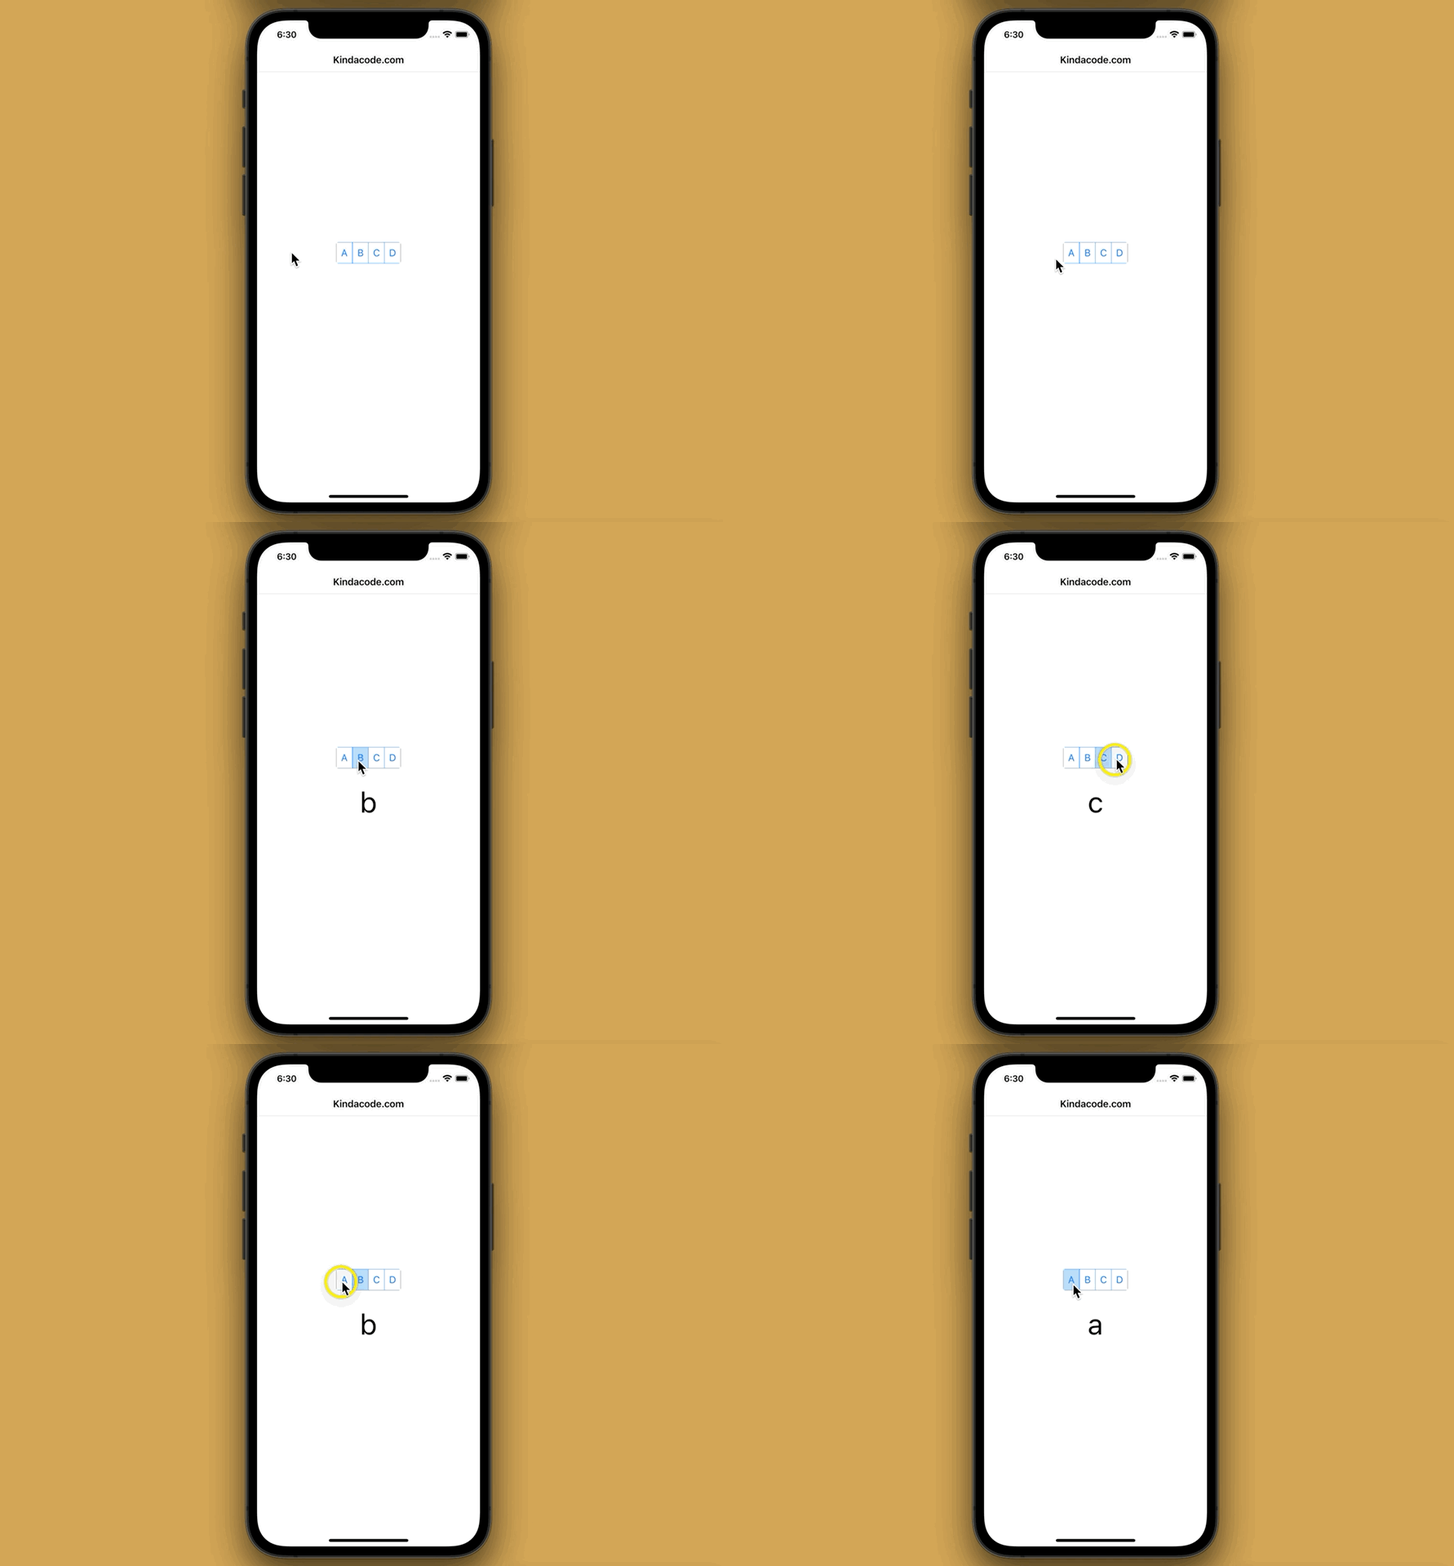
Here’s what we are going to make:
The full code
// KindaCode.com
// main.dart
import 'package:flutter/cupertino.dart';
import 'package:flutter/material.dart';

void main() {
  runApp(const MyApp());
}

class MyApp extends StatelessWidget {
  const MyApp({Key? key}) : super(key: key);

  @override
  Widget build(BuildContext context) {
    return const CupertinoApp(
      // Remove the debug banner
      debugShowCheckedModeBanner: false,
      title: 'Kindacode.com',
      home: MyHomePage(),
    );
  }
}

class MyHomePage extends StatefulWidget {
  const MyHomePage({Key? key}) : super(key: key);

  @override
  State<MyHomePage> createState() => _MyHomePageState();
}

class _MyHomePageState extends State<MyHomePage> {
  String? _selectedValue;
  @override
  Widget build(BuildContext context) {
    return CupertinoPageScaffold(
      navigationBar: const CupertinoNavigationBar(
        middle: Text('Kindacode.com'),
      ),
      child: Center(
        child: Column(
          mainAxisAlignment: MainAxisAlignment.center,
          children: [
            CupertinoSegmentedControl(
              children: {
                'a': Container(
                  color:
                      _selectedValue == 'a' ? Colors.blue[100] : Colors.white,
                  padding: const EdgeInsets.all(8),
                  child: const Text('A'),
                ),
                'b': Container(
                  color:
                      _selectedValue == 'b' ? Colors.blue[100] : Colors.white,
                  padding: const EdgeInsets.all(8),
                  child: const Text('B'),
                ),
                'c': Container(
                  color:
                      _selectedValue == 'c' ? Colors.blue[100] : Colors.white,
                  padding: const EdgeInsets.all(8),
                  child: const Text('C'),
                ),
                'd': Container(
                  color:
                      _selectedValue == 'd' ? Colors.blue[100] : Colors.white,
                  padding: const EdgeInsets.all(8),
                  child: const Text('D'),
                ),
              },
              onValueChanged: (String value) {
                setState(() {
                  _selectedValue = value;
                });
              },
            ),
            const SizedBox(height: 30),
            _selectedValue != null
                ? Text(
                    _selectedValue!,
                    style: const TextStyle(fontSize: 50),
                  )
                : Container(
                    /* You can display a placeholder here if you want */
                    )
          ],
        ),
      ),
    );
  }
}
Final Words
You’ve learned how to implement the CupertinoSegmentedControl widget. You can find it very useful and handy in various situations in the future. If you’d like to explore more iOS-style things in Flutter, take a look at the following articles:
- Flutter Cupertino Button – Tutorial and Examples
- How to use Cupertino icons in Flutter
- Example of CupertinoSliverNavigationBar in Flutter
- Working with Cupertino Bottom Tab Bar in Flutter
- Flutter CupertinoSlider Example
- Working with Cupertino Date Picker in Flutter
You can also check out our Flutter category page, or Dart category page for the latest tutorials and examples. Happy Fluttering!


