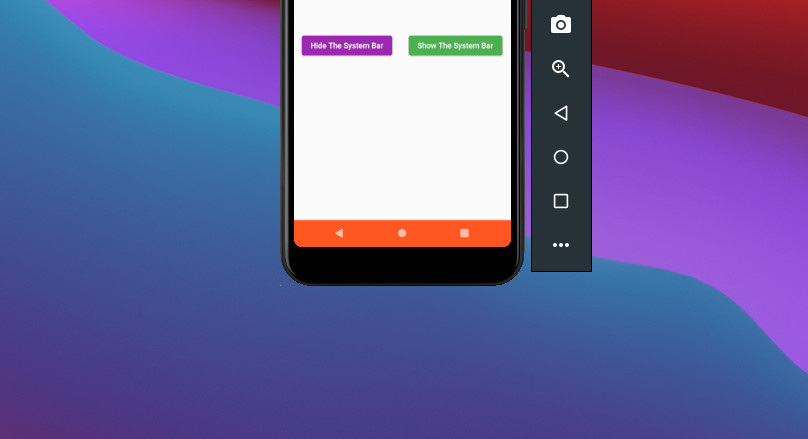
This article will show you how to customize the system navigation bar in an Android application written in Flutter such as changing the background color and the icon brightness, hiding or showing the bar while the app is running.
Table of Contents
Overview
The Android system navigation bar resides at the bottom of the screen. It contains 3 buttons to handle key facets of navigation: the Back button, the Home button, and the Overview button (used to open a list of thumbnail images of apps and Chrome tabs you’ve worked with recently).
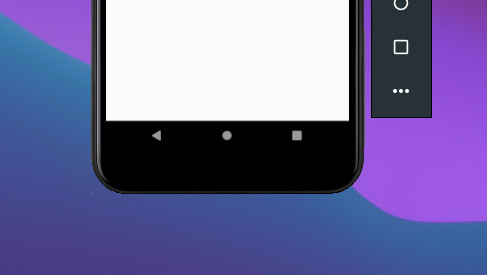
In general, the system navigation bar has a black background color and light icon buttons:
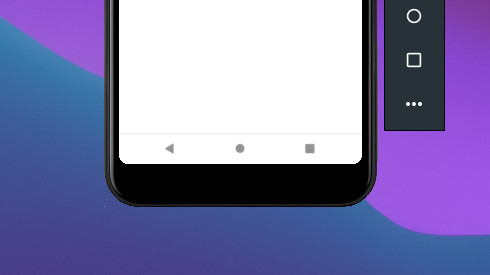
Or a white background with dark icons:
In Flutter, you can control the system bar by using the SystemChrome API.
- setSystemUIOverlayStyle method can be used to specifiy the style to use for the system overlays that are visible (if any).
- setEnabledSystemUIMode method can be used to determine whether the bottom system bar is visible or not.
For more clarity, see the example below.
The Complete Example
Preview
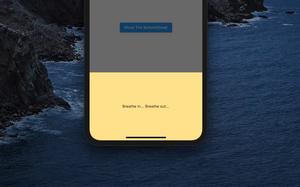
This sample app has a custom bottom navigation bar with orange background color and light icons. There are 2 buttons in the center of the screen. The purple one used to hide the navigation bar and the green one used to show it back.
Here’s how it works:
The code
Don’t forget to import the services library:
import 'package:flutter/services.dart';The full code in the main.dart file (with explanations):
// main.dart
import 'package:flutter/material.dart';
import 'package:flutter/services.dart';
import 'dart:io';

void main() {
  runApp(const MyApp());
}

class MyApp extends StatelessWidget {
  const MyApp({Key? key}) : super(key: key);

  @override
  Widget build(BuildContext context) {
    return MaterialApp(
        // Remove the debug banner
        debugShowCheckedModeBanner: false,
        title: 'Kindacode.com',
        theme: ThemeData(
          primarySwatch: Colors.green,
        ),
        home: const HomePage());
  }
}

class HomePage extends StatefulWidget {
  const HomePage({Key? key}) : super(key: key);

  @override
  State<HomePage> createState() => _HomePageState();
}

class _HomePageState extends State<HomePage> {
  @override
  void initState() {
    super.initState();
    if (Platform.isAndroid) {
      SystemChrome.setSystemUIOverlayStyle(const SystemUiOverlayStyle(
          systemNavigationBarColor: Colors.deepOrange,
          systemNavigationBarIconBrightness: Brightness.light));
    }
  }

  void _hide() {
    // This will hide the bottom system navigation bar
    // Only the status bar on the top will show up
    SystemChrome.setEnabledSystemUIMode(SystemUiMode.manual,
        overlays: [SystemUiOverlay.top]);
  }

  void _show() {
    // This will show both the top status bar and the bottom navigation bar
    SystemChrome.setEnabledSystemUIMode(SystemUiMode.manual,
        overlays: [SystemUiOverlay.top, SystemUiOverlay.bottom]);
  }

  @override
  Widget build(BuildContext context) {
    return Scaffold(
      appBar: AppBar(
        title: const Text('Kindacode.com'),
      ),
      body: Center(
        child: Row(
          mainAxisAlignment: MainAxisAlignment.spaceAround,
          children: [
            ElevatedButton(
              onPressed: _hide,
              style: ElevatedButton.styleFrom(backgroundColor: Colors.purple),
              child: const Text('Hide The System Bar'),
            ),
            ElevatedButton(
              onPressed: _show,
              child: const Text('Show The System Bar'),
            ),
          ],
        ),
      ),
    );
  }
}
Conclusion
You’ve learned how to configure and control the system navigation bar in an Android app built with Flutter. Continue exploring more new and interesting things about mobile development by taking a look at the following articles:
- Flutter PaginatedDataTable Example
- Using GetX (Get) for Navigation and Routing in Flutter
- Using GetX (Get) for State Management in Flutter
- Flutter and Firestore Database: CRUD example (null safety)
- Flutter + Firebase Storage: Upload, Retrieve, and Delete files
- Flutter: Global, Unique, Value, Object, and PageStorage Keys
You can also take a tour around our Flutter topic page or Dart topic page for the latest tutorials and examples.


