This article shows you 2 different ways to get user input from TextField in Flutter.
Using TextEditingController
To retrieve the text or value the user has entered into a text field, we can initialize a TextEditingController instance and connect it to the text field. Whenever the user changes the text field with the associated controller, the text field will update its value, and the controller will notify its listeners.
Example App
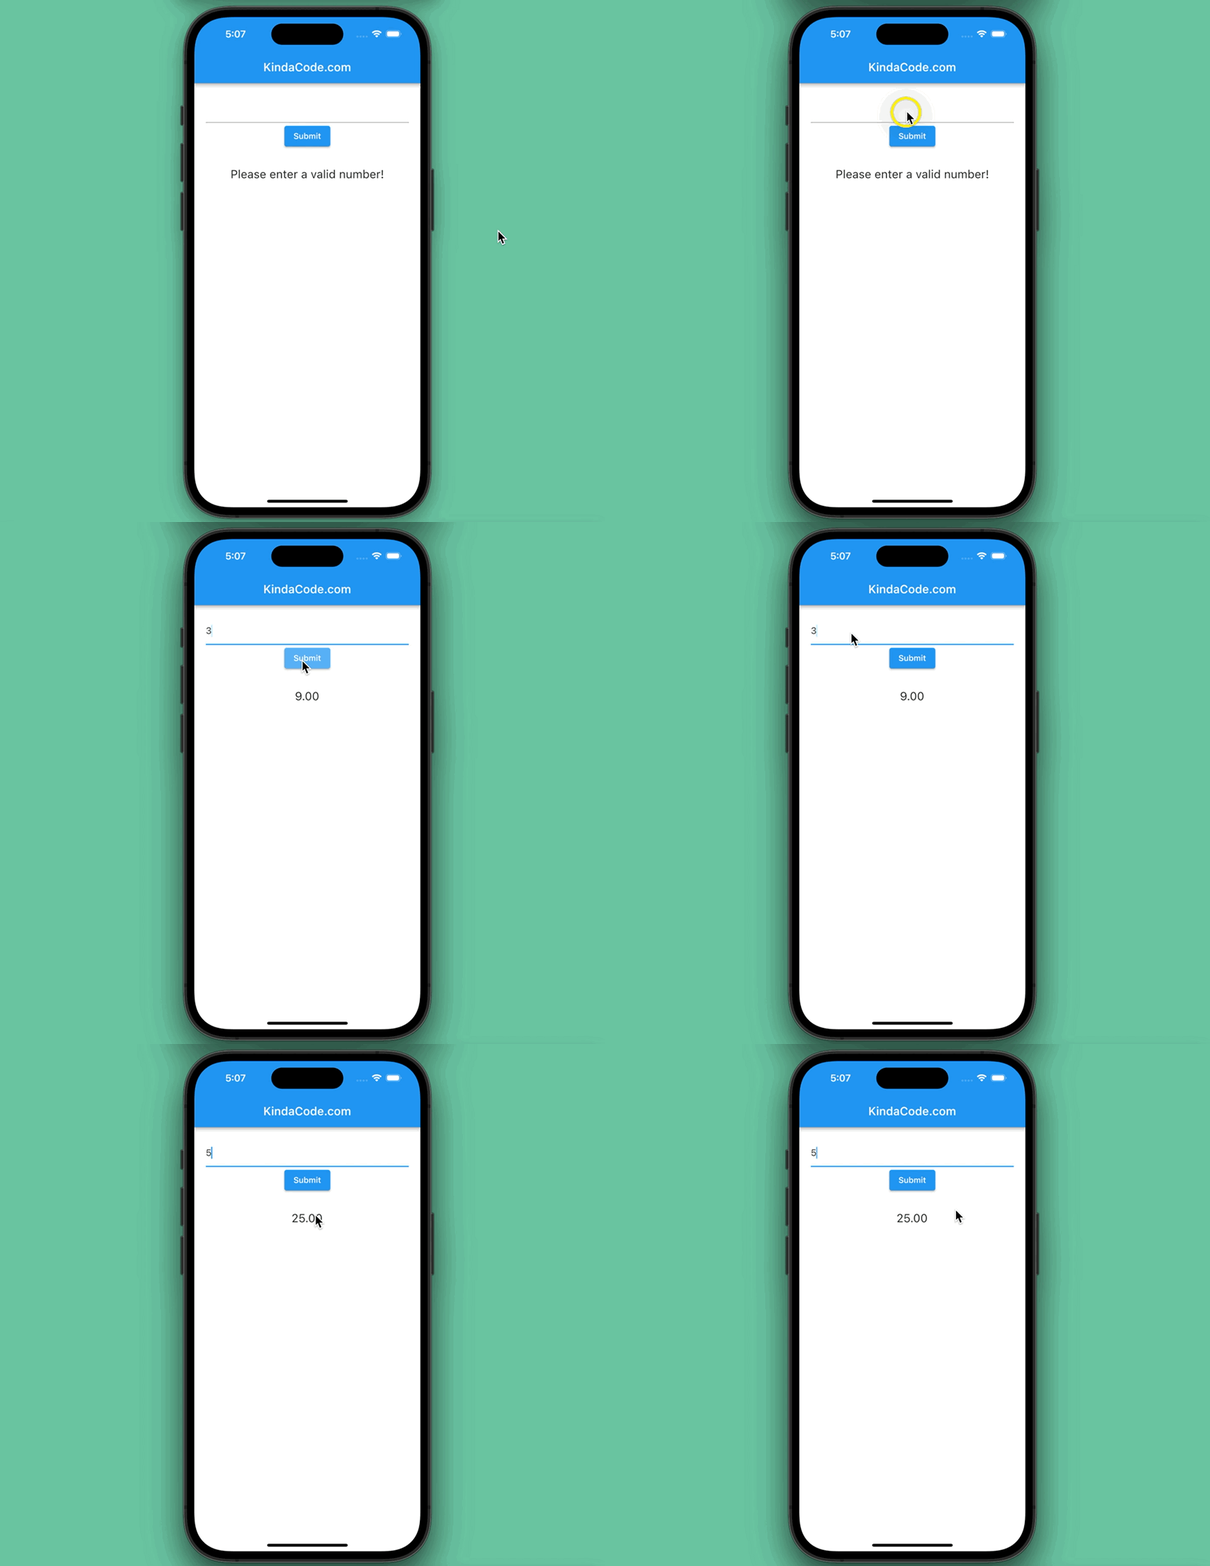
We’ll build a simple calculator that returns the square of the number entered by the user:
The Code
Complete code in main.dart (with explanations):
import 'package:flutter/material.dart';

void main() {
  runApp(const MyApp());
}

class MyApp extends StatelessWidget {
  const MyApp({Key? key}) : super(key: key);

  @override
  Widget build(BuildContext context) {
    return const MaterialApp(
      // Remove the debug banner
      debugShowCheckedModeBanner: false,
      home: MyHomePage(),
    );
  }
}

class MyHomePage extends StatefulWidget {
  const MyHomePage({Key? key}) : super(key: key);

  @override
  State<MyHomePage> createState() => _MyHomePageState();
}

class _MyHomePageState extends State<MyHomePage> {
  // the result which will be displayed on the screen
  double? _result;

  // Create a text controller  to retrieve the value
  final _textController = TextEditingController();

  // the function which calculates square
  void _calculate() {
    // textController.text is a string and we have to convert it to double
    final double? enteredNumber = double.tryParse(_textController.text);
    setState(() {
      _result = enteredNumber != null ? enteredNumber * enteredNumber : null;
    });
  }

  @override
  Widget build(BuildContext context) {
    return Scaffold(
        appBar: AppBar(
          title: const Text('KindaCode.com'),
        ),
        body: Padding(
          padding: const EdgeInsets.all(20),
          child: Column(
            children: [
              // The user will type something here
              TextField(
                controller: _textController,
                keyboardType:
                    const TextInputType.numberWithOptions(decimal: true),
              ),

              ElevatedButton(
                  onPressed: _calculate, child: const Text('Submit')),

              // add some space
              const SizedBox(height: 30),

              // Display the result
              Text(
                _result == null
                    ? 'Please enter a valid number!'
                    : _result!.toStringAsFixed(2),
                style: const TextStyle(fontSize: 20),
              ),
            ],
          ),
        ));
  }
}
Using onChanged function
The onChanged event is fired when the user makes a change to TextField’s value (inserting or deleting text). There is not much difference between this approach and the preceding one. In most cases, you can use one in place of the other.
Example Preview
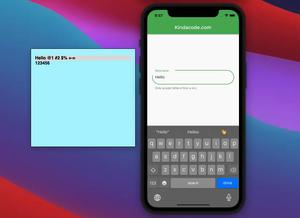
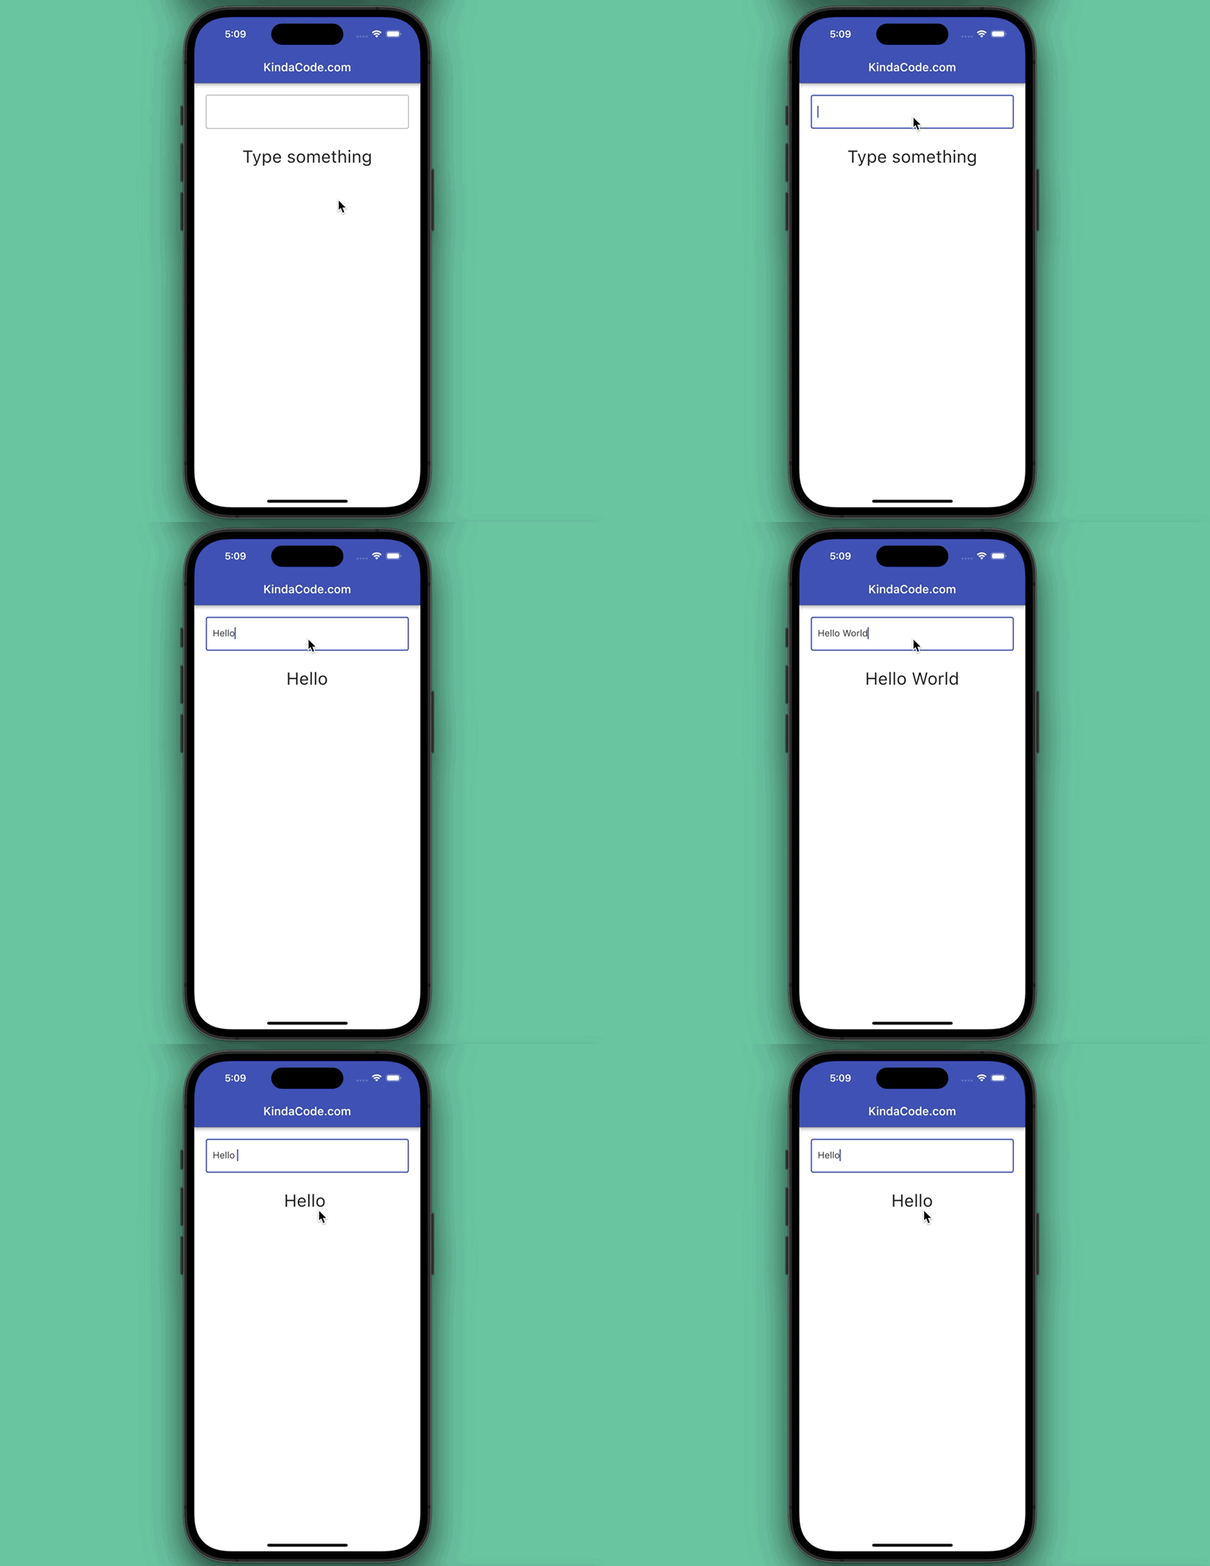
This small application will take what the user types in the TextField and display it on the screen with a Text widget.
The code
// main.dart
import 'package:flutter/material.dart';

void main() {
  runApp(const MyApp());
}

class MyApp extends StatelessWidget {
  const MyApp({Key? key}) : super(key: key);

  @override
  Widget build(BuildContext context) {
    return MaterialApp(
      debugShowCheckedModeBanner: false,
      title: 'KindaCode.com',
      theme: ThemeData(
        primarySwatch: Colors.indigo,
      ),
      home: const HomePage(),
    );
  }
}

class HomePage extends StatefulWidget {
  const HomePage({Key? key}) : super(key: key);

  @override
  State<HomePage> createState() => _HomePageState();
}

class _HomePageState extends State<HomePage> {
  // this will be displayed on the screen
  String? _result;

  @override
  Widget build(BuildContext context) {
    return Scaffold(
      appBar: AppBar(
        title: const Text('KindaCode.com'),
      ),
      body: Padding(
        padding: const EdgeInsets.all(20),
        child: Column(
          children: [
            TextField(
              onChanged: (value) => setState(() {
                _result = value;
              }),
              decoration: const InputDecoration(border: OutlineInputBorder()),
            ),
            const SizedBox(
              height: 30,
            ),
            Text(
              _result ?? 'Type something',
              style: const TextStyle(fontSize: 30),
            )
          ],
        ),
      ),
    );
  }
}
Conclusion
We’ve gone through more than one solution to pull user input from TextField. These pieces of knowledge are basic but are an important foundation for us to build more complex features for our applications. If you’d like to learn more new and interesting things about Flutter, take a look at the following articles:
- Flutter: Changing App Display Name for Android & iOS
- Flutter & SQLite: CRUD Example
- Flutter: Create a Password Strength Checker from Scratch
- Flutter TextField: Styling labelText, hintText, and errorText
- Flutter: Creating an Auto-Resize TextField
- Flutter: TextField and Negative Numbers
You can also check out our Flutter category page or Dart category page for the latest tutorials and examples.


