This article shows you how to fire multiple futures at the same time and run them in parallel by using the FutureGroup class in Flutter. We’ll explore the fundamentals of the class and then walk through a complete example of using it in practice.
Overview
The add() and close() methods
In order to use the FutureGroup class, you need to import package:async/async.dart into your code:
import 'package:async/async.dart';FutureGroup is a collection of futures that waits until all added features are complete. New futures are added to the group by using the add() method, like this:
FutureGroup _futureGroup = FutureGroup();

futureGroup.add(futureOne());
futureGroup.add(futureTwo());
...
futureGroup.add(futureN());
The close() method signals to the group that the caller is done adding futures, and a final future (see the future property listed below) will fire when all added futures have been completed.
Main Properties
- future: The future that fires when the close() method has been called, and all futures in the group have been completed.
- isClosed: Whether the group is closed.
- isIdle: Whether the group has no futures.
- onIdle: Emits an event whenever the group becomes idle.
Words might be tedious and confusing. For more clarity, please examine the example below.
The Complete Example
App Preview
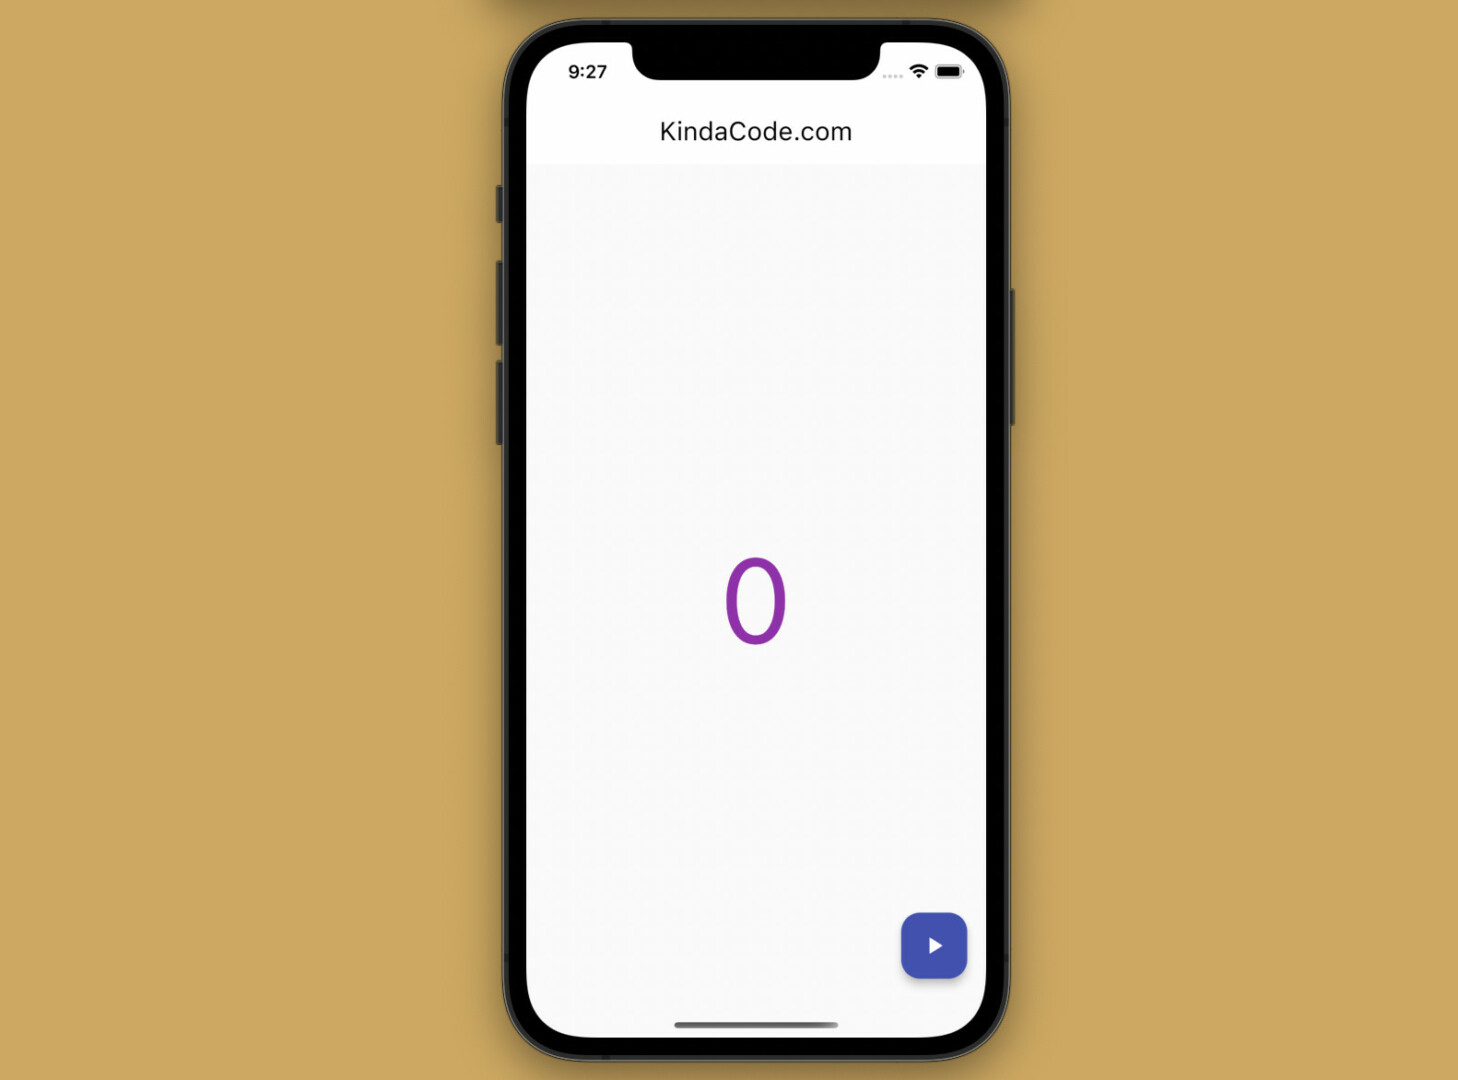
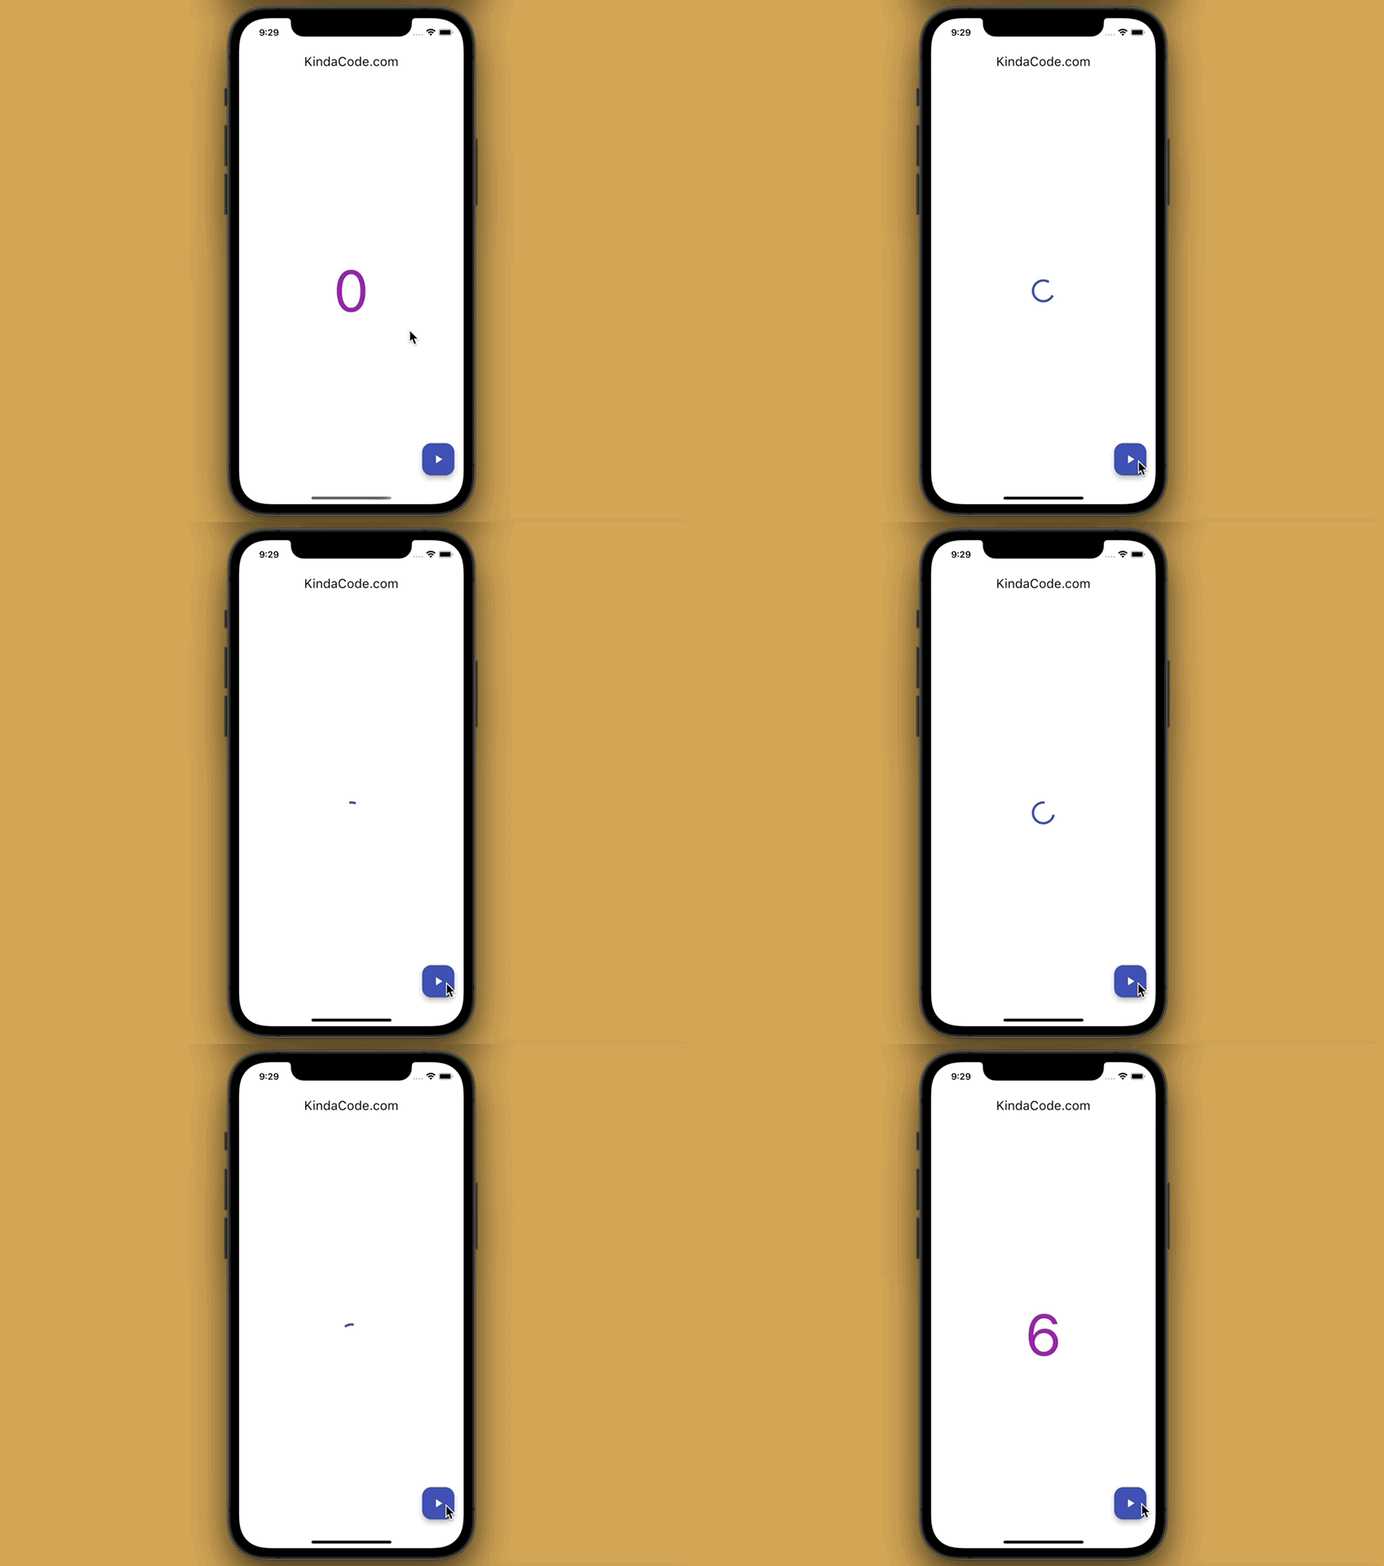
The app we are going to make contains a floating button and displays a number or a loading indicator in the center of the screen. The number is obtained by summing the results returned from 3 different asynchronous functions: _futureOne, _futureTwo, and _futureThree. These functions have a delay of 1, 2, and 3 seconds, respectively.
As you will see in the following demo, the final result appears after about 3 seconds (equals the time it takes for _futureThree to complete). Because our futures run in parallel, the waiting time is 3 seconds, not 6 seconds.
Final Code
The complete source code with explanations in main.dart:
import 'package:flutter/material.dart';
import 'package:async/async.dart';

void main() {
  runApp(const MyApp());
}

class MyApp extends StatelessWidget {
  const MyApp({Key? key}) : super(key: key);
  @override
  Widget build(BuildContext context) {
    return MaterialApp(
      // Hide the debug banner
      debugShowCheckedModeBanner: false,
      title: 'KindaCode.com',
      theme: ThemeData(
        // use Material 3
        useMaterial3: true,
        primarySwatch: Colors.indigo,
      ),
      home: const HomeScreen(),
    );
  }
}

class HomeScreen extends StatefulWidget {
  const HomeScreen({Key? key}) : super(key: key);

  @override
  State<HomeScreen> createState() => _HomeScreenState();
}

class _HomeScreenState extends State<HomeScreen> {
  // This number will be displayed on the screen
  int _result = 0;

  // This is used to conditionally display a loading indicator
  bool _isLoading = false;

  // Future 1
  Future<int> _futureOne() async {
    await Future.delayed(const Duration(seconds: 1));
    return 1;
  }

  // Future 2
  Future<int> _futureTwo() async {
    await Future.delayed(const Duration(seconds: 2));
    return 2;
  }

  // Future 3
  Future<int> _futureThree() async {
    await Future.delayed(const Duration(seconds: 3));
    return 3;
  }

  // This will be called when the floating action button is pressed
  void _fireFutureGroup() async {
    setState(() {
      _isLoading = true;
    });

    final FutureGroup<int> futureGroup = FutureGroup<int>();

    // Adding futures
    futureGroup.add(_futureOne());
    futureGroup.add(_futureTwo());
    futureGroup.add(_futureThree());

    // Signals that the adding process is done
    futureGroup.close();

    // Firing the future from the FutureGroup.future property
    final List<int> results = await futureGroup.future;
    debugPrint(results.toString());

    // Calculating the sum of the numbers from _results
    int sum = 0;
    for (int number in results) {
      sum += number;
    }

    // Re-render UI
    setState(() {
      _isLoading = false;
      _result = sum;
    });
  }

  @override
  Widget build(BuildContext context) {
    return Scaffold(
      appBar: AppBar(
        title: const Text('KindaCode.com'),
      ),
      body: Center(
        child: _isLoading
            ? const CircularProgressIndicator()
            : Text(
                _result.toString(),
                style: const TextStyle(fontSize: 100, color: Colors.purple),
              ),
      ),
      // This button is used to trigger the future group
      floatingActionButton: FloatingActionButton(
        onPressed: _fireFutureGroup,
        child: const Icon(Icons.play_arrow),
      ),
    );
  }
}
Conclusion
You’ve learned how to run multiple futures simultaneously by using the FutureGroup class. If you’d like to explore more new and interesting things about Flutter, take a look at the following articles:
- Flutter & Dart: 3 Ways to Generate Random Strings
- Flutter: Create a Password Strength Checker from Scratch
- Flutter: How to Draw a Heart with CustomPaint
- Implementing Tooltips in Flutter
- Adding a Border to Text in Flutter
- Flutter: DropdownButton Example
You can also take a tour around our Flutter topic page and Dart topic page to see the latest tutorials and examples.


