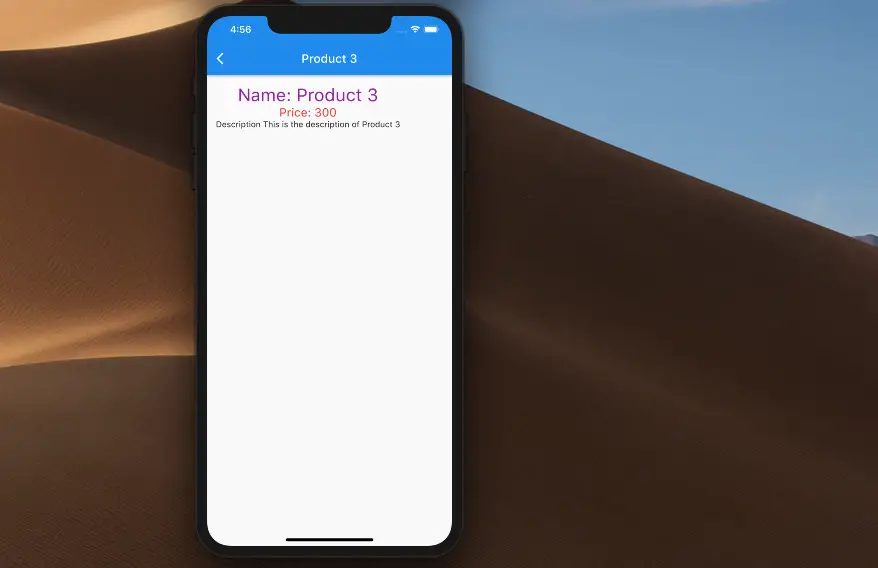
To pass data from one screen (route, page) to another one in Flutter, you can do like so:
Navigator.of(context)
        .pushNamed('your-route-name', arguments: [your-data]);
To retrieve the passing data, just use the following:
ModalRoute.of(context).settings.argumentsFor more clarity, please take a look at the complete example below.
Table of Contents
Example
Preview
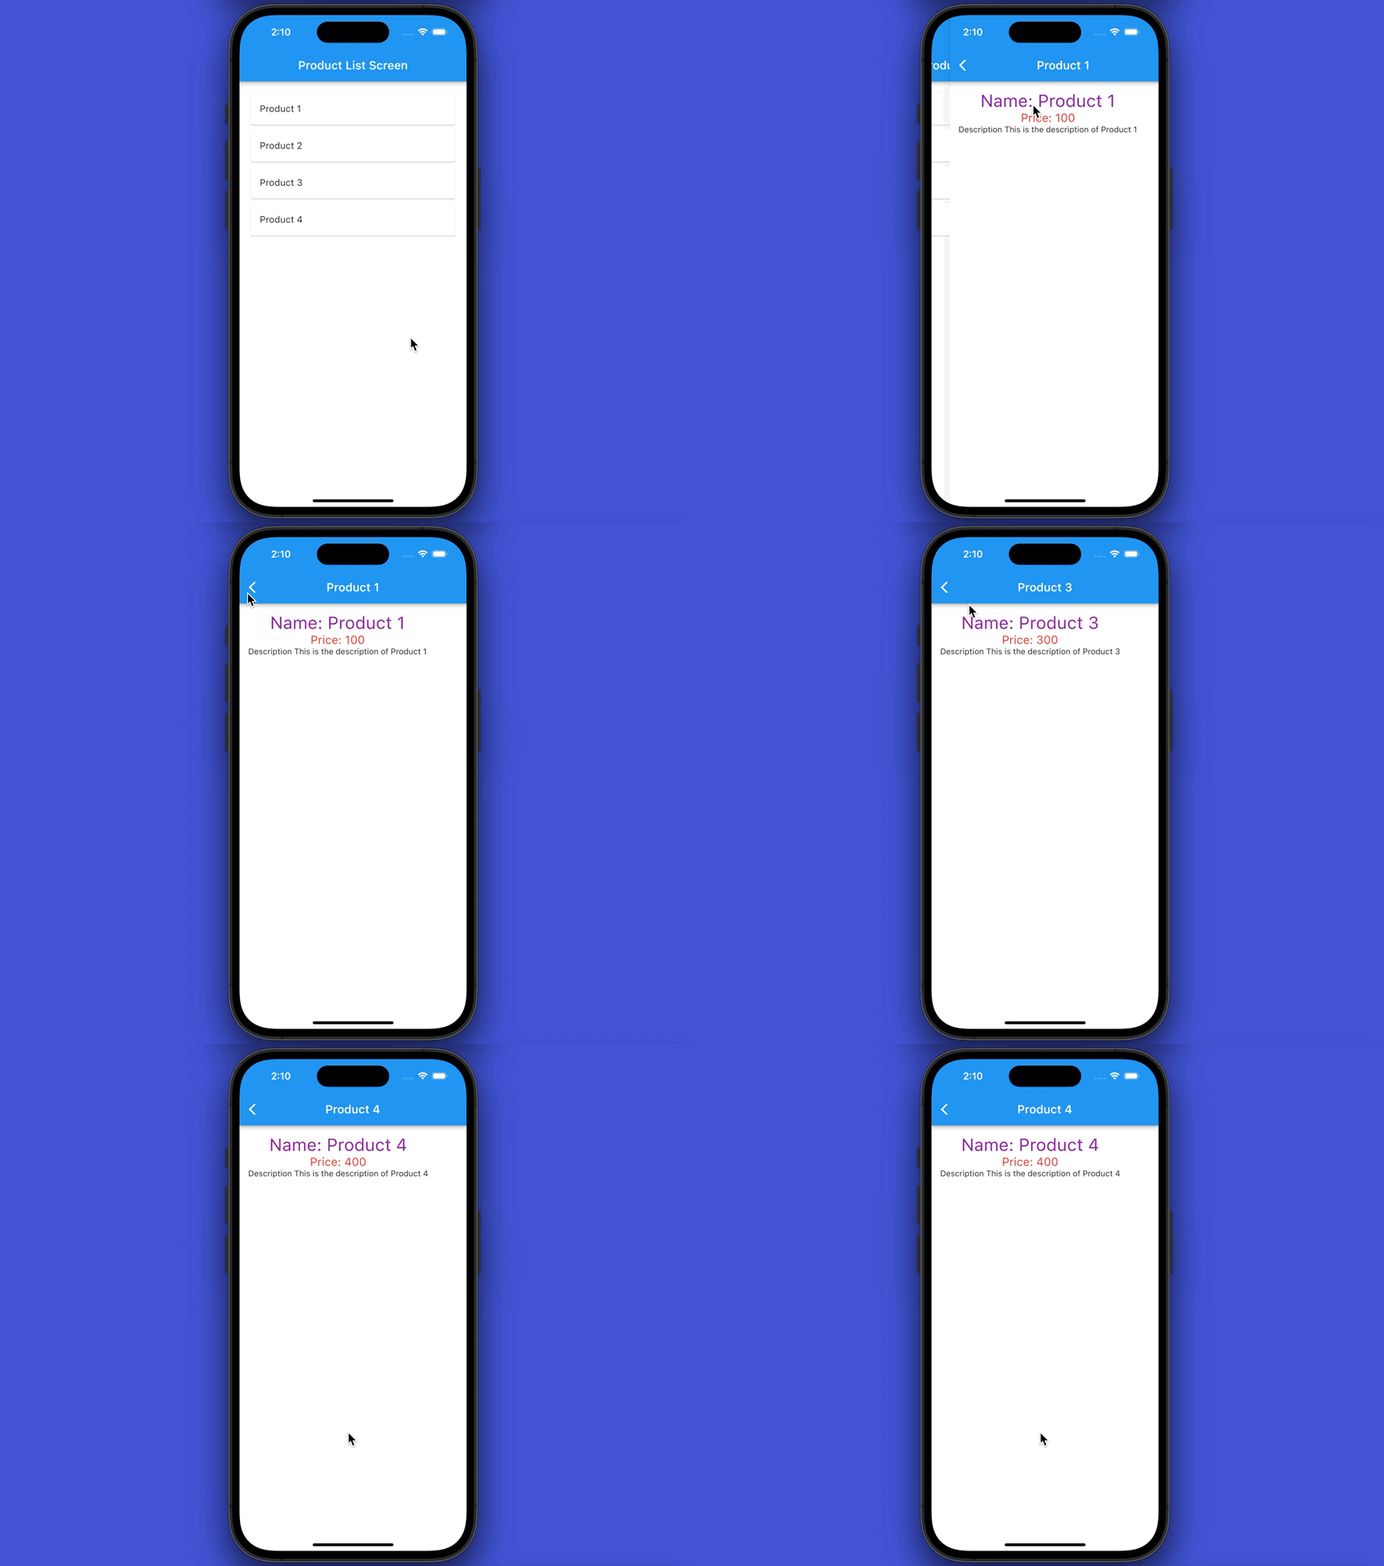
In this example, we’ll build a tiny Flutter app that contains only 2 screens. The first screen displays a product list (we’ll name it ProductListScreen), and the second one displays the details of a single product (we’ll name it SingleProductScreen).
Here’s how it works:
Writing Code
1. Create a new Flutter app by running:
flutter create my_app2. Create 3 new files in the lib folder:
- dummy_data.dart: Contains the data of products
- product_list_screen.dart: Displays the list of products
- single_product_screen.dart: Displays product details
Here’s the file structure in /lib:
.
├── dummy_data.dart
├── main.dart
├── product_list_screen.dart
└── single_product_screen.dart
3. Add the following to dummy_data.dart:
const List<Map<String, dynamic>> dummyProducts = [
  {
    "id": 1,
    "name": "Product 1",
    "price": 100,
    "description": "This is the description of Product 1"
  },
  {
    "id": 2,
    "name": "Product 2",
    "price": 200,
    "description": "This is the description of Product 2"
  },
  {
    "id": 3,
    "name": "Product 3",
    "price": 300,
    "description": "This is the description of Product 3"
  },
  {
    "id": 4,
    "name": "Product 4",
    "price": 400,
    "description": "This is the description of Product 4"
  },
];
4. Remove all the default code in main.dart and add this:
import 'package:flutter/material.dart';

import './product_list_screen.dart';
import './single_product_screen.dart';

void main() {
  runApp(const MyApp());
}

class MyApp extends StatelessWidget {
  const MyApp({Key? key}) : super(key: key);

  @override
  Widget build(BuildContext context) {
    return MaterialApp(
      // hide the debug banner
      debugShowCheckedModeBanner: false,
      title: "Kindacode.com",
      home: const ProductListScreen(),
      routes: {
        "single-product": (context) => const SingleProductScreen(),
      },
    );
  }
}
5. product_list_screen.dart:
import 'package:flutter/material.dart';
import './dummy_data.dart';

class ProductListScreen extends StatelessWidget {
  const ProductListScreen({Key? key}) : super(key: key);

  // This function is triggered when the user tap on a product
  void _goToSingle(context, productId) {
    Navigator.of(context).pushNamed("single-product", arguments: productId);
  }

  @override
  Widget build(BuildContext context) {
    return Scaffold(
      appBar: AppBar(
        title: const Text("Product List Screen"),
      ),
      body: ListView(
        padding: const EdgeInsets.all(15),
        children: dummyProducts.map((singleProduct) {
          return Card(
            child: ListTile(
                onTap: () => _goToSingle(context, singleProduct["id"]),
                title: Text(singleProduct["name"])),
          );
        }).toList(),
      ),
    );
  }
}
6. single_product_screen.dart:
import 'package:flutter/foundation.dart';
import 'package:flutter/material.dart';
import './dummy_data.dart';

class SingleProductScreen extends StatelessWidget {
  const SingleProductScreen({Key? key}) : super(key: key);

  @override
  Widget build(BuildContext context) {
    final productId = ModalRoute.of(context)?.settings.arguments;
    if (kDebugMode) {
      print(productId);
    }

    // find the product that matches the id passed from the ProductListScreen
    final product = dummyProducts.firstWhere((e) => e["id"] == productId);

    if (kDebugMode) {
      print(product['name']);
    }
    return Scaffold(
      appBar: AppBar(
        title: Text(product["name"]),
      ),
      body: Padding(
        padding: const EdgeInsets.all(15),
        child: Column(children: [
          // product name
          Text(
            "Name: ${product['name']}",
            style: const TextStyle(fontSize: 30, color: Colors.purple),
          ),

          // product price
          Text(
            "Price: ${product['price'].toString()}",
            style: const TextStyle(fontSize: 20, color: Colors.red),
          ),

          // product description
          Text("Description ${product['description']}"),
        ]),
      ),
    );
  }
}
7. Launch your iOS simulator or Android emulator and run:
flutter runIf you want to pass complex data between multiple screens in your app, it’s better to use a wide-app state management approach like Provider or GetX:
Conclusion
You’ve learned how to send data from one screen to another screen when navigating in a Flutter app. If you’d like to explore more new and exciting stuff, take a look at the following articles:
- Using Chip widget in Flutter: Tutorial & Examples
- Flutter: Uploading Files with GetConnect (GetX)
- Best Libraries for Making HTTP Requests in Flutter
- Flutter & SQLite: CRUD Example
- Flutter: Save Icon to Database, File, Shared Preferences
- How to locally save data in Flutter using shared_preferences
You can also take a tour around our Flutter topic page and Dart topic page to see the latest tutorials and examples.


