The following examples show you how to create search fields with magnifying glass icons inside in Flutter.
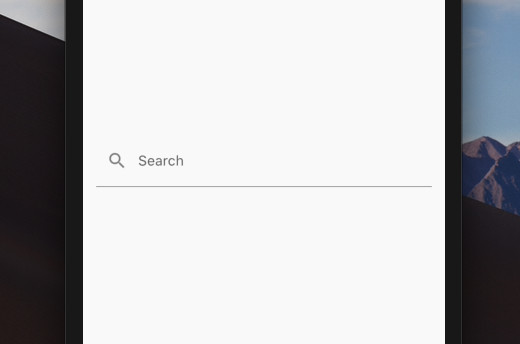
Example 1 (Simple)
The code:
Center(
        child: TextFormField(
          decoration: const InputDecoration(
            labelText: "Search",
            prefixIcon: Icon(Icons.search),
          ),
        ),
      ),
Output:
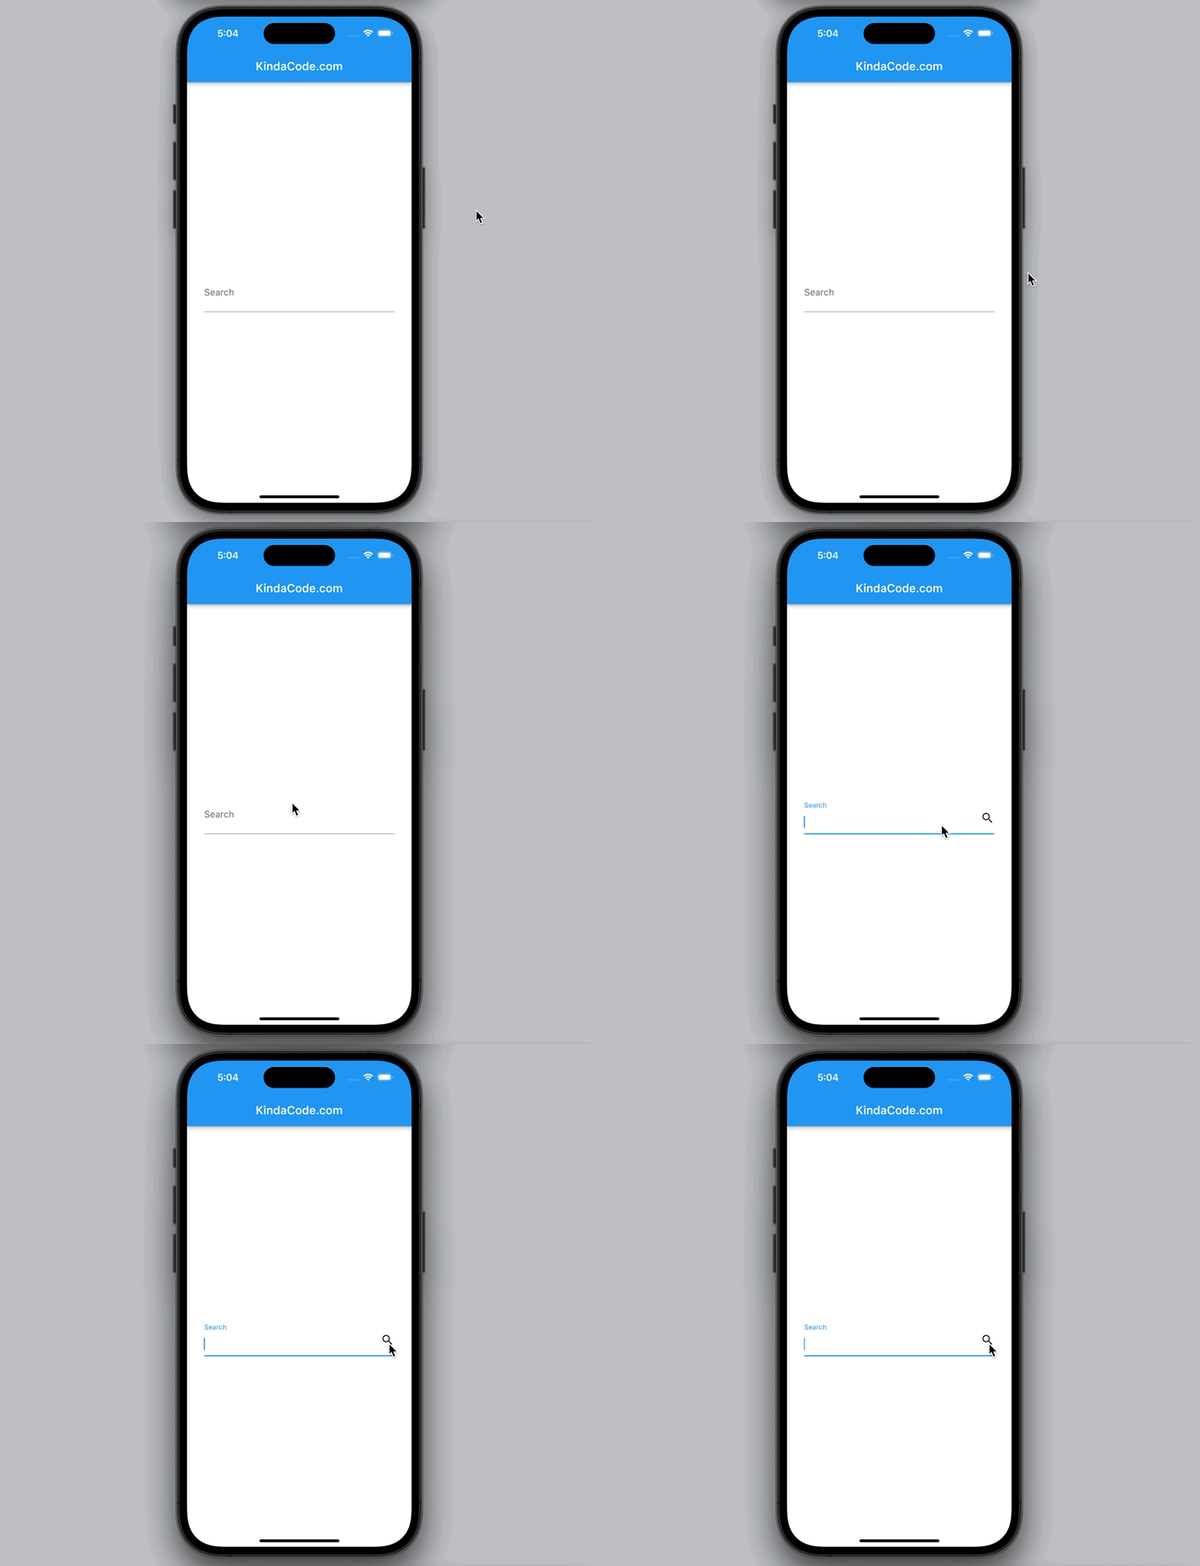
Example 2: Shows the magnifying glass when the field gets focused
The code:
Widget build(BuildContext context) {
    return Scaffold(
        appBar: AppBar(
          title: const Text('KindaCode.com'),
        ),
        body: Padding(
          padding: const EdgeInsets.all(30),
          child: Center(
            child: TextFormField(
              decoration: const InputDecoration(
                labelText: "Search",
                suffix: Icon(Icons.search),
              ),
            ),
          ),
        ));
  }
Output:
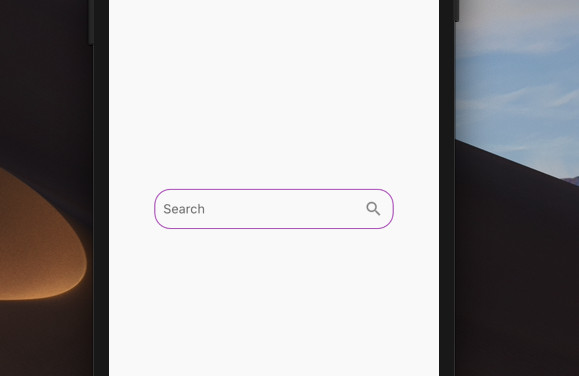
Example 3: Rounded Corners TextFormField with a magnifying glass icon
The code:
Scaffold(
        appBar: AppBar(
          title: const Text('KindaCode.com'),
        ),
        body: Center(
            child: Form(
          child: Container(
            width: 300,
            height: 50,
            alignment: Alignment.center,
            decoration: BoxDecoration(
                border: Border.all(width: 1, color: Colors.purple),
                borderRadius: BorderRadius.circular(20)),
            child: TextFormField(
              decoration: const InputDecoration(
                  labelText: "Search",
                  suffixIcon: Icon(Icons.search),
                  border: InputBorder.none,
                  contentPadding: EdgeInsets.all(10)),
            ),
          ),
        ))
);
Output:
Hope this helps. Further reading:
- Using Chip widget in Flutter: Tutorial & Examples
- Flutter: SliverGrid example
- Best Libraries for Making HTTP Requests in Flutter
- Flutter & Hive Database: CRUD Example
- Flutter: GridPaper example
- Flutter: Creating Custom Back Buttons
You can also take a tour around our Flutter topic page and Dart topic page to see the latest tutorials and examples.


