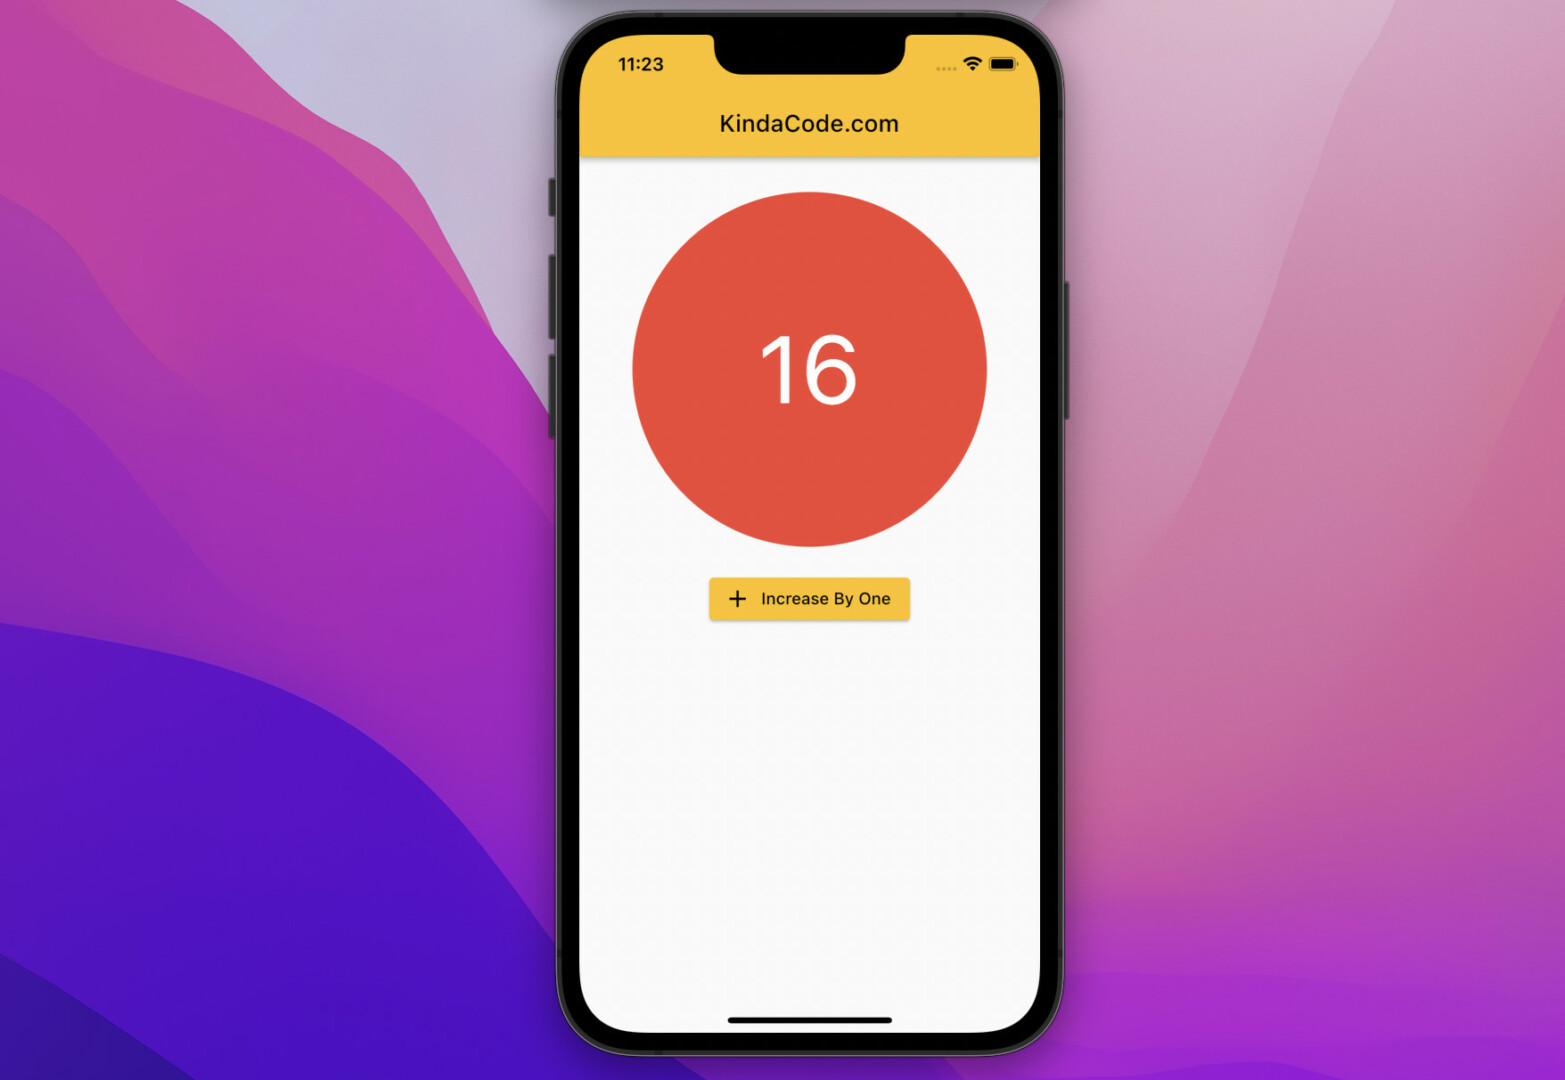
This article is about the StatefulBuilder widget in Flutter. We’ll cover the fundamentals of the widget then examine a complete example of using it in action.
Table of Contents
Overview
The StatefulBuilder widget makes it possible to rebuild only certain small regions when the states of those regions change without much effort. That improves the performance of the application.
StatefulBuilder({
  Key? key,
  required StatefulWidgetBuilder builder
r})
The builder function takes two parameters: context and a function that is used to trigger a rebuild when state changes:
builder: (context, setInnerState) => SomeWidget(/* ...*/)Another note is that you should keep variables that hold state outside the builder function. For more clarity, please see the complete example below.
Example
Preview
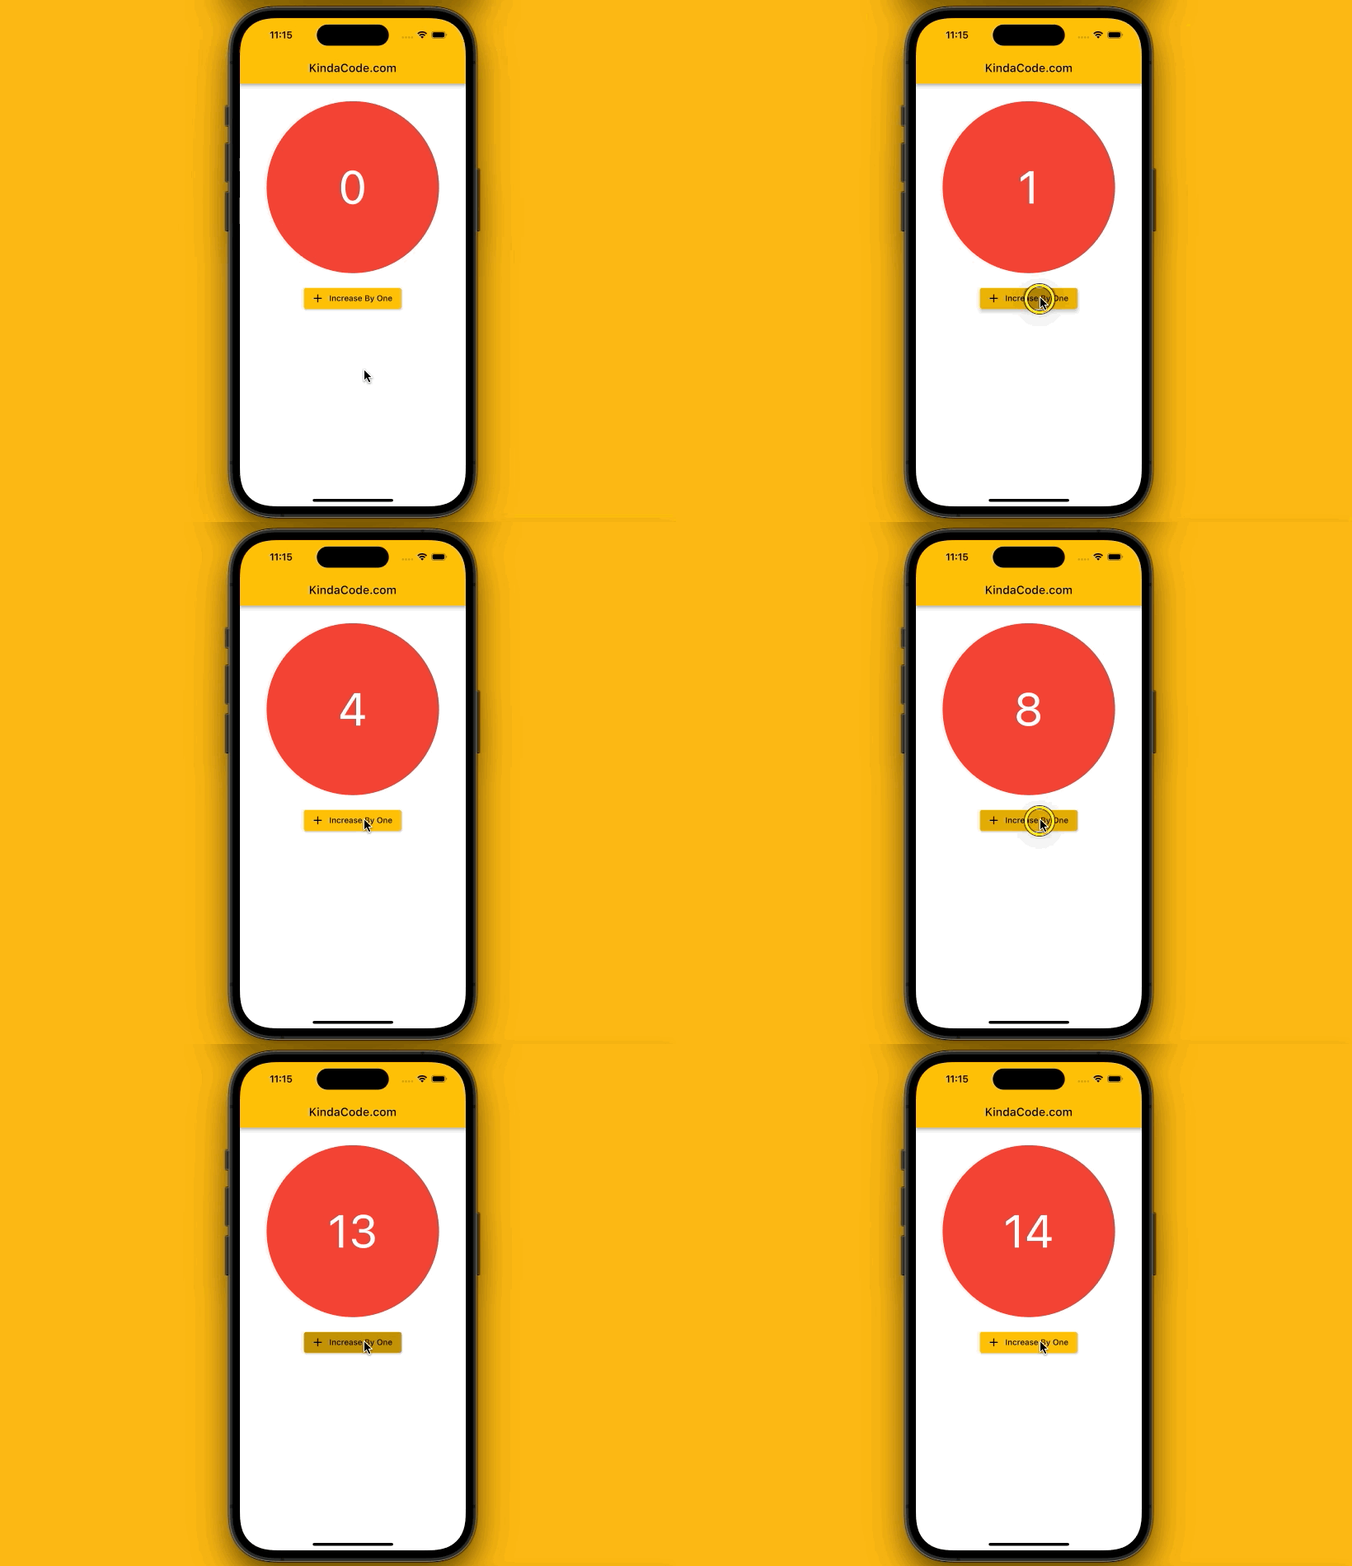
The sample app we’re going to build is a kind of counter app. It contains a button and a Text widget that locates inside a red circle. Every time you press the button, the number in the Text widget will increase by one unit. We’ll make this by using only the StatefulBuilder widget. You won’t see any StatefulWidget.
Here’s how it works:
The Code
The complete code with explanations:
// main.dart
import 'package:flutter/material.dart';

void main() {
  runApp(const MyApp());
}

class MyApp extends StatelessWidget {
  const MyApp({Key? key}) : super(key: key);

  @override
  Widget build(BuildContext context) {
    return MaterialApp(
      // Remove the debug banner
      debugShowCheckedModeBanner: false,
      title: 'KindaCode.com',
      theme: ThemeData(
        primarySwatch: Colors.amber,
      ),
      home: const HomePage(),
    );
  }
}

// StatelessWidget is used here
class HomePage extends StatelessWidget {
  const HomePage({Key? key}) : super(key: key);

  @override
  Widget build(BuildContext context) {
    // This is the number shown in the red circle
    // It represents state and stays outside the builder function
    int count = 0;
    return Scaffold(
      appBar: AppBar(title: const Text('KindaCode.com')),
      body: Padding(
        padding: const EdgeInsets.all(30),
        child: Center(
          // Implement StatefulBuilder
          child: StatefulBuilder(
            builder: (context, setInnerState) => Column(
              children: [
                Container(
                  width: 300,
                  height: 300,
                  decoration: const BoxDecoration(
                      color: Colors.red, shape: BoxShape.circle),
                  child: Center(
                    // Display the number
                    child: Text(
                      count.toString(),
                      style: const TextStyle(fontSize: 80, color: Colors.white),
                    ),
                  ),
                ),
                const SizedBox(
                  height: 20,
                ),
                // This button is used to crease the number
                ElevatedButton.icon(
                    onPressed: () {
                      // Call setInnerState function
                      setInnerState(() => count++);
                    },
                    icon: const Icon(Icons.add),
                    label: const Text('Increase By One')),
              ],
            ),
          ),
        ),
      ),
    );
  }
}
Conclusion
You’ve learned almost everything about the StatefulBuilder widget. This is not an irreplaceable thing in Flutter but will give you more options when implementing parts of your application. If you’d like to explore more new and interesting things about modern mobile development with Flutter, take a look at the following articles:
- Using GetX (Get) for State Management in Flutter
- Using Provider for State Management in Flutter
- Flutter + Firebase Storage: Upload, Retrieve, and Delete files
- Flutter and Firestore Database: CRUD example
- Flutter: ValueListenableBuilder Example
- Flutter: 2 Ways to Make a Dark/Light Mode Toggle
You can also take a tour around our Flutter topic page and Dart topic page to see the latest tutorials and examples.


