Learning by example is one of the most effective learning methods, especially in web and mobile development. In this article, we will walk through a few complete examples of using Transform, a widget that can transform its child in Flutter applications.
Basic (no animation)
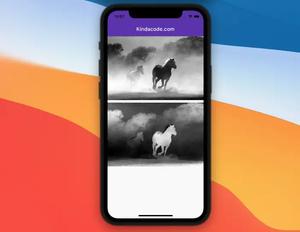
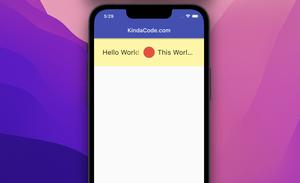
This example contains a purple box and a floating button. When the user presses the button, the box will jump to a random location on the screen. For simplicity’s sake, we will not implement animation in this example, but you can see it in the second one.
App Preview
The code
The full source code with explanations:
// kindacode.com
import 'package:flutter/material.dart';
import 'dart:math';
void main() {
runApp(const MyApp());
}
class MyApp extends StatelessWidget {
const MyApp({Key? key}) : super(key: key);
@override
Widget build(BuildContext context) {
return const MaterialApp(
debugShowCheckedModeBanner: false,
title: 'Kindacode.com',
home: HomePage(),
);
}
}
class HomePage extends StatefulWidget {
const HomePage({Key? key}) : super(key: key);
@override
State<HomePage> createState() => _HomePageState();
}
class _HomePageState extends State<HomePage> with TickerProviderStateMixin {
// random seed
final _random = Random();
// the coordinates of the box
double _x = 0;
double _y = 0;
@override
Widget build(BuildContext context) {
return Scaffold(
appBar: AppBar(
title: const Text('Kindacode.com'),
),
// implement Transform stuff
body: Transform.translate(
offset: Offset(_x, _y),
child: Container(width: 200, height: 200, color: Colors.purple)),
// this button is used to move the box
floatingActionButton: FloatingActionButton(
onPressed: () {
setState(() {
_x = _random.nextDouble() * 400;
_y = _random.nextDouble() * 500;
});
},
child: const Icon(Icons.refresh),
),
);
}
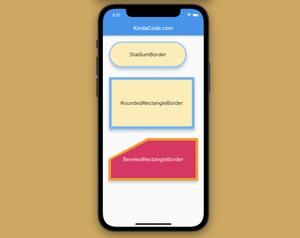
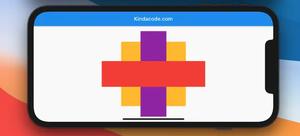
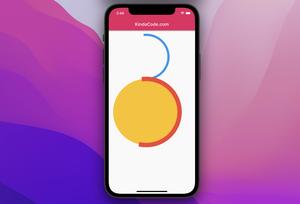
}Animating the Entire App (Advanced)
This example transforms the entire app. We’ll use the Matrix4.compose constructor for the transform parameter of the Transform widget::
Matrix4.compose(
  Vector3 translation,
  Quaternion rotation,
  Vector3 scale
)
We’ll also use TweenAnimationBuilder to create animation effects.
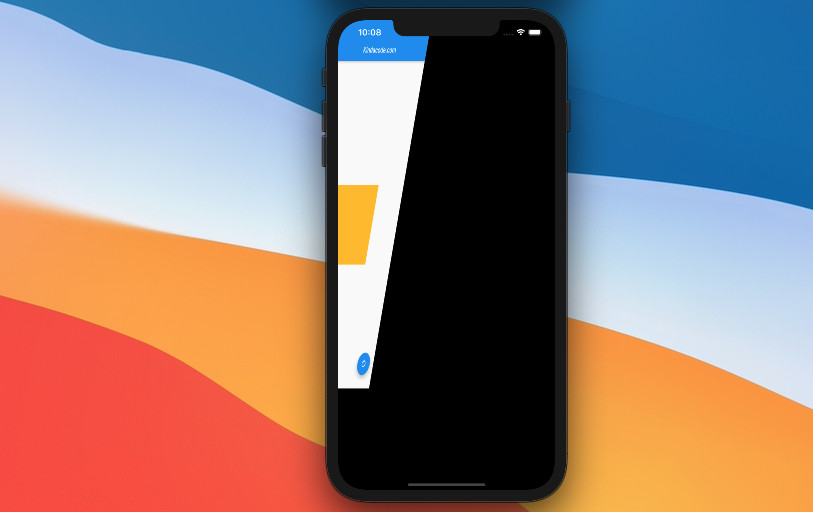
App Preview
The full code
Full source code with explanations:
// kindacode.com
// main.dart
import 'package:flutter/material.dart';

// Import this to use the Vector3 and Quaternion classes
// This module comes with Flutter so you don't need to install any thing
import 'package:vector_math/vector_math_64.dart' as vector;

void main() {
  runApp(const MyApp());
}

class MyApp extends StatelessWidget {
  const MyApp({Key? key}) : super(key: key);

  @override
  Widget build(BuildContext context) {
    return const MaterialApp(
      debugShowCheckedModeBanner: false,
      title: 'Kindacode.com',
      home: HomePage(),
    );
  }
}

class HomePage extends StatefulWidget {
  const HomePage({Key? key}) : super(key: key);

  @override
  State<HomePage> createState() => _HomePageState();
}

// it's important to add "width TickerProviderStateMixin"
class _HomePageState extends State<HomePage> with TickerProviderStateMixin {
  // Matrixes
  final Matrix4 _begin = Matrix4.compose(vector.Vector3(0, 0, 1),
      vector.Quaternion.euler(0, 0, 0), vector.Vector3(1, 1, 1));

  final Matrix4 _midway = Matrix4.compose(vector.Vector3(0, 0, 1),
      vector.Quaternion.euler(1, -0.2, 0), vector.Vector3(.8, .8, .8));

  final Matrix4 _final = Matrix4.compose(vector.Vector3(0, 0, 1),
      vector.Quaternion.euler(-1, 0, 0), vector.Vector3(1, 1, 1));

  Matrix4 _target = Matrix4.compose(vector.Vector3(0, 0, 1),
      vector.Quaternion.euler(1, -0.2, 0), vector.Vector3(0.8, 0.8, 0.8));

  @override
  Widget build(BuildContext context) {
    // implement TweenAnimationBuilder widget
    return TweenAnimationBuilder(
        tween: Tween(begin: _begin, end: _target),
        duration: const Duration(seconds: 2),
        builder: (BuildContext context, Matrix4 value, Widget? _) {
          // implement Transform widget
          return Transform(
            transform: value,
            child: Scaffold(
              appBar: AppBar(
                title: const Text('Kindacode.com'),
              ),
              // body of the app
              body: Center(
                child: Container(width: 200, height: 200, color: Colors.amber),
              ),
              // this button is used to transform the app
              floatingActionButton: FloatingActionButton(
                  onPressed: () {
                    setState(() {
                      if (_target == _begin) {
                        _target = _midway;
                      } else if (_target == _midway) {
                        _target = _final;
                      } else {
                        _target = _begin;
                      }
                    });
                  },
                  child: const Icon(Icons.rotate_left)),
            ),
          );
        });
  }
}
Conclusion
Through the above examples, you should have a better understanding and feel more confident in using Transform to create cool effects in your applications. If you would like to learn more about Flutter, take a look at the following articles:
- Finding X and Y coordinates of a widget at runtime
- Scrolling to the desired item in a ListView
- Working with Table in Flutter
- Flutter AnimatedList – Tutorial and Examples
- Flutter: How to Make Spinning Animation without Plugins
- 2 Ways to Create Flipping Card Animation in Flutter
You can also check out our Flutter topic page or Dart topic page for the latest tutorials and examples.


