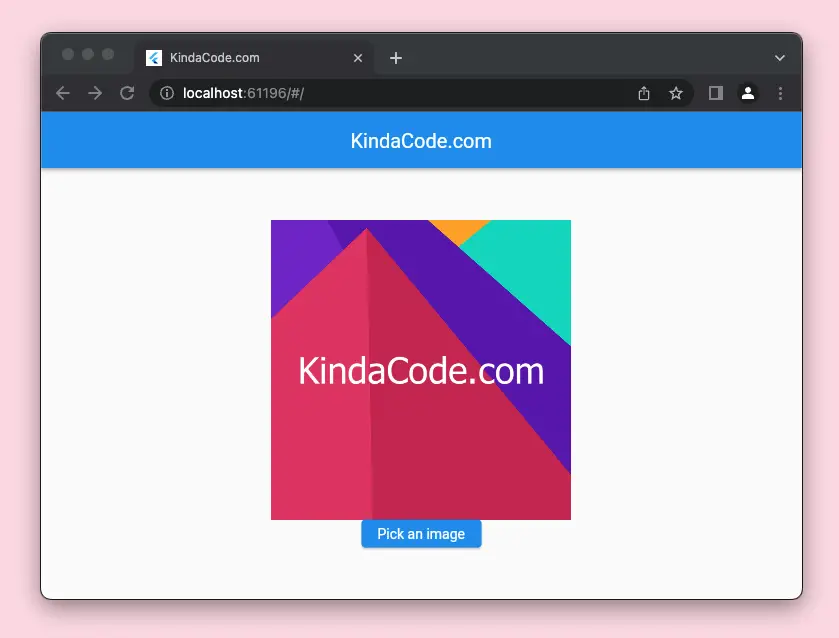
This practical, example-based article shows you how to pick an image (from the user’s device) in a Flutter web application and then display the selected image on the screen.
Table of Contents
What is the point?
To get the job done, we will use a very package name file_picker. You can install it to your project by executing the command below:
flutter pub add file_pickerThen run:
flutter pub getAnd import it to your Dart code:
import 'package:file_picker/file_picker.dart';To pick an image, you can call the pickFiles() method like this:
FilePickerResult? result = await FilePicker.platform.pickFiles(
        type: FileType.image,
);
For more clarity, see the end-to-end and easy-to-understand example below.
Complete example
App preview
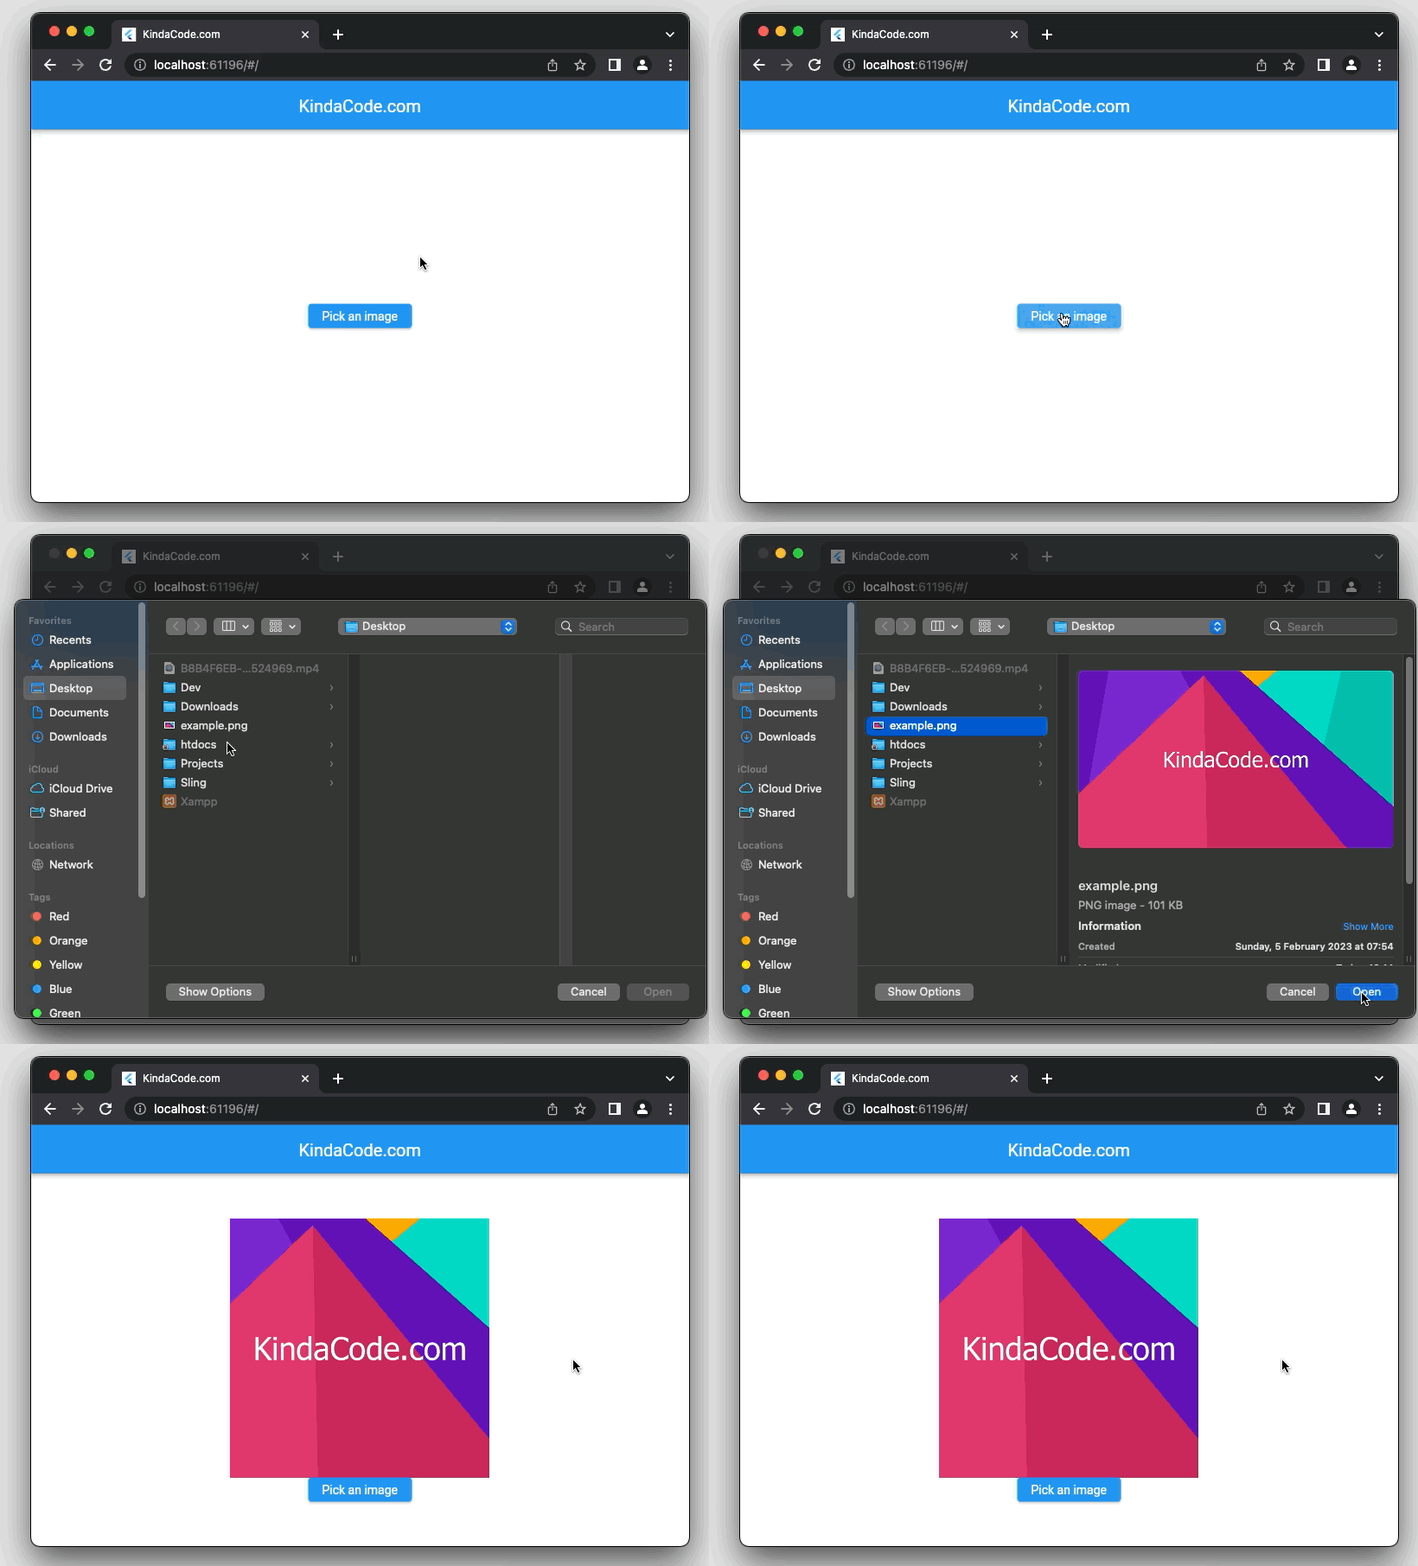
The main part of the tiny project we’re going to make is a button in the center of the screen. When this button gets pressed, a file browser will show up and let us select an image from our computer (note that the interface can look different on Mac and Windows). The picked image will be displayed right above the button.
Here’s how it works in action:
The code
The full source code in main.dart with explanations:
// kindacode.com
// main.dart

import 'dart:typed_data';
import 'package:file_picker/file_picker.dart';
import 'package:flutter/material.dart';

void main() {
  runApp(const MyApp());
}

class MyApp extends StatelessWidget {
  const MyApp({super.key});

  @override
  Widget build(BuildContext context) {
    return MaterialApp(
      // hide the debug banner
      debugShowCheckedModeBanner: false,
      title: 'KindaCode.com',
      theme: ThemeData(
        primarySwatch: Colors.blue,
      ),
      home: const FilePickerExample(),
    );
  }
}

class FilePickerExample extends StatefulWidget {
  const FilePickerExample({Key? key}) : super(key: key);

  @override
  State<FilePickerExample> createState() => _FilePickerExampleState();
}

class _FilePickerExampleState extends State<FilePickerExample> {
  // Variable to hold the selected image file
  PlatformFile? _imageFile;

  // Method to pick and display an image file
  Future<void> _pickImage() async {
    try {
      // Pick an image file using file_picker package
      FilePickerResult? result = await FilePicker.platform.pickFiles(
        type: FileType.image,
      );

      // If user cancels the picker, do nothing
      if (result == null) return;

      // If user picks an image, update the state with the new image file
      setState(() {
        _imageFile = result.files.first;
      });
    } catch (e) {
      // If there is an error, show a snackbar with the error message
      ScaffoldMessenger.of(context).showSnackBar(
        SnackBar(
          content: Text(e.toString()),
        ),
      );
    }
  }

  @override
  Widget build(BuildContext context) {
    return Scaffold(
      appBar: AppBar(
        title: const Text('KindaCode.com'),
      ),
      body: Center(
        child: Column(
          mainAxisAlignment: MainAxisAlignment.center,
          children: [
            // If image file is not null, display it using Image widget
            if (_imageFile != null)
              Image.memory(
                Uint8List.fromList(_imageFile!.bytes!),
                width: 300,
                height: 300,
                fit: BoxFit.cover,
              ),
            // A button to trigger the file picker dialog
            ElevatedButton(
              onPressed: _pickImage,
              child: const Text('Pick an image'),
            ),
          ],
        ),
      ),
    );
  }
}
Conclusion
You’ve learned how to implement a file picker in a web application made with Flutter. From the example in the article, you can modify the code and make changes to suit your needs. If you’d like to explore more new and interesting stuff in the realm of Flutter development, take a look at the following articles:
- How to Create a Countdown Timer in Flutter
- Flutter: Making a Tic Tac Toe Game from Scratch
- How to Handle Network Image Loading Error in Flutter
- Flutter & Hive Database: CRUD Example
- Flutter StatefulBuilder example
- Flutter StreamBuilder: Tutorial & Examples (Updated)
You can also tour around our Flutter topic page or Dart topic page for the most recent tutorials and examples.


