

This is a very detailed, step-by-step guide to adding a new Android emulator in Android Studio. Without any further ado, let’s explore the things that matter.
Note: This article was updated recently to match the latest version of Android Studio. I removed a few old screenshots that were no longer relevant and replaced them with newer ones.
The Steps
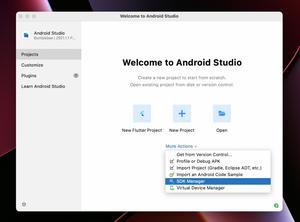
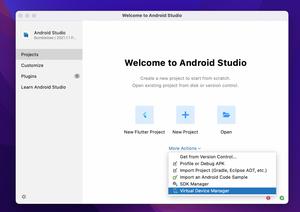
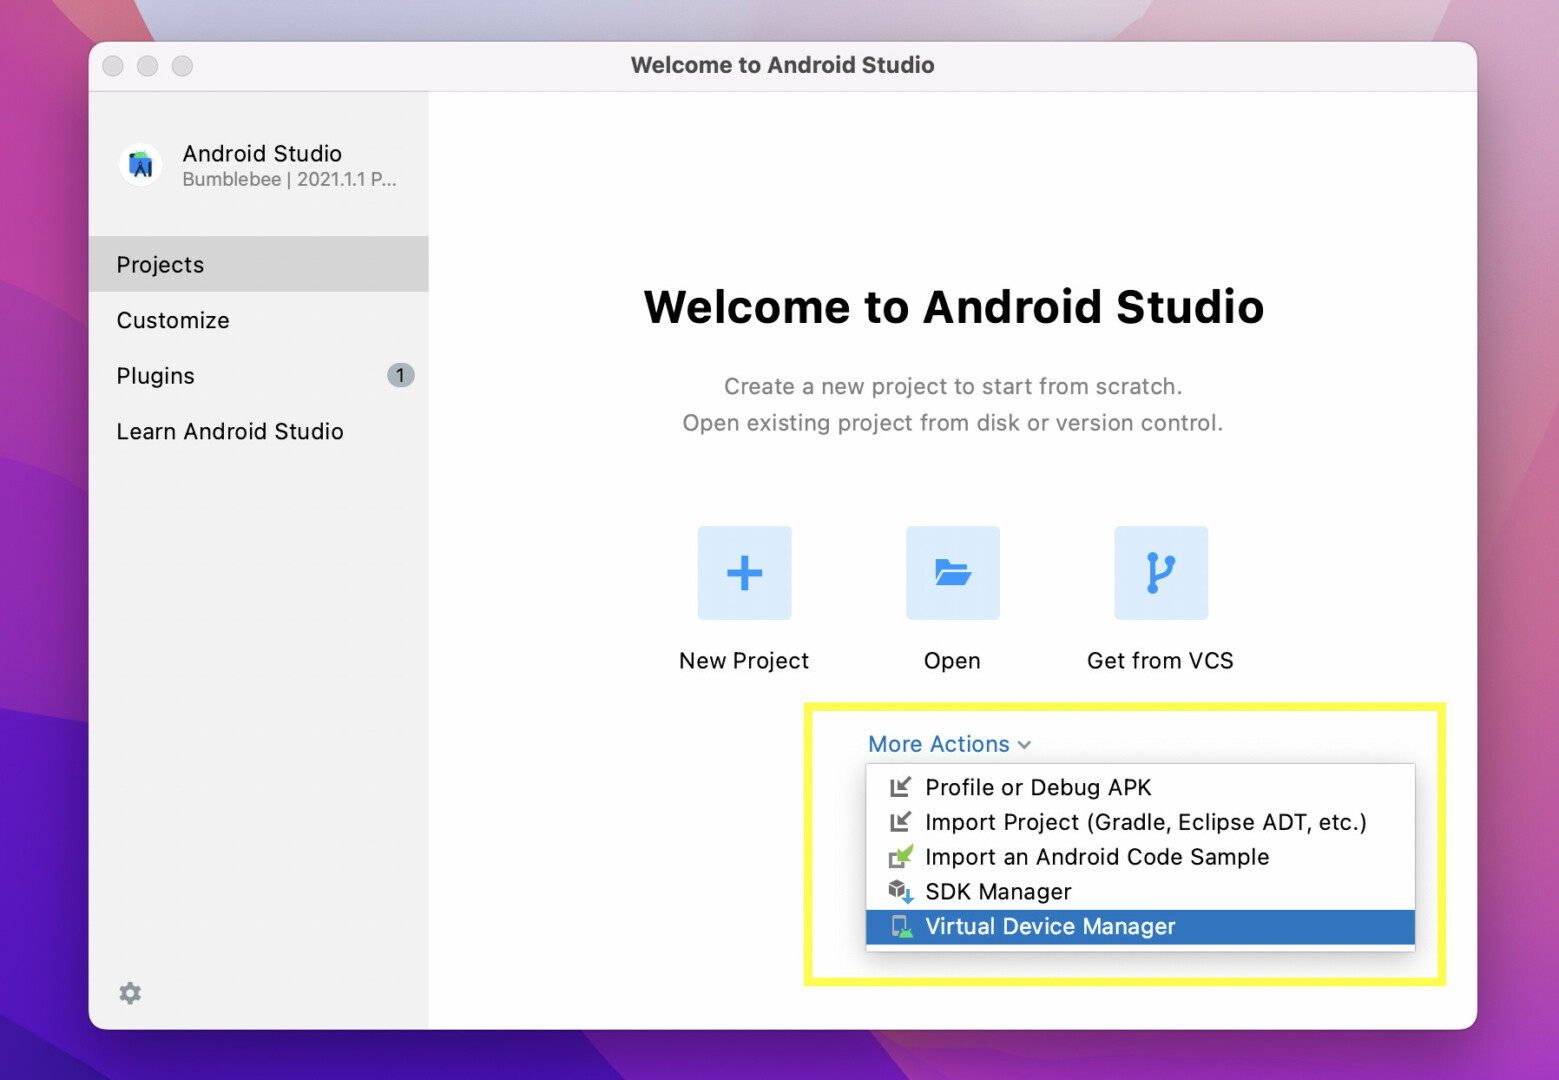
1. Open your Android Studio. In the welcome screen, select “More Options” > “Virtual Device Manager”:
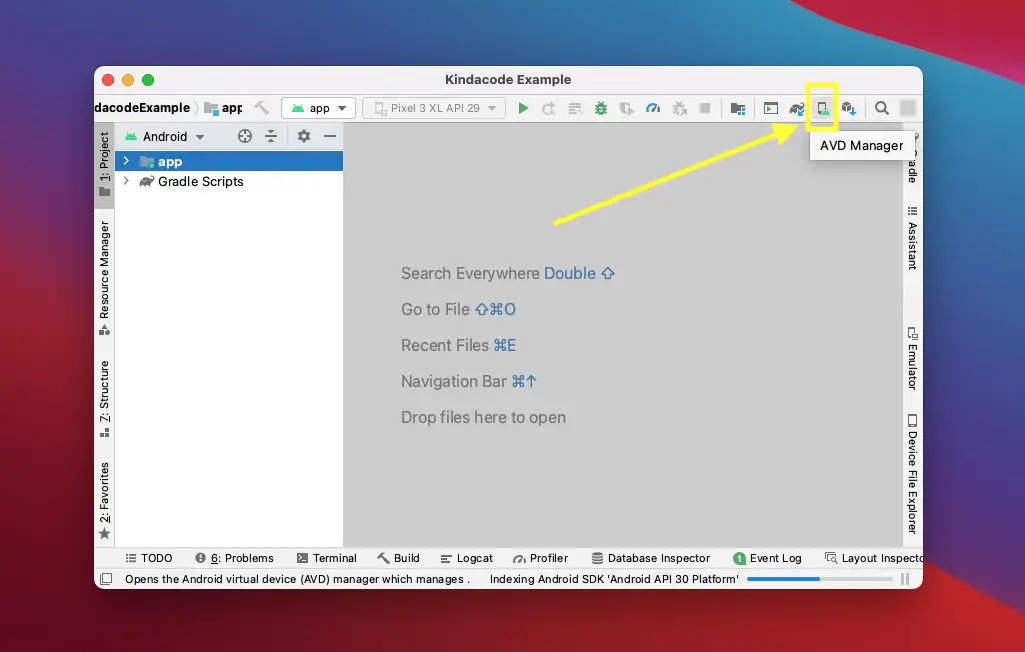
Another way is to click on the AVD Manager icon located in the toolbar:
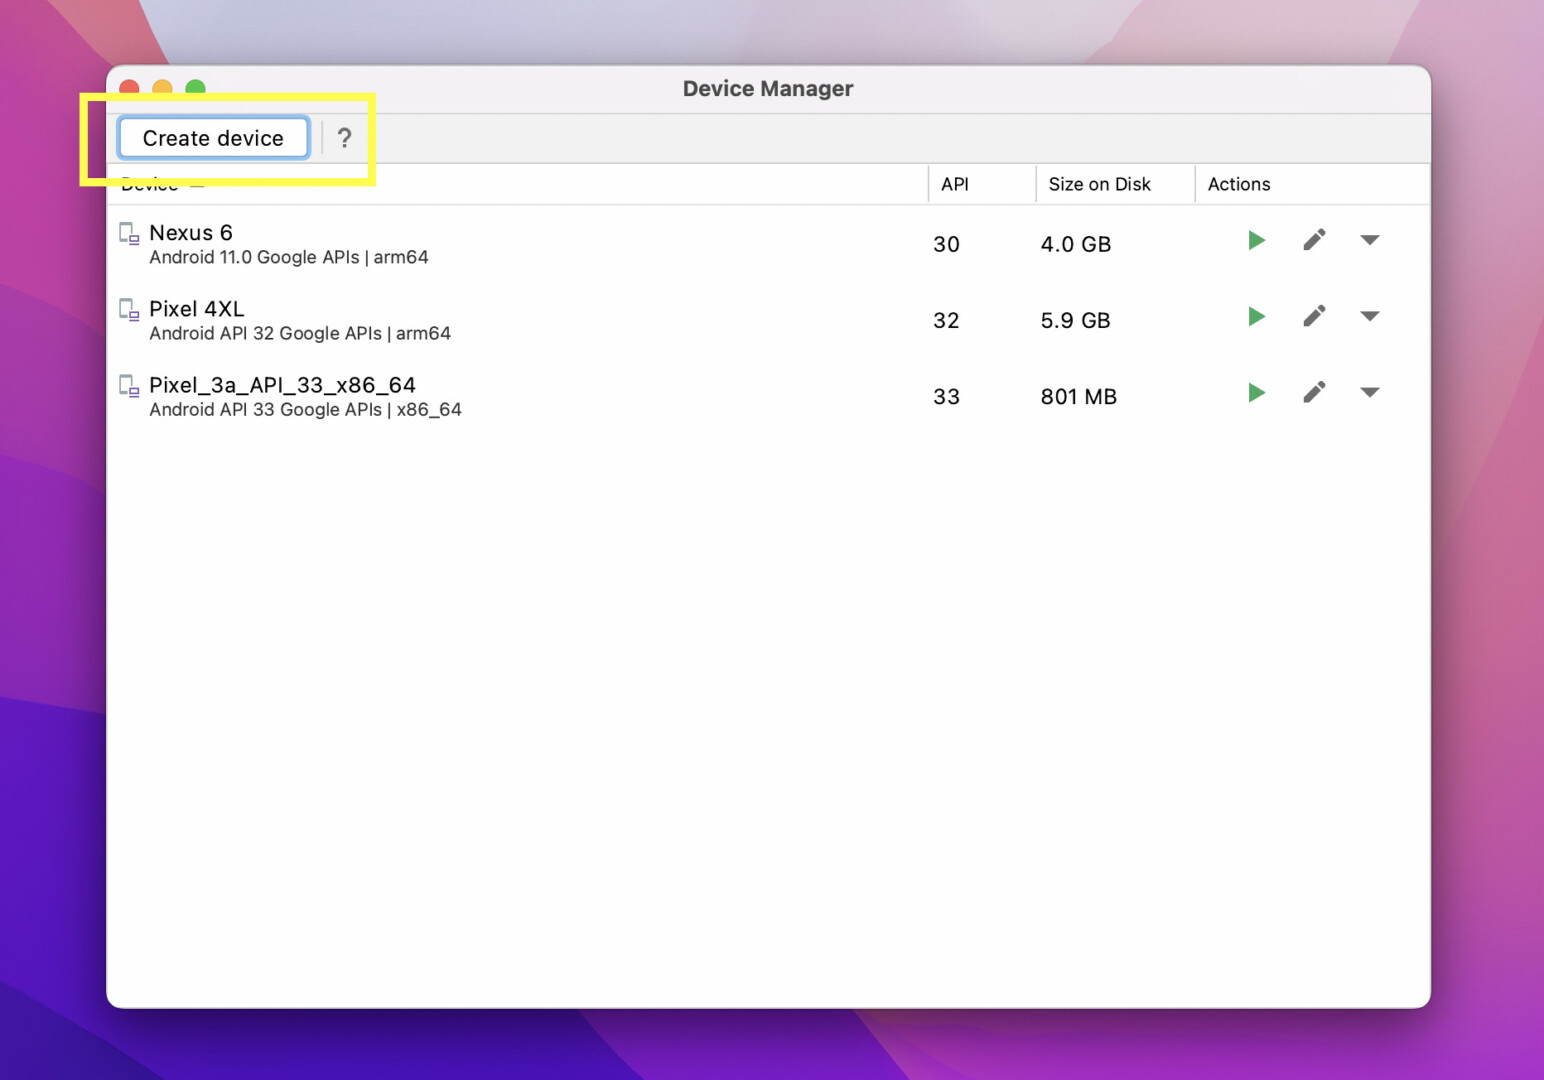
2. Click on the Create Virtual Device button in the Android Virtual Device Manager window. If you don’t have any virtual device yet, you will see a blank screen as follows:
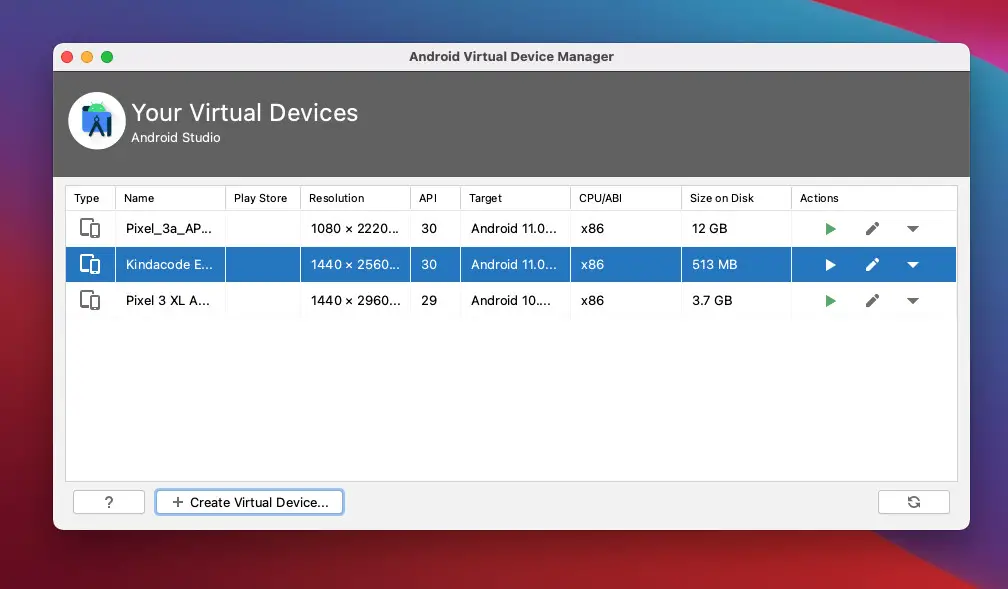
Otherwise, you will see this:
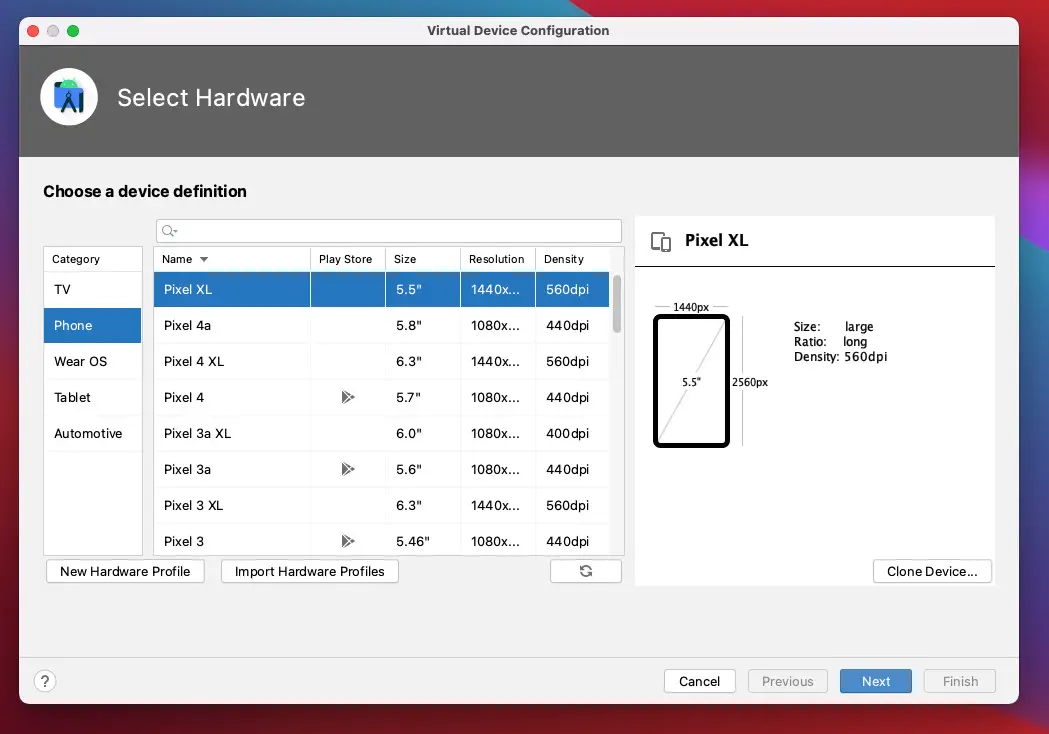
3. Choose a device from the list. A Pixel XL or a Pixel 4 is good to go. Click the Next button to continue.
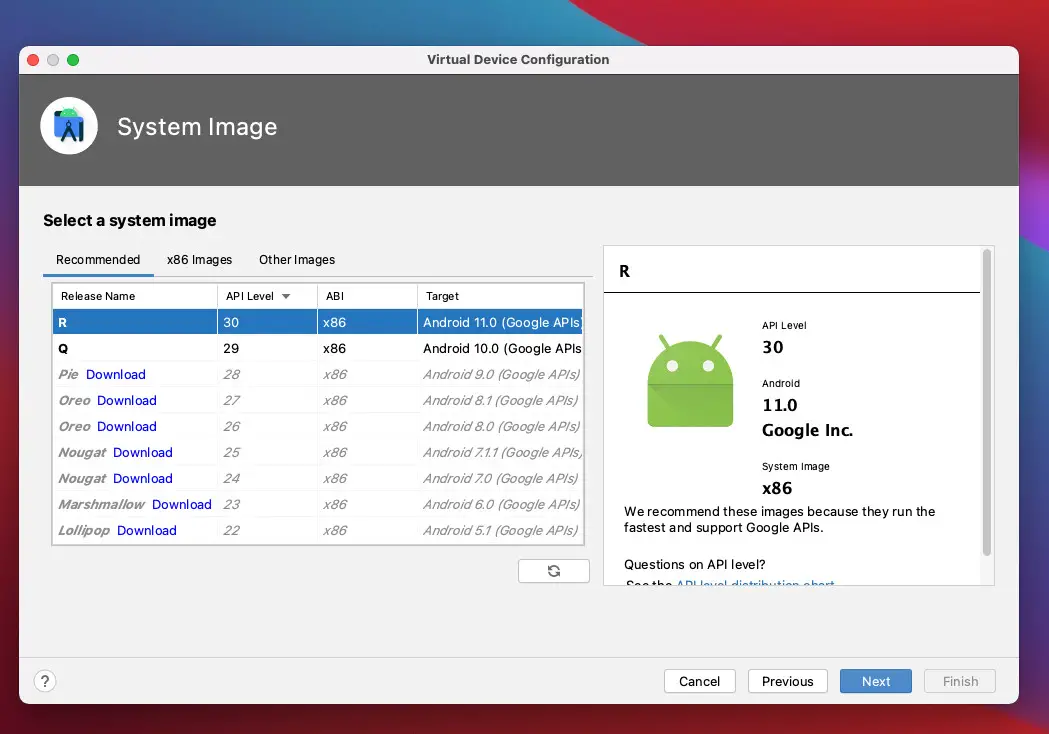
4. Now, you have to download a system image for the virtual device. I strongly recommend using one of the most recent images from the list to be able to use the latest features of Android. Click Next to continue.
5. This step is optional. You can set a custom name for your emulator:

6. In the Android Virtual Device Manager window, you will notice that a new device was added:
7. You might have to do is accept all the Android license agreements (you can ignore this step if you have done this before):
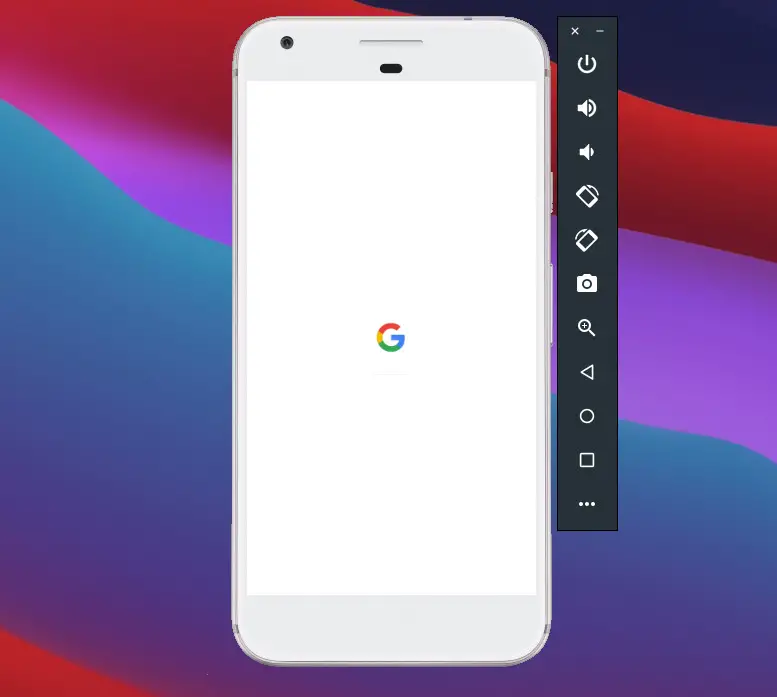
flutter doctor –-android-licenses8. When starting your new Android emulator for the first time, it will take a few minutes to set things up:
Done!
Conclusion
You’ve learned how to set up a new Android emulator. If you’d like to discover more new and interesting stuff in the mobile development world, take a look at the following articles:
- How to Reset Android Studio to the Default Settings
- How to check your Android Studio version
- Install Flutter and Dart plugins in Android Studio
- Flutter & SQLite: CRUD Example
- Using AsyncStorage in React Native: CRUD Example
- Flutter: Stream.periodic example
You can also check out our Flutter category page or React Native category page for more tutorials and examples.