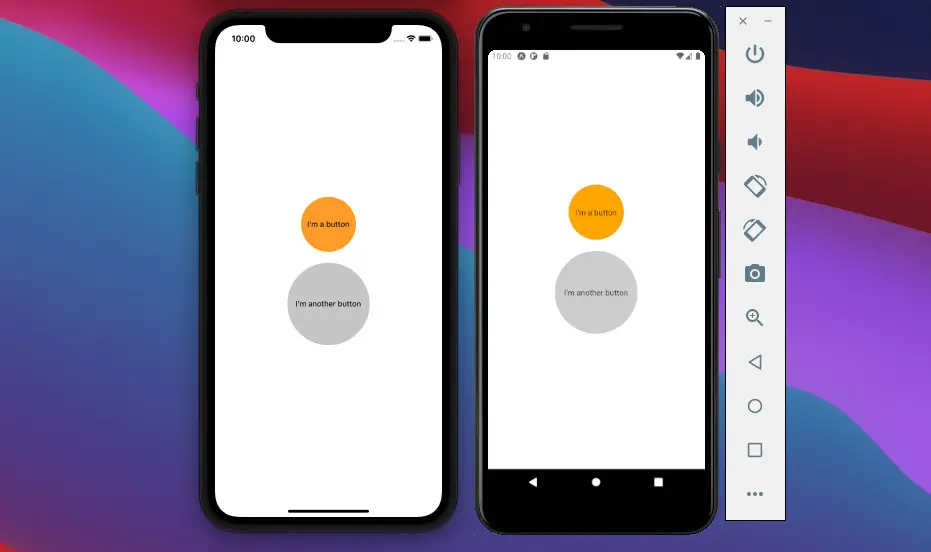
The example below will show you how to create round buttons in React Native. We will use TouchableOpacity instead of the basic built-in Button component.
The Code
Replace the default code in App.js with the following:
// App.js
import React from 'react';
import {View, Text, StyleSheet, TouchableOpacity} from 'react-native';

function App() {
  const buttonClickedHandler = () => {
    console.log('You have been clicked a button!');
    // do something
  };

  return (
    <View style={styles.screen}>
      <TouchableOpacity
        onPress={buttonClickedHandler}
        style={styles.roundButton1}>
        <Text>I'm a button</Text>
      </TouchableOpacity>

      <TouchableOpacity
        onPress={buttonClickedHandler}
        style={styles.roundButton2}>
        <Text>I'm another button</Text>
      </TouchableOpacity>
    </View>
  );
}

// Styles
const styles = StyleSheet.create({
  screen: {
    flex: 1,
    justifyContent: 'center',
    alignItems: 'center',
  },
  roundButton1: {
    width: 100,
    height: 100,
    justifyContent: 'center',
    alignItems: 'center',
    padding: 10,
    borderRadius: 100,
    backgroundColor: 'orange',
  },
  roundButton2: {
    marginTop: 20,
    width: 150,
    height: 150,
    justifyContent: 'center',
    alignItems: 'center',
    padding: 10,
    borderRadius: 100,
    backgroundColor: '#ccc',
  },
});

export default App;
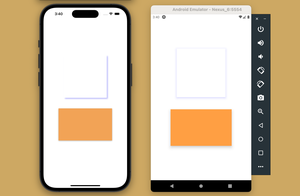
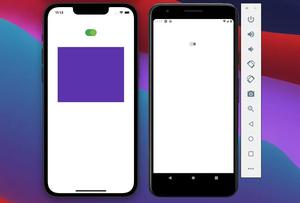
Here’s how our round buttons look like and interact when pressed on iOS and Android:
That’s it, my friend. Have a nice day with your React Native project. If you would like to learn more, take a look at the following articles:
- How to render HTML content in React Native
- How to Get the Window Width & Height in React Native
- React Native: Make a Button with a Loading Indicator inside
- How to implement tables in React Native
- React Native: How to add shadow effects on Android
- Implementing a Date Time picker in React Native
You can also check our React topic page and React Native topic page for the latest tutorials and examples.
![[Solved] React Native Error: No bundle URL present](https://www.kindacode.com/media/thumbnails/2024-11/Screen-Shot-2020-04-28-at-17.44.18-1.png)
