


This article shows you how to enable Kubernetes in your Docker Desktop for local development and testing.
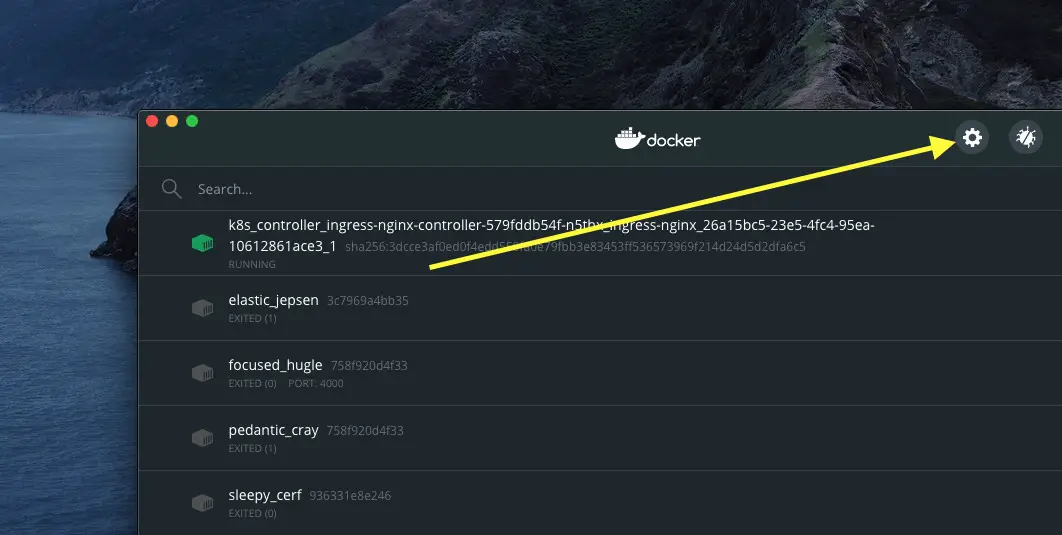
1. Click on the gear icon located in the top right corner:
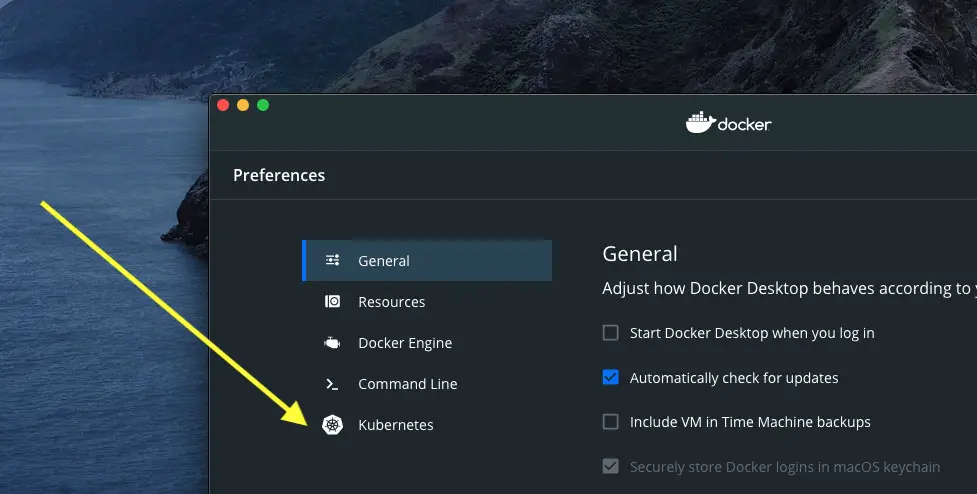
2. Select Kubernetes from the left-hand pane:
3. Check the checkbox next to Enable Kubernetes:
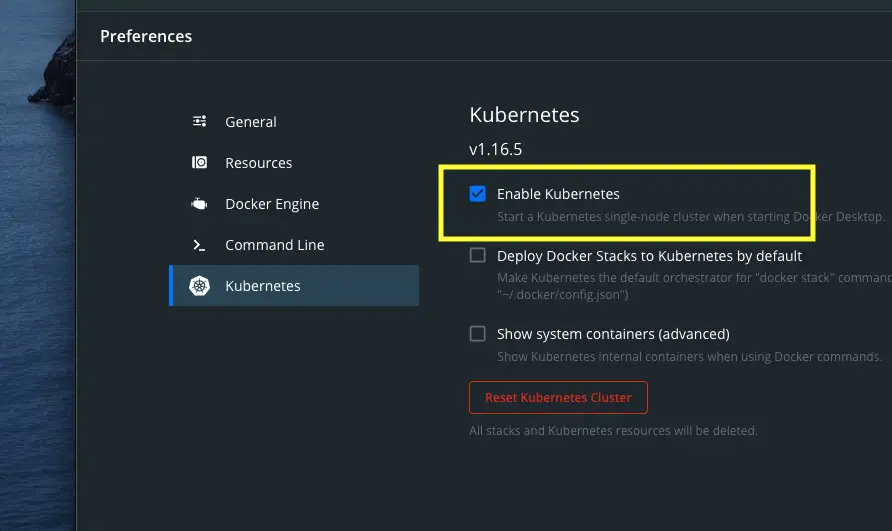
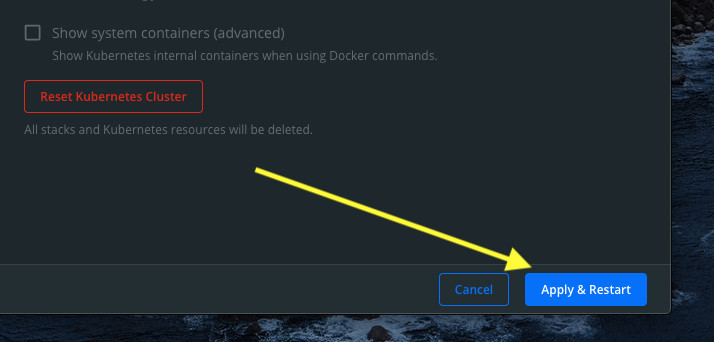
4. Click on the Apply & Restart button to apply your settings:
That’s it. Further reading:
- Docker Desktop: Change images & containers directory
- How to reset Docker Desktop
- Using Docker Compose to speed up WordPress development
- Docker: How to See All Pulled Images
- How to Check Docker Desktop and Docker Engine Versions
You can also check out our Docker topic page for the latest tutorials, examples, tips, and tricks.


