Tables help us display information neatly and elegantly in rows and columns. In this article, you will learn how to implement tables in React Native by using three different libraries: react-native-paper, react-native-table-component, react-native-easy-grid. Without any further ado, let’s dive into action.
Using React Native Paper
React Native Paper is a popular library that provides a lot of useful components including DataTable which allows us to display sets of data.
Installation
React Native Expo:
expo install react-native-paperReact Native CLI:
npm i react-native-paperIf you’re working with a vanilla React Native project and want to use other features of React Native Paper, you should install and link react-native-vector-icons:
yarn add react-native-vector-icons
react-native link react-native-vector-icons
Example:
import React from 'react';
import { View, StyleSheet } from 'react-native';
import { DataTable } from 'react-native-paper';

export default function App() {
  return (
    <View style={styles.container}>
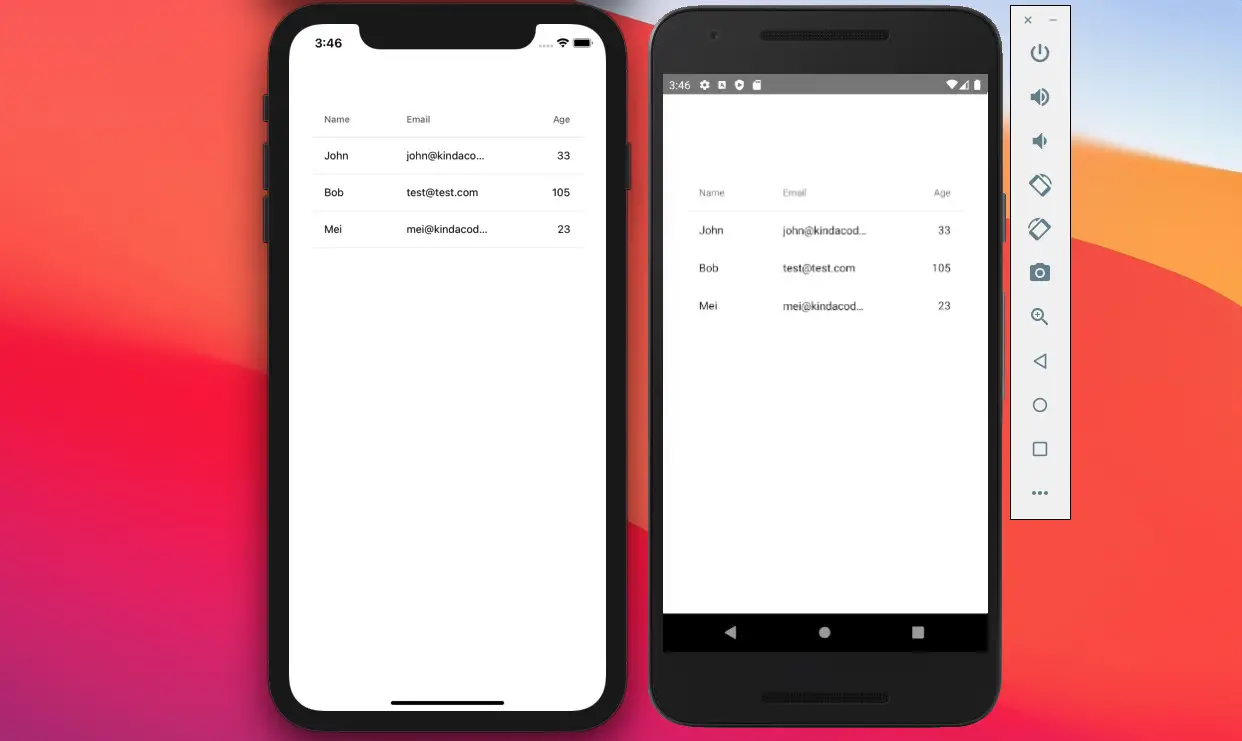
      <DataTable>
        <DataTable.Header>
          <DataTable.Title>Name</DataTable.Title>
          <DataTable.Title>Email</DataTable.Title>
          <DataTable.Title numeric>Age</DataTable.Title>
        </DataTable.Header>

        <DataTable.Row>
          <DataTable.Cell>John</DataTable.Cell>
          <DataTable.Cell>[email protected]</DataTable.Cell>
          <DataTable.Cell numeric>33</DataTable.Cell>
        </DataTable.Row>

        <DataTable.Row>
          <DataTable.Cell>Bob</DataTable.Cell>
          <DataTable.Cell>[email protected]</DataTable.Cell>
          <DataTable.Cell numeric>105</DataTable.Cell>
        </DataTable.Row>

        <DataTable.Row>
          <DataTable.Cell>Mei</DataTable.Cell>
          <DataTable.Cell>[email protected]</DataTable.Cell>
          <DataTable.Cell numeric>23</DataTable.Cell>
        </DataTable.Row>

      </DataTable>
    </View>
  );
}

const styles = StyleSheet.create({
  container: {
    paddingTop: 100,
    paddingHorizontal: 30,
  },
});
Screenshot:
Using React Native Table Component
The only use of this library is to help you easily create customizable tables.
Install it by running:
npm i react-native-table-component
// Or
expo install react-native-table-component
Example:
import React from 'react';
import { View, StyleSheet } from 'react-native';
import { Table, TableWrapper, Row, Rows, Col } from 'react-native-table-component';

const CONTENT = {
  tableHead: ['Column 0/Row 0', 'Column 1', 'Column 2', 'Column 3'],
  tableTitle: ['Row', 'Row 2', 'Row 3', 'Row 4'],
  tableData: [
    ['1', '2', '3'],
    ['a', 'b', 'c'],
    ['1', '2', '3'],
    ['a', 'b', 'c'],
  ],
};

export default function App() {
  return (
    <View style={styles.container}>
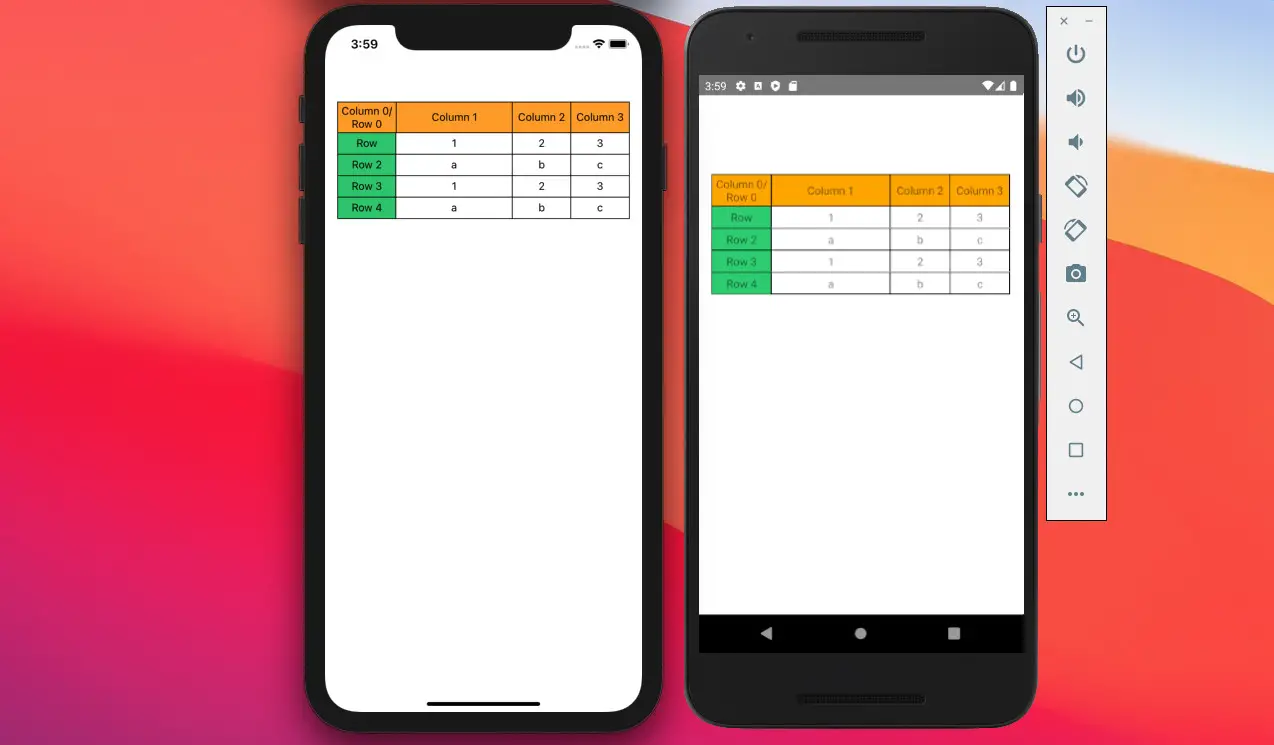
      <Table borderStyle={{ borderWidth: 1 }}>
        <Row
          data={CONTENT.tableHead}
          flexArr={[1, 2, 1, 1]}
          style={styles.head}
          textStyle={styles.text}
        />
        <TableWrapper style={styles.wrapper}>
          <Col
            data={CONTENT.tableTitle}
            style={styles.title}
            heightArr={[28, 28]}
            textStyle={styles.text}
          />
          <Rows
            data={CONTENT.tableData}
            flexArr={[2, 1, 1]}
            style={styles.row}
            textStyle={styles.text}
          />
        </TableWrapper>
      </Table>
    </View>
  );
}

const styles = StyleSheet.create({
  container: { flex: 1, padding: 16, paddingTop: 100, backgroundColor: '#fff' },
  head: { height: 40, backgroundColor: 'orange' },
  wrapper: { flexDirection: 'row' },
  title: { flex: 1, backgroundColor: '#2ecc71' },
  row: { height: 28 },
  text: { textAlign: 'center' },
});
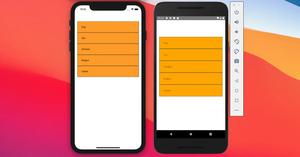
Screenshot:
You can learn more about this library here.
Using React Native Easy Grid
This library provides us with the ability to create highly customizable tables. You can use it to display data as well as to create layouts for the application.
Installation:
npm i react-native-easy-grid
// Or
expo install react-native-easy-grid
Example:
import React from 'react';
import { View, StyleSheet, Text } from 'react-native';
import { Col, Row, Grid } from 'react-native-easy-grid';

export default function App() {
  return (
    <View style={styles.container}>
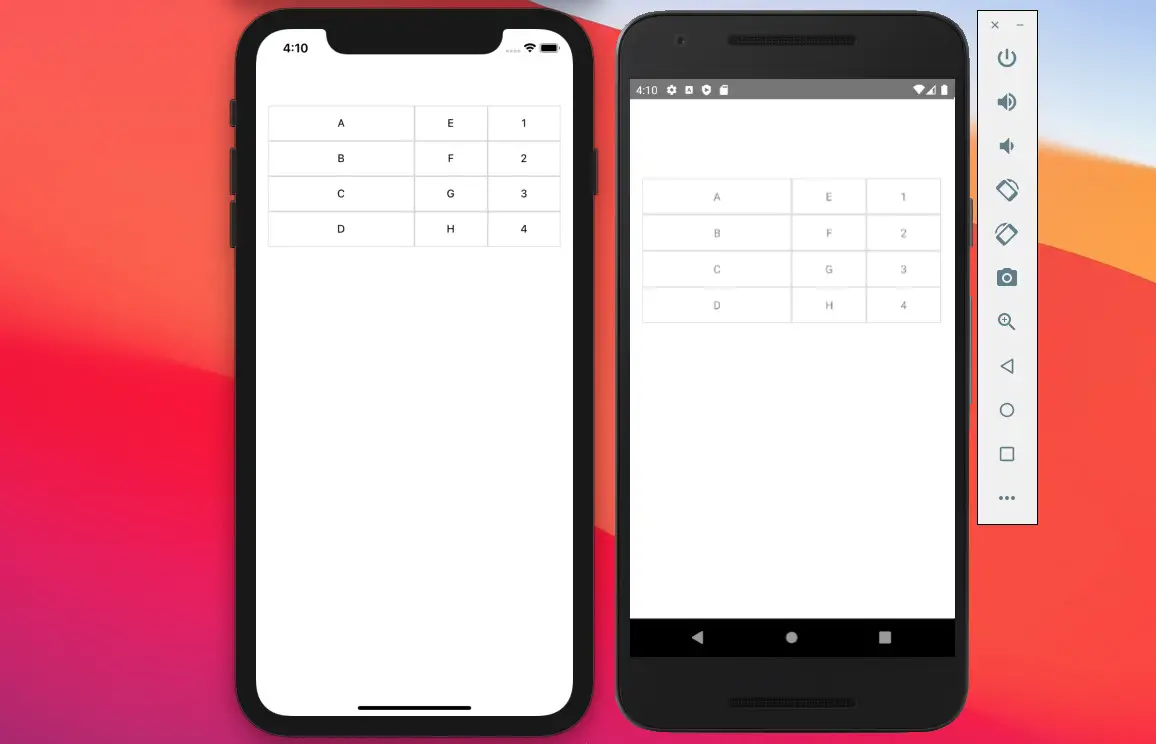
      <Grid>
        <Col size={50}>
          <Row style={styles.cell}>
            <Text>A</Text>
          </Row>
          <Row style={styles.cell}>
            <Text>B</Text>
          </Row>
          <Row style={styles.cell}>
            <Text>C</Text>
          </Row>
          <Row style={styles.cell}>
            <Text>D</Text>
          </Row>
        </Col>
        <Col size={25}>
        <Row style={styles.cell}>
            <Text>E</Text>
          </Row>
          <Row style={styles.cell}>
            <Text>F</Text>
          </Row>
          <Row style={styles.cell}>
            <Text>G</Text>
          </Row>
          <Row style={styles.cell}>
            <Text>H</Text>
          </Row>
        </Col>
        <Col size={25}>
        <Row style={styles.cell}>
            <Text>1</Text>
          </Row>
          <Row style={styles.cell}>
            <Text>2</Text>
          </Row>
          <Row style={styles.cell}>
            <Text>3</Text>
          </Row>
          <Row style={styles.cell}>
            <Text>4</Text>
          </Row>
        </Col>
      </Grid>
    </View>
  );
}

const styles = StyleSheet.create({
  container: {
    width: '100%',
    height: 300,
    padding: 16,
    paddingTop: 100,
    backgroundColor: '#fff',
  },
  cell: {
    borderWidth: 1,
    borderColor: '#ddd',
    flex: 1,
    justifyContent: 'center',
    alignItems: 'center'
  },
});
Screenshot:
Conclusion
This article explored several libraries that are used for making tables in React Native. Which one would you choose to use in your projects?
If you’d like to explore more new and exciting stuff about modern React Native development then take a look at the following articles:
- How to Get the Window Width & Height in React Native
- React Native FlatList: Tutorial and Examples
- How to Implement a Picker in React Native
- Using AsyncStorage in React Native: CRUD Example
- React Native: How to make rounded corners TextInput
You can also check out our React Native category page for additional tutorials and examples.
![[Solved] React Native Error: No bundle URL present](https://www.kindacode.com/media/thumbnails/2024-11/Screen-Shot-2020-04-28-at-17.44.18-1.png)

