This article shows you how to install Node.js and NPM on Ubuntu 20.04 (Focal Fossa), Ubuntu 20.10 (Groovy Gorilla), Ubuntu 21.04 (Hirsute Hippo), Ubuntu 21.10 (Impish Indri), Ubuntu 22.04 (Jammy Jellyfish), and Ubuntu 22.10 (Kinetic Kudu). Our goal is to get the LTS (the long-term support version, which is officially recommended for most users) or the current version (which comes with the latest features) of Node.js.
If you set up Node.js with the following command:
sudo apt install nodejsYou will end up with Node.js 12 or Node.js 13, a very old version. That is NOT what we want. At the time of writing, the LTS version is 16, and the current version is 18.
Installing Node.js the right way
To install a desired version of Node.js, we first have to install a PPA (personal package archive) from NodeSource.
1. Navigate to the home directory:
cd ~2. Run the following:
curl -fsSL https://deb.nodesource.com/setup_18.x | sudo -E bash -You can substitute 18.x with another version as needed. After a while, you will see this:
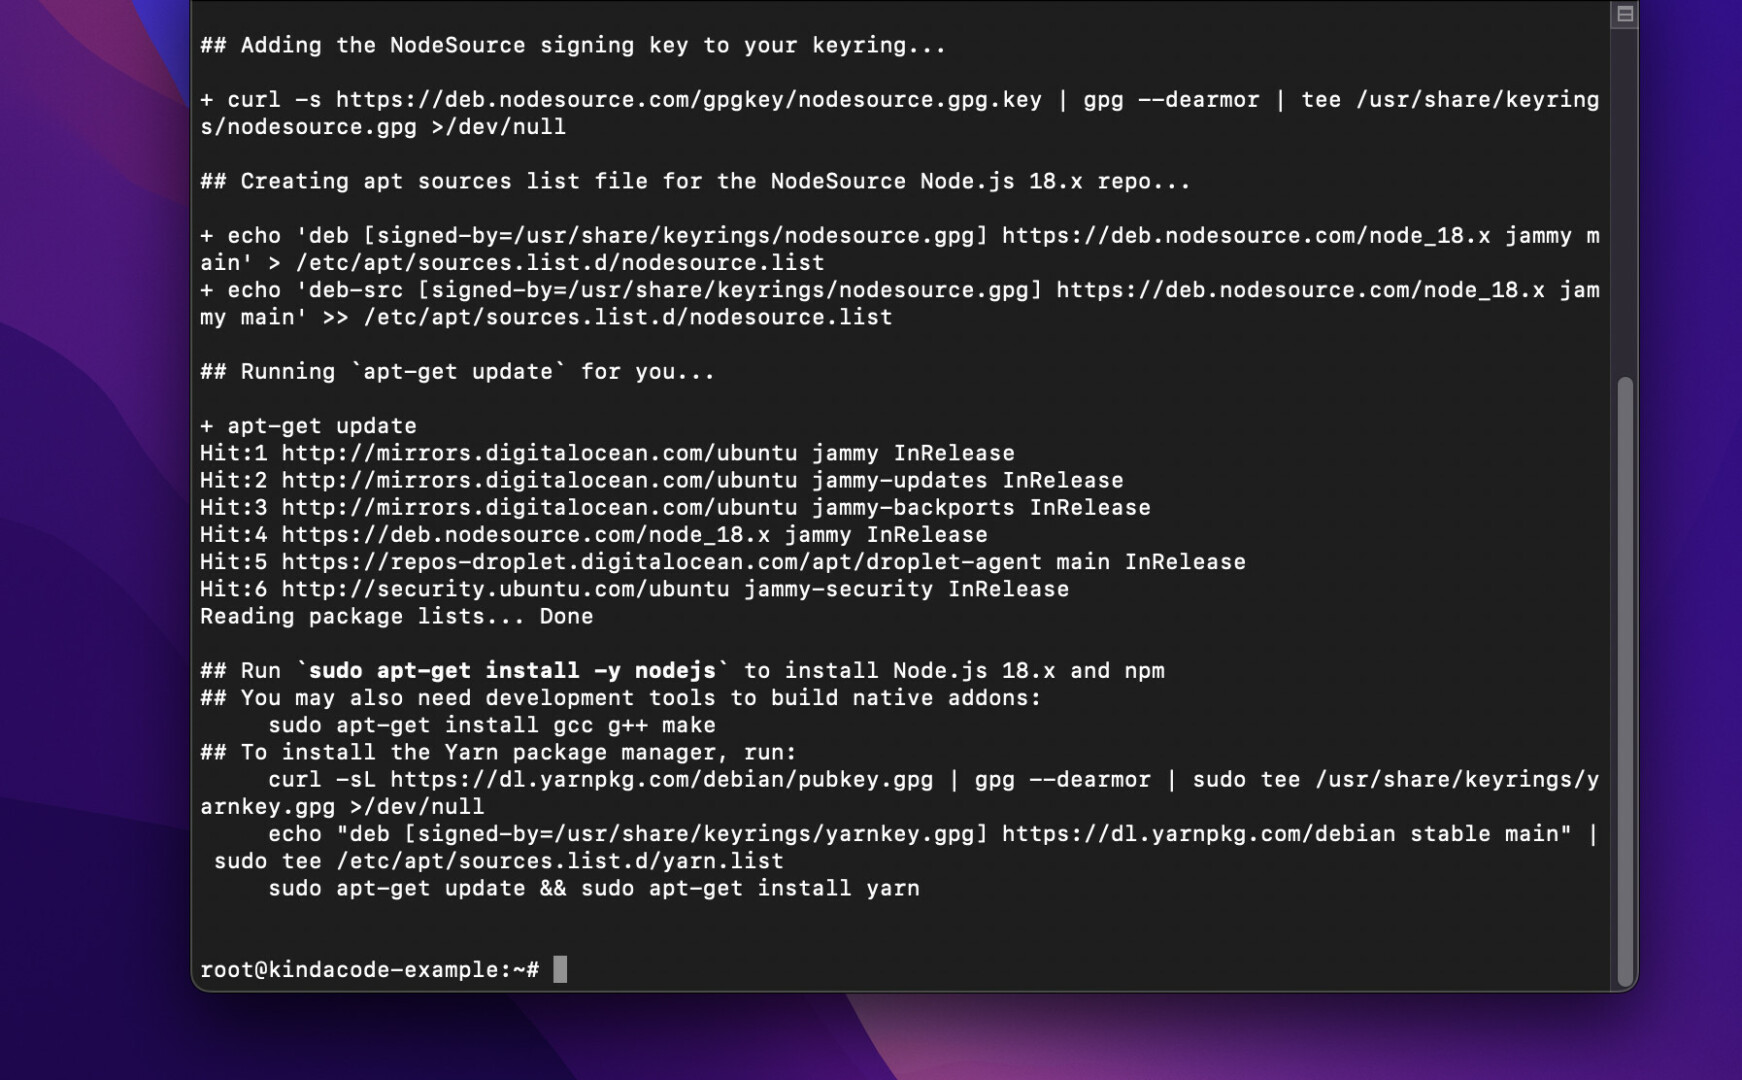
We are not done yet.
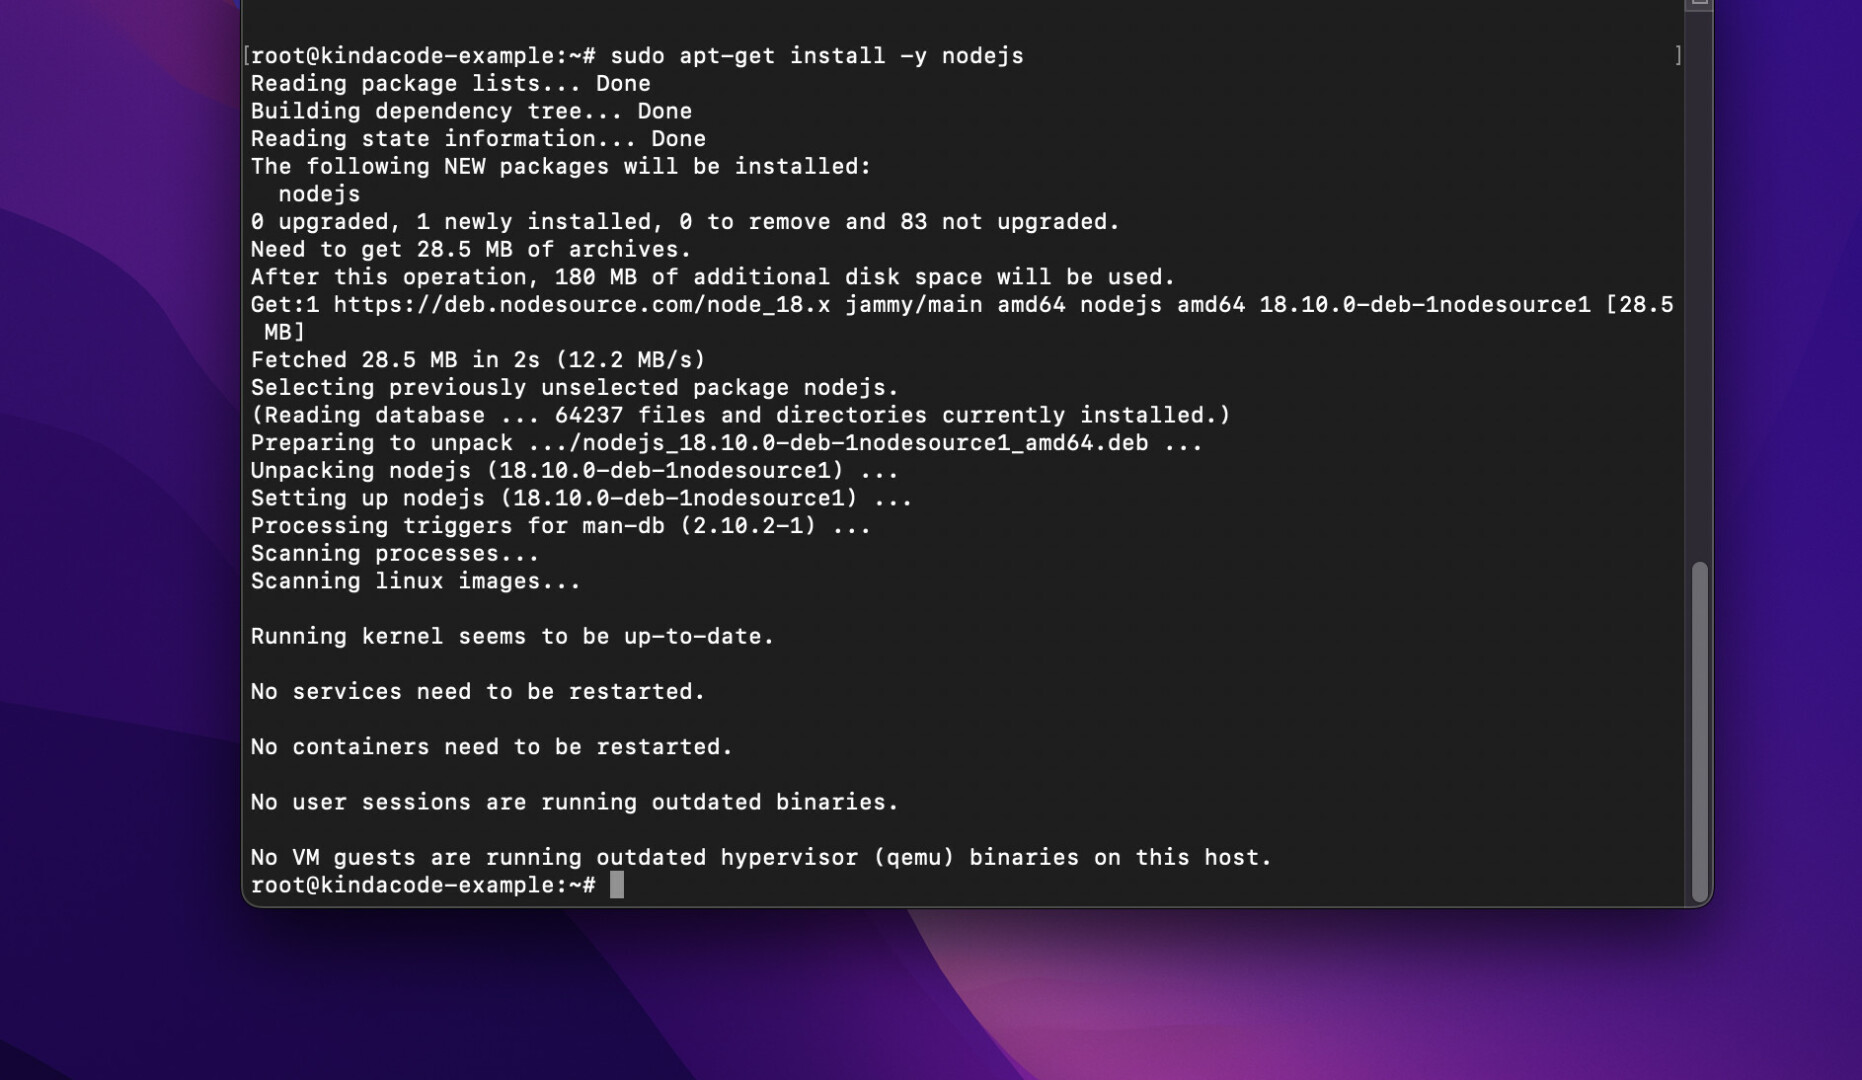
3. Get Node.js and NPM installed by executing this command:
sudo apt-get install -y nodejsScreenshot:
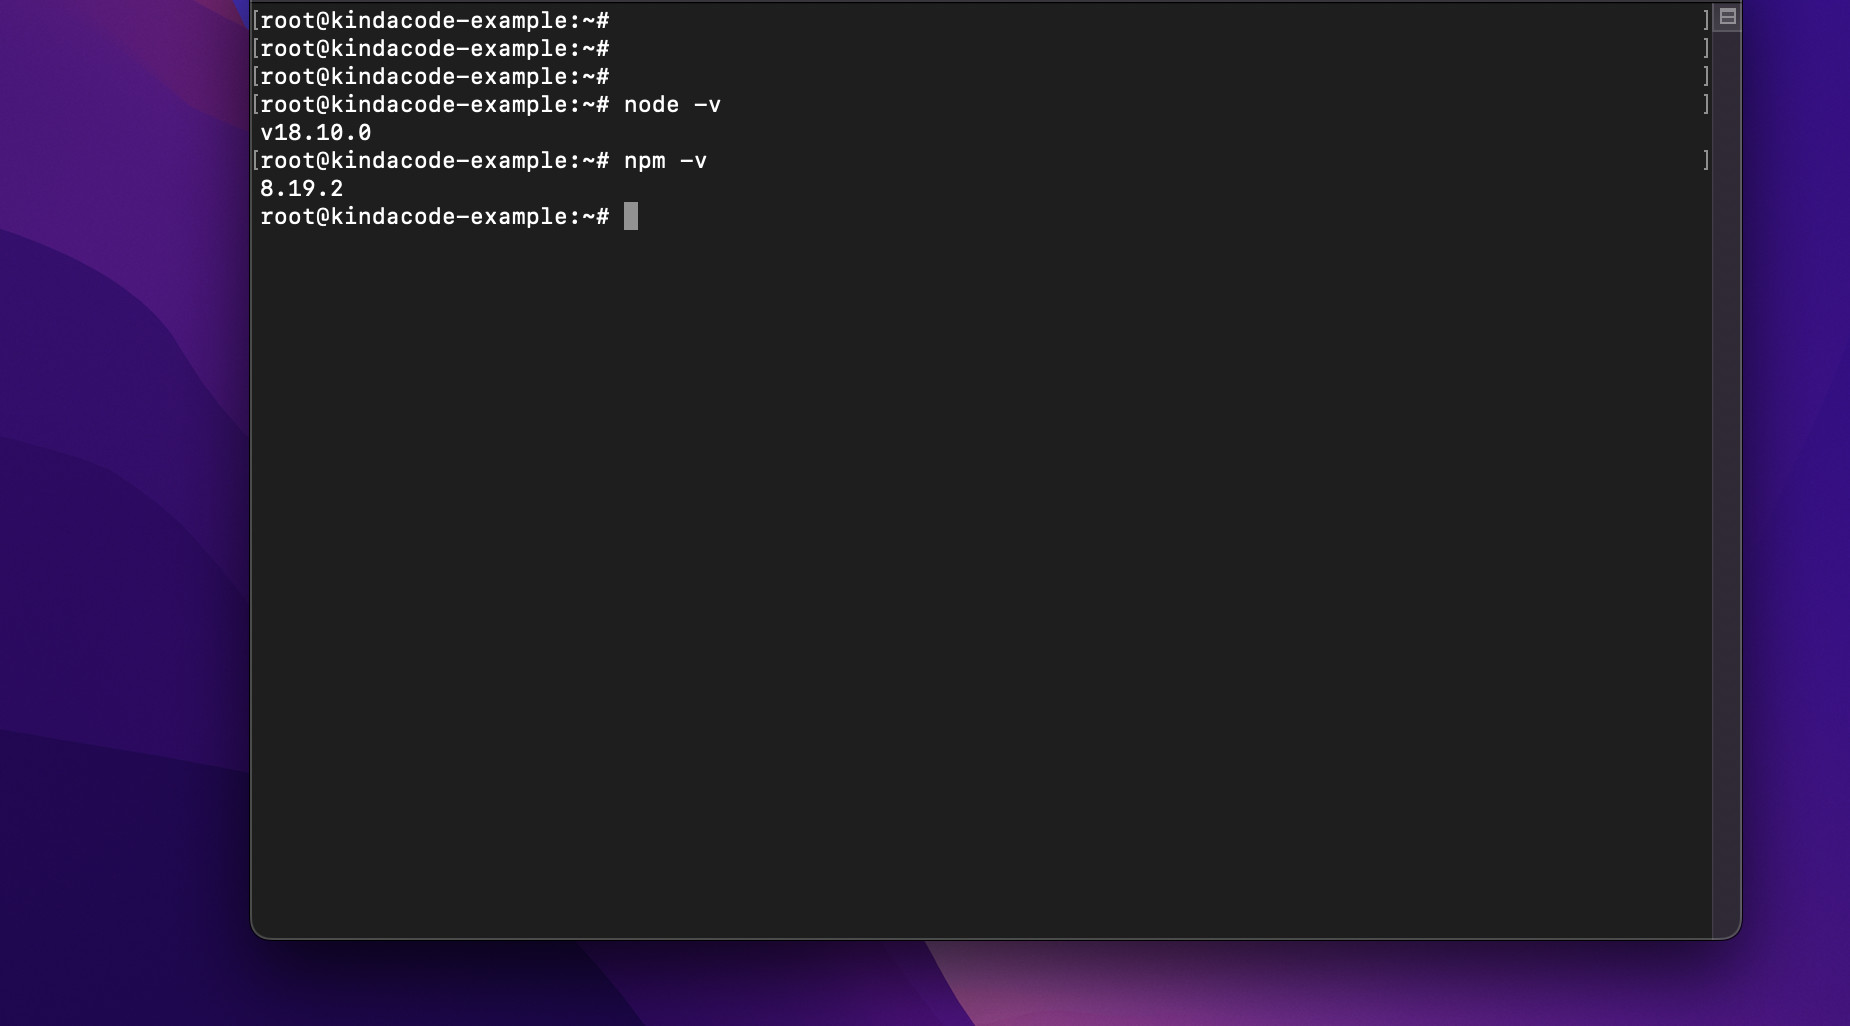
4. Check the versions of Node.js and NPM that were installed on your machine with the commands below:
node -vAnd:
npm -vYou should get some output similar to this:
Congratulations! Your work has succeeded.
Conclusion
You’ve learned how to install Node.js and NPM on Ubuntu 21.04 and 21.10. If you’d like to explore more modern stuff of Node, take a look at the following articles:
- Node.js: Reading and Parsing Excel (XLSX) Files
- Node.js: How to Ping a Remote Server/ Website
- Best open-source ORM and ODM libraries for Node.js
- 7 Best Open-Source HTTP Request Libraries for Node.js
- Express + TypeScript: Extending Request and Response objects
You can also check out our Node.js category page or PHP category page for the latest tutorials and examples.


