This article shows you how to implement a gradient background in both Expo and bare React Native (or old React Native CLI) projects.
At the time of writing, React Native doesn’t officially support linear gradients, so we’ll be using third-party libraries. The two most popular libraries for this kind of stuff are expo-linear-gradient (strongly recommended for new projects) and react-native-linear-gradient. Without any further ado, Let’s experience them in turn.
Using expo-linear-gradient
Note: This library is not only great for Expo but also nice for bare React Native.
Installation
Expo
Install expo-linear-gradient by running the following command in your project:
expo install expo-linear-gradientReact Native CLI
Important note: If you are creating a new project, we recommend using npx create-react-native-app instead of npx react-native init because it will handle the required configuration for you automatically. If you created your project by using npx react-native init, then spend 5-10 minutes checking this guide first.
Perform the following command in your project directory:
npm install expo-linear-gradient --saveIf you’re making an app for iOS devices, you need to do an additional setup by running:
npx pod-installExample
The code:
import React from 'react';
import { StyleSheet, Text, View, TouchableOpacity } from 'react-native';
import { LinearGradient } from 'expo-linear-gradient';

export default function App() {
  return (
    <View style={styles.container}>
      <LinearGradient
      colors={['red', 'yellow']}
      start={{
        x: 0,
        y: 0
      }}
      end={{
        x: 1,
        y: 1
      }}
      style={styles.box} />

      <LinearGradient
        colors={['#c0392b', '#f1c40f', '#8e44ad']}
        start={{x: 0, y: 0.5}}
        end={{x: 1, y: 1}}
        style={styles.button}
      >
        <TouchableOpacity>
          <Text style={styles.buttonText}>I am a button</Text>
        </TouchableOpacity>
      </LinearGradient>
    </View>
  );
}

const styles = StyleSheet.create({
  container: {
    paddingTop: 100,
    paddingHorizontal: 30,
  },
  box: {
    width: '100%',
    height: 200,
  },
  button: {
    marginTop: 50,
    paddingVertical: 20,
    paddingHorizontal: 40,
    borderRadius: 15
  },
  buttonText: {
    color: '#fff',
    textAlign: 'center',
    fontSize: 24
  }
});
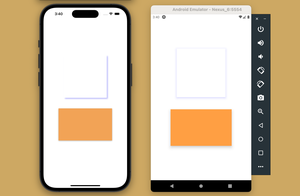
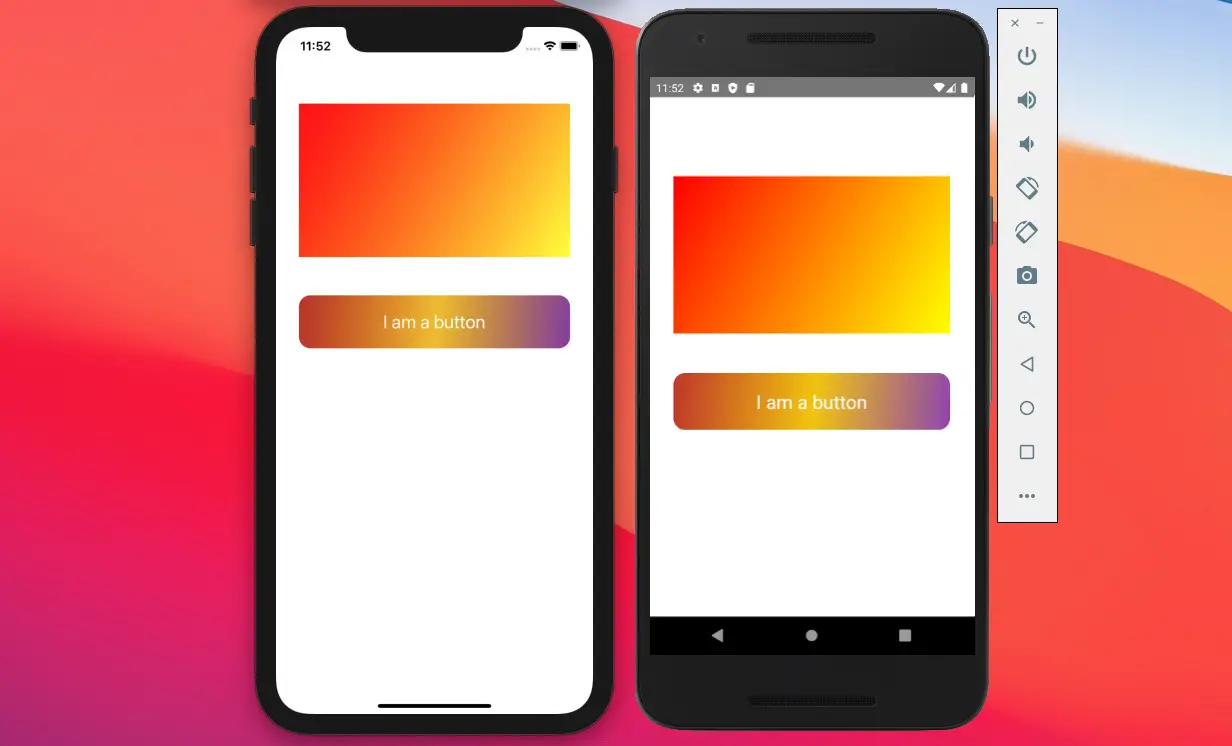
Here’s the result on iOS and Android:
API
Parameters:
| Prop | Description |
|---|---|
| colors | Required. An array of colors represent stops in the gradient. Example: [‘red’, ‘blue’] |
| start | Optional. An object { x: number; y: number } or array [x, y] that represents the point at which the gradient starts, as a fraction of the overall size of the gradient ranging from 0 to 1, inclusive. |
| end | Optional. An object { x: number; y: number } or array [x, y] that represents the position at which the gradient ends, as a fraction of the overall size of the gradient ranging from 0 to 1, inclusive |
| locations | Optional. An array that contains numbers ranging from 0 to 1, inclusive, and is the same length as the colors property. Each number indicates a color-stop location where each respective color should be located |
Check the official docs here for more details.
Using react-native-linear-gradient
This library has not been updated for a long time and it doesn’t work fine with Expo projects. In addition, the setup process is more tedious than using expo-linear-gradient in the first approach. If you’re developing an app with Expo, there is no reason to use this one.
Installation
Install react-native-linear-gradient by running:
npm install react-native-linear-gradient --saveOne extra step is required for iOS. Go to <your project>/ios/Podfile and add this line if it doesn’t exist:
pod 'BVLinearGradient', :path => '../node_modules/react-native-linear-gradient'Finally, execute the command below:
npx pod-installExample
The code:
import React from 'react';
import { StyleSheet, Text, View, TouchableOpacity } from 'react-native';
import LinearGradient from 'react-native-linear-gradient';

export default function App() {
  return (
    <View style={styles.container}>
      <LinearGradient
        colors={['#6c5ce7', '#ffeaa7']}
        start={{ x: 0.0, y: 0.25 }}
        end={{ x: 0.5, y: 1.0 }}
        locations={[0, 0.5, 0.6]}
        style={styles.box}
      />

      <LinearGradient
        start={{ x: 0.0, y: 0.25 }}
        end={{ x: 0.5, y: 1.0 }}
        locations={[0, 0.5, 0.6]}
        colors={['#4c669f', '#3b5998', '#192f6a']}
        style={styles.button}
      >
        <TouchableOpacity>
          <Text style={styles.buttonText}>I am a button</Text>
        </TouchableOpacity>
      </LinearGradient>
    </View>
  );
}

const styles = StyleSheet.create({
  container: {
    paddingTop: 100,
    paddingHorizontal: 30,
  },
  box: {
    width: '100%',
    height: 200,
  },
  button: {
    marginTop: 50,
    paddingVertical: 20,
    paddingHorizontal: 40,
    borderRadius: 15,
  },
  buttonText: {
    color: '#fff',
    textAlign: 'center',
    fontSize: 24,
  },
});
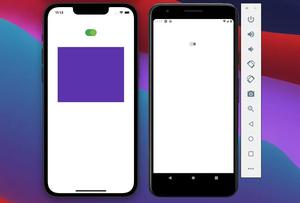
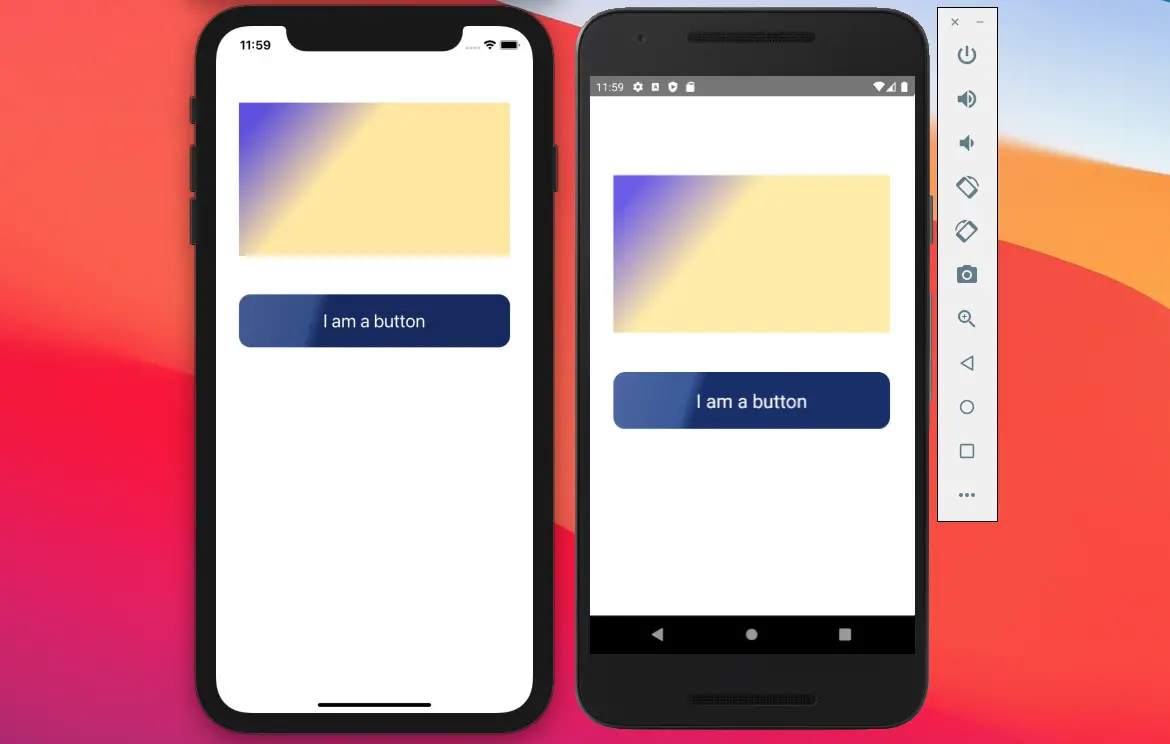
Screenshot on iOS and Android:
API
Parameters:
| Prop | Description |
|---|---|
| colors | Required. An array of at least two color values that represent gradient colors |
| start | Optional. An optional object of the following type: { x: number, y: number }. Coordinates declare the position that the gradient starts at. Note that x and y are in the range of 0 to 1 |
| end | Optional. An optional object of the following type: { x: number, y: number }. Coordinates declare the position that the gradient ends at. Note that x and y are in the range of 0 to 1 |
| locations | Optional. An optional array of numbers defining the location of each gradient color stop, mapping to the color with the same index in colors prop. |
Check the official docs here for more details.
Conclusion
In this article, we went through 2 libraries to make gradient backgrounds in React Native. Both of them are simple and give good effects on Android as well as iOS. If you’d like to learn more new and interesting things in the modern React Native world, take a look at the following articles:
- How to Get the Window Width & Height in React Native
- React Native: Make a Button with a Loading Indicator inside
- How to render HTML content in React Native
- React Native FlatList: Tutorial and Examples
- How to create circle images in React Native
You can also check our React topic page and React Native topic page for the latest tutorials and examples.
![[Solved] React Native Error: No bundle URL present](https://www.kindacode.com/media/thumbnails/2024-11/Screen-Shot-2020-04-28-at-17.44.18-1.png)
