To turn on or turn off the Auto Save feature in Visual Studio Code, go to File and click on Auto Save from the drop-down menu:
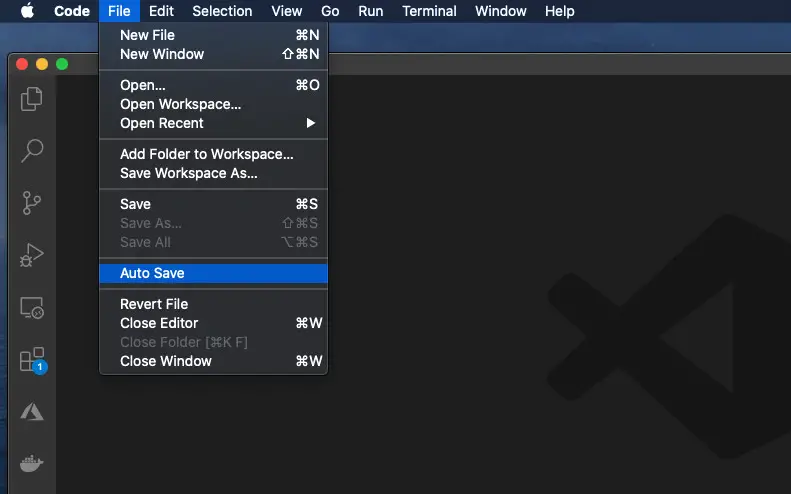
The steps are completely the same in Windows and MacOS.
If you want to config the Auto Save behavior deeper, see the following steps:
1. Go to:
- Windows: File > Preferences > Settings (hotkeys:
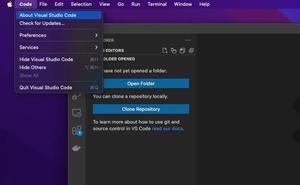
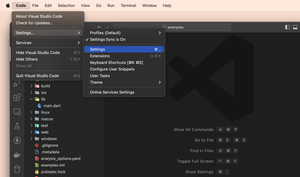
Ctrl+,) - Mac: Code > Settings… (it can be Preferences on old versions of MacOS) > Settings (shortcuts:
Cmd+,)
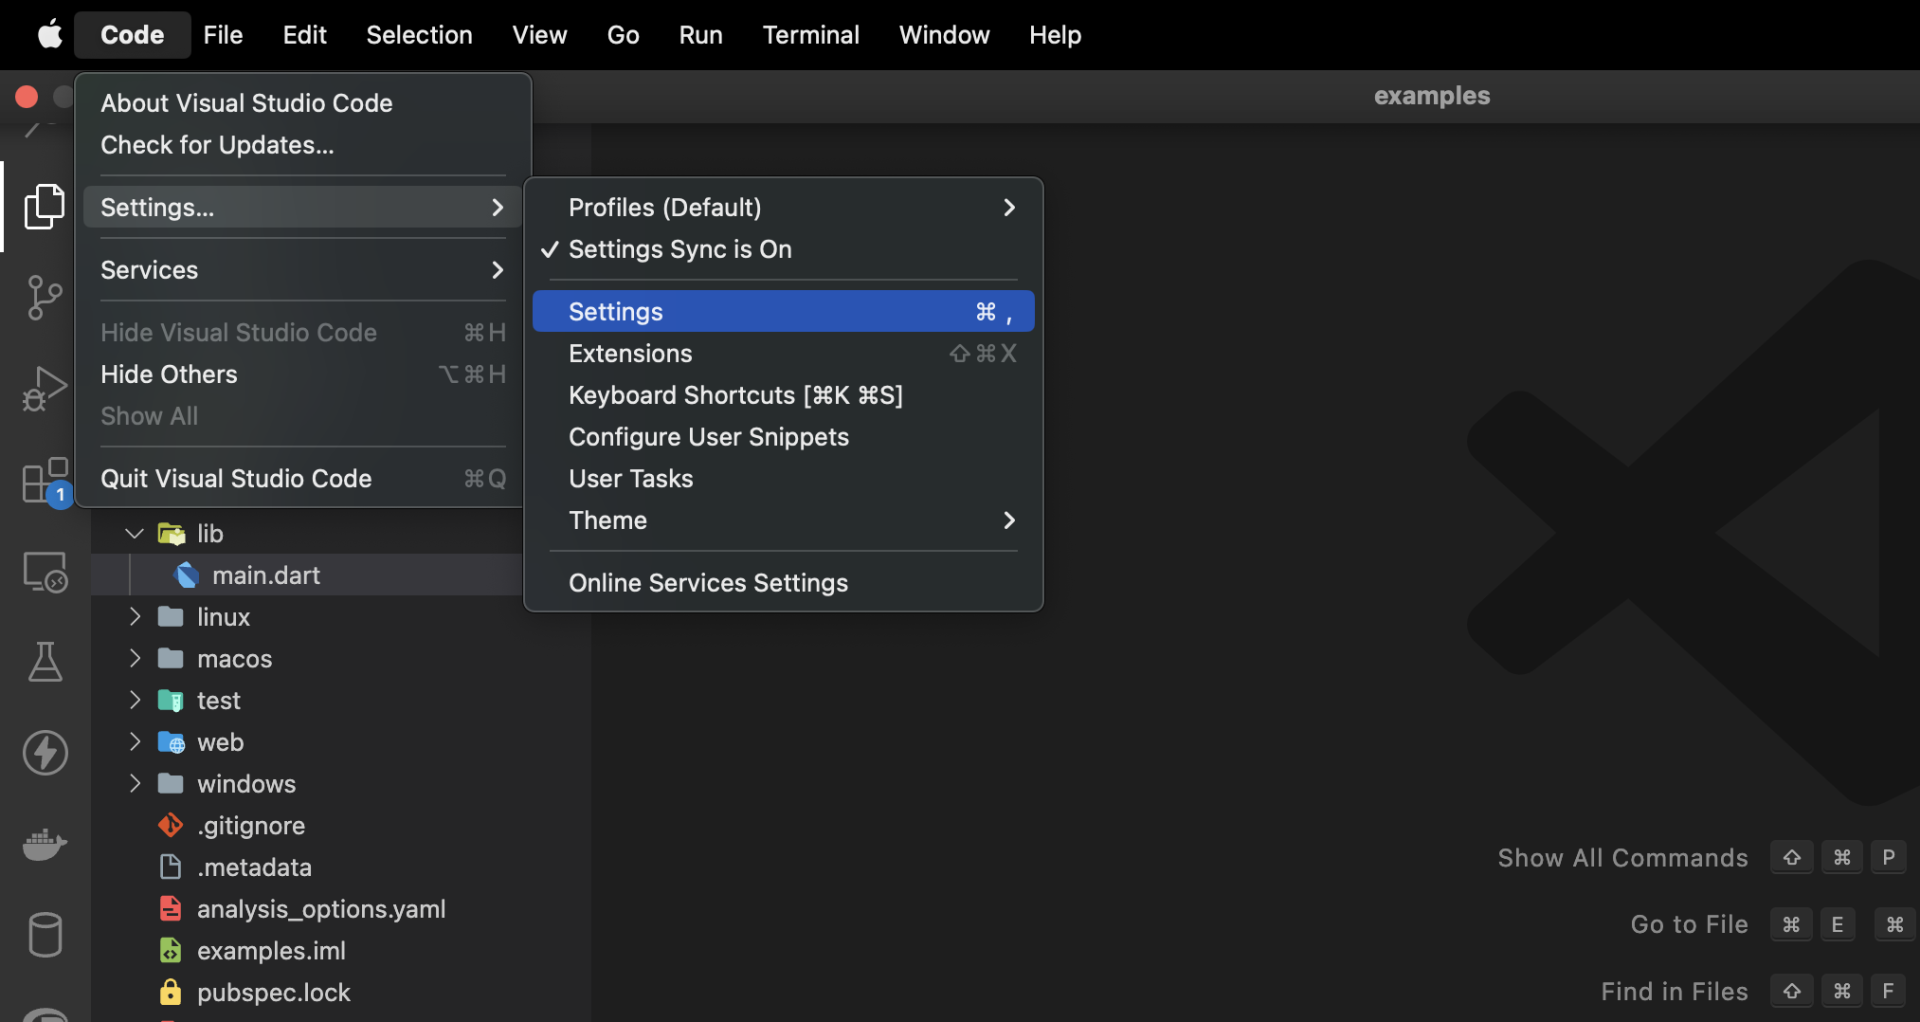
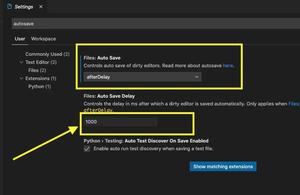
2. Search for “auto save” then head to the Files: Auto Save area:
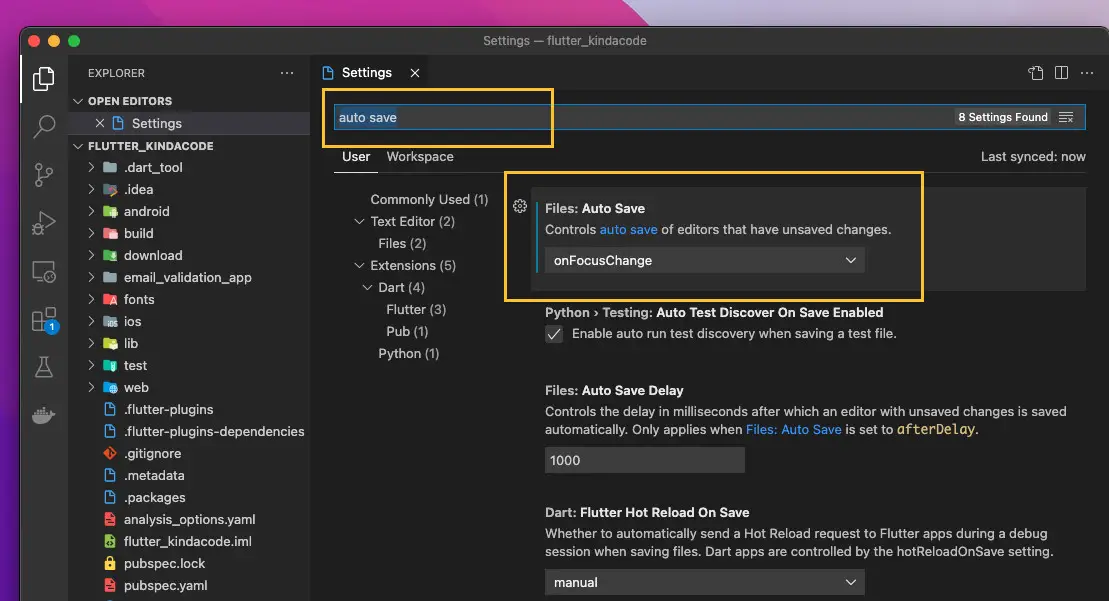
3. From the drop-down select menu, you can see the following options:
- off: No auto-save at all.
- afterDelay: Your changes will be saved automatically after a delay
- onFocusChange: When the editor loses focus, your code file will be automatically saved.
- onWindowChange: Your changes will be saved automatically when the window loses focus.
Screenshot:
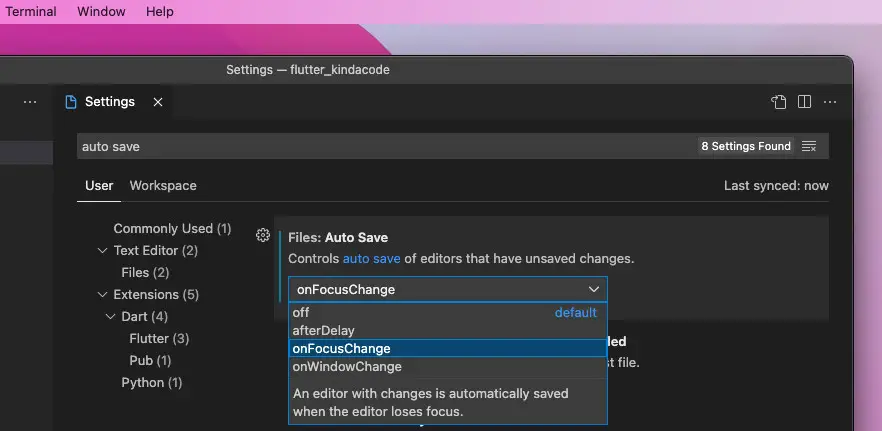
Pick an option that suits your needs.
Further reading:
- 2 ways to check your VS Code version
- VS Code: How to Pin/Unpin a File (2 Approaches)
- VS Code: How to Render Whitespace Characters
- VS Code: Opening Multiple Windows/Projects Simultaneously
- VS Code: How to Use Custom Settings for a Project
- Open Android emulator/ iOS simulator using VS Code
You can also check out our Visual Studio Code topic page for more tips and tricks to improve your producibility and coding experience.
