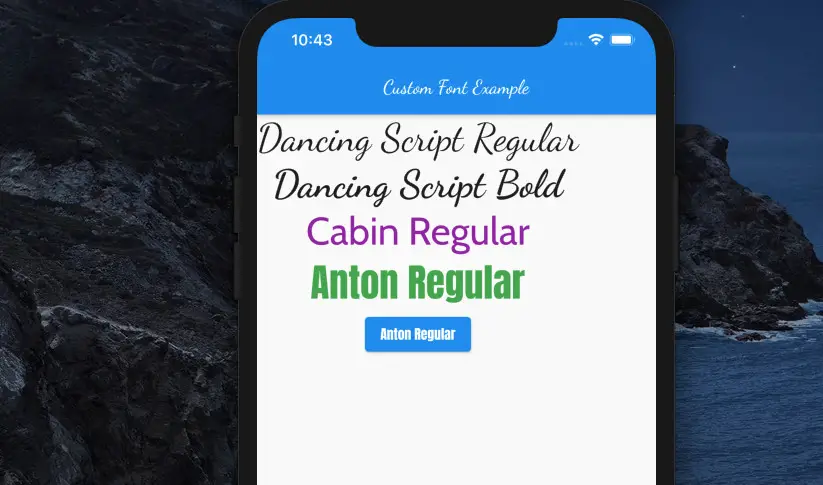
This article shows you how to use custom fonts in Flutter.
Note: One of the best places to download fonts for your Flutter app is fonts.google.com
I will use three fonts for the demo: Dancing Script, Anton, and Cabin.
Adding the font files
Create a new folder in your project root directory called fonts and copy the font files you need into it.
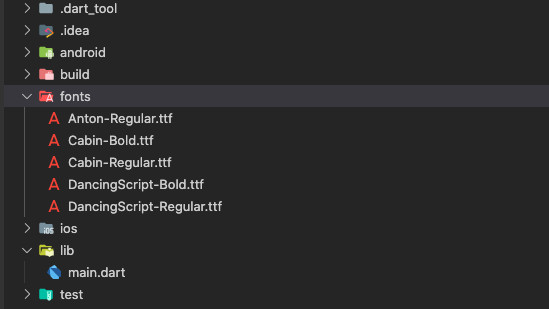
Declare the fonts in pubspec.yaml
Open your pubspec.yaml file, find the fonts section (it’s commented out by default) inside the flutter block, then declare the custom fonts like this:
fonts:
    - family: Anton
      fonts:
        - asset: fonts/Anton-Regular.ttf
    - family: Cabin
      fonts:
        - asset: fonts/Cabin-Regular.ttf
        - asset: fonts/Cabin-Bold.ttf
          weight: 700
    - family:
      fonts:
        - asset: fonts/DancingScript-Regular.ttf
        - asset: fonts/DancingScript-Bold.ttf
          weight: 700
Note that the indentation is strict. Take a quick look at my pubspec.yaml file to ensure you didn’t make typos:
name: flutter_01
description: Custom Font Example

publish_to: 'none'
version: 1.0.0+1

environment:
  sdk: '>=2.19.0 <3.0.0'

dependencies:
  flutter:
    sdk: flutter

  cupertino_icons: ^1.0.2

dev_dependencies:
  flutter_test:
    sdk: flutter

flutter:
  uses-material-design: true

  fonts:
    - family: Anton
      fonts:
        - asset: fonts/Anton-Regular.ttf
    - family: Cabin
      fonts:
        - asset: fonts/Cabin-Regular.ttf
        - asset: fonts/Cabin-Bold.ttf
          weight: 700
    - family:
      fonts:
        - asset: fonts/DancingScript-Regular.ttf
        - asset: fonts/DancingScript-Bold.ttf
          weight: 700
Using the custom fonts in Dart code
Using custom font in a Text widget (ensure you type the correct font names):
Text(
       'Dancing Script Regular',
        style: TextStyle(fontFamily: 'DancingScript', fontSize: 40),
),
Using custom font in an ElevatedButton widget:
ElevatedButton(
            child: Text(
              'Anton Regular',
              style: TextStyle(fontFamily: 'Anton'),
            ),
            onPressed: () {}
)
Complete code in lib/main.dart:
import 'package:flutter/material.dart';

void main() {
  runApp(const MyApp());
}

class MyApp extends StatelessWidget {
  const MyApp({Key? key}) : super(key: key);

  @override
  Widget build(BuildContext context) {
    return const MaterialApp(
      // Remove the debug banner
      debugShowCheckedModeBanner: false,
      title: 'Flutter Example',
      home: MyHomePage(),
    );
  }
}

class MyHomePage extends StatelessWidget {
  const MyHomePage({Key? key}) : super(key: key);

  @override
  Widget build(BuildContext context) {
    return Scaffold(
      appBar: AppBar(
        title: const Text(
          'Custom Font Example',
          style: TextStyle(fontFamily: 'DancingScript'),
        ),
      ),
      body: Column(children: [
        const Text(
          'Dancing Script Regular',
          style: TextStyle(fontFamily: 'DancingScript', fontSize: 40),
        ),
        const Text(
          'Dancing Script Bold',
          style: TextStyle(
              fontFamily: 'DancingScript',
              fontSize: 40,
              fontWeight: FontWeight.bold),
        ),
        const Text(
          'Cabin Regular',
          style: TextStyle(
              fontFamily: 'Cabin', fontSize: 40, color: Colors.purple),
        ),
        const Text('Anton Regular',
            style: TextStyle(
                fontFamily: 'Anton', fontSize: 40, color: Colors.green)),
        ElevatedButton(
            child: const Text(
              'Anton Regular',
              style: TextStyle(fontFamily: 'Anton'),
            ),
            onPressed: () {})
      ]),
    );
  }
}
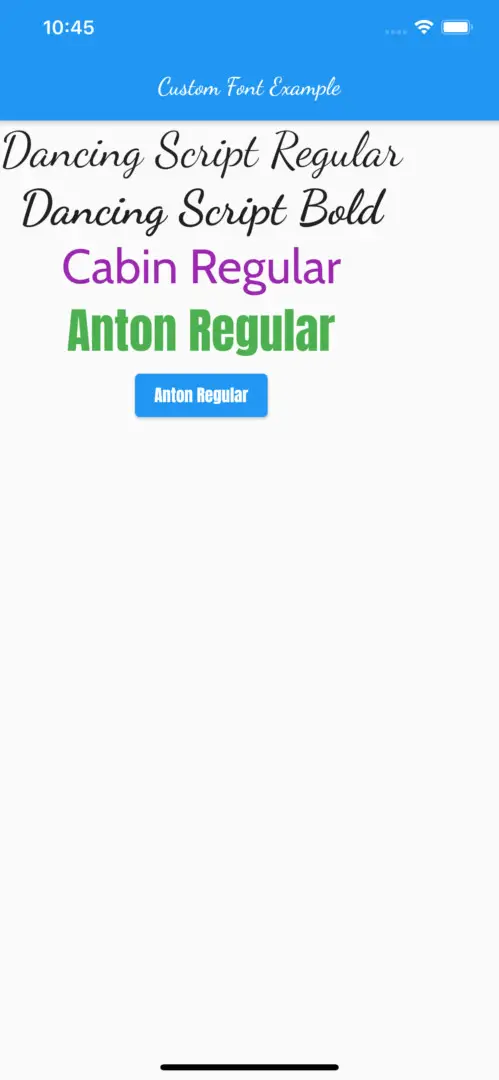
Screenshot:
Note: You should entirely restart your app after editing the pubspec.yaml file instead of a hot reload or a hot restart.
Final Words
You’ve learned how to use custom fonts in a Flutter application. Continue exploring more about typography and text stuff, as well as other exciting things in Flutter, by taking a look at the following articles:
- Flutter TextField: Styling labelText, hintText, and errorText
- Flutter Gradient Text Examples
- Adding a Border to Text in Flutter
- Flutter: Text with Read More / Read Less Buttons
- Using Chip widget in Flutter: Tutorial & Examples
- Flutter: Creating OTP/PIN Input Fields (2 approaches)
You can also take a tour around our Flutter topic page and Dart topic page to see the latest tutorials and examples.

