If you’ve worked with React or React Native, you should be familiar with hooks like useState, useEffect, etc. This article shows you how to use hooks in Flutter.
With hooks, you can extract stateful logic from a widget so it can be tested independently and reused. Hooks allow you to reuse stateful logic without changing your widget hierarchy. This makes it easy to share hooks among many widgets or with the community.
By using gooks, you can reduce a lot of code. Unfortunately, hooks don’t come with Flutter or Dart by default. However, you can easily implement Hooks in your project with the help of the flutter_hook plugin.
Table of Contents
Installation
1. Add flutter_hooks and its version to the dependencies section in your pubspec.yaml file by running:
flutter pub add flutter_hooks2. Execute the following command to make sure the package is pulled to your project:
flutter pub get3. Import the plugin into your Dart code:
import 'package:flutter_hooks/flutter_hooks.dart';Quick Notes
Here’re some rules you should keep in mind when using hooks in Flutter.
1. Always prefix your hooks with the ‘use’ keyword:
Widget build(BuildContext context) {
  // starts with 'use'
  useHookName();
}
2. Call hooks unconditionally:
Widget build(BuildContext context) {
  useHookName();
}
DON’T wrap your hook inside a condition check:
Widget build(BuildContext context) {
  // DO NOT do this
  if (condition) {
    useHookName();
  }
}
In most cases, you don’t need stateless or stateful widgets when using hooks.
Example
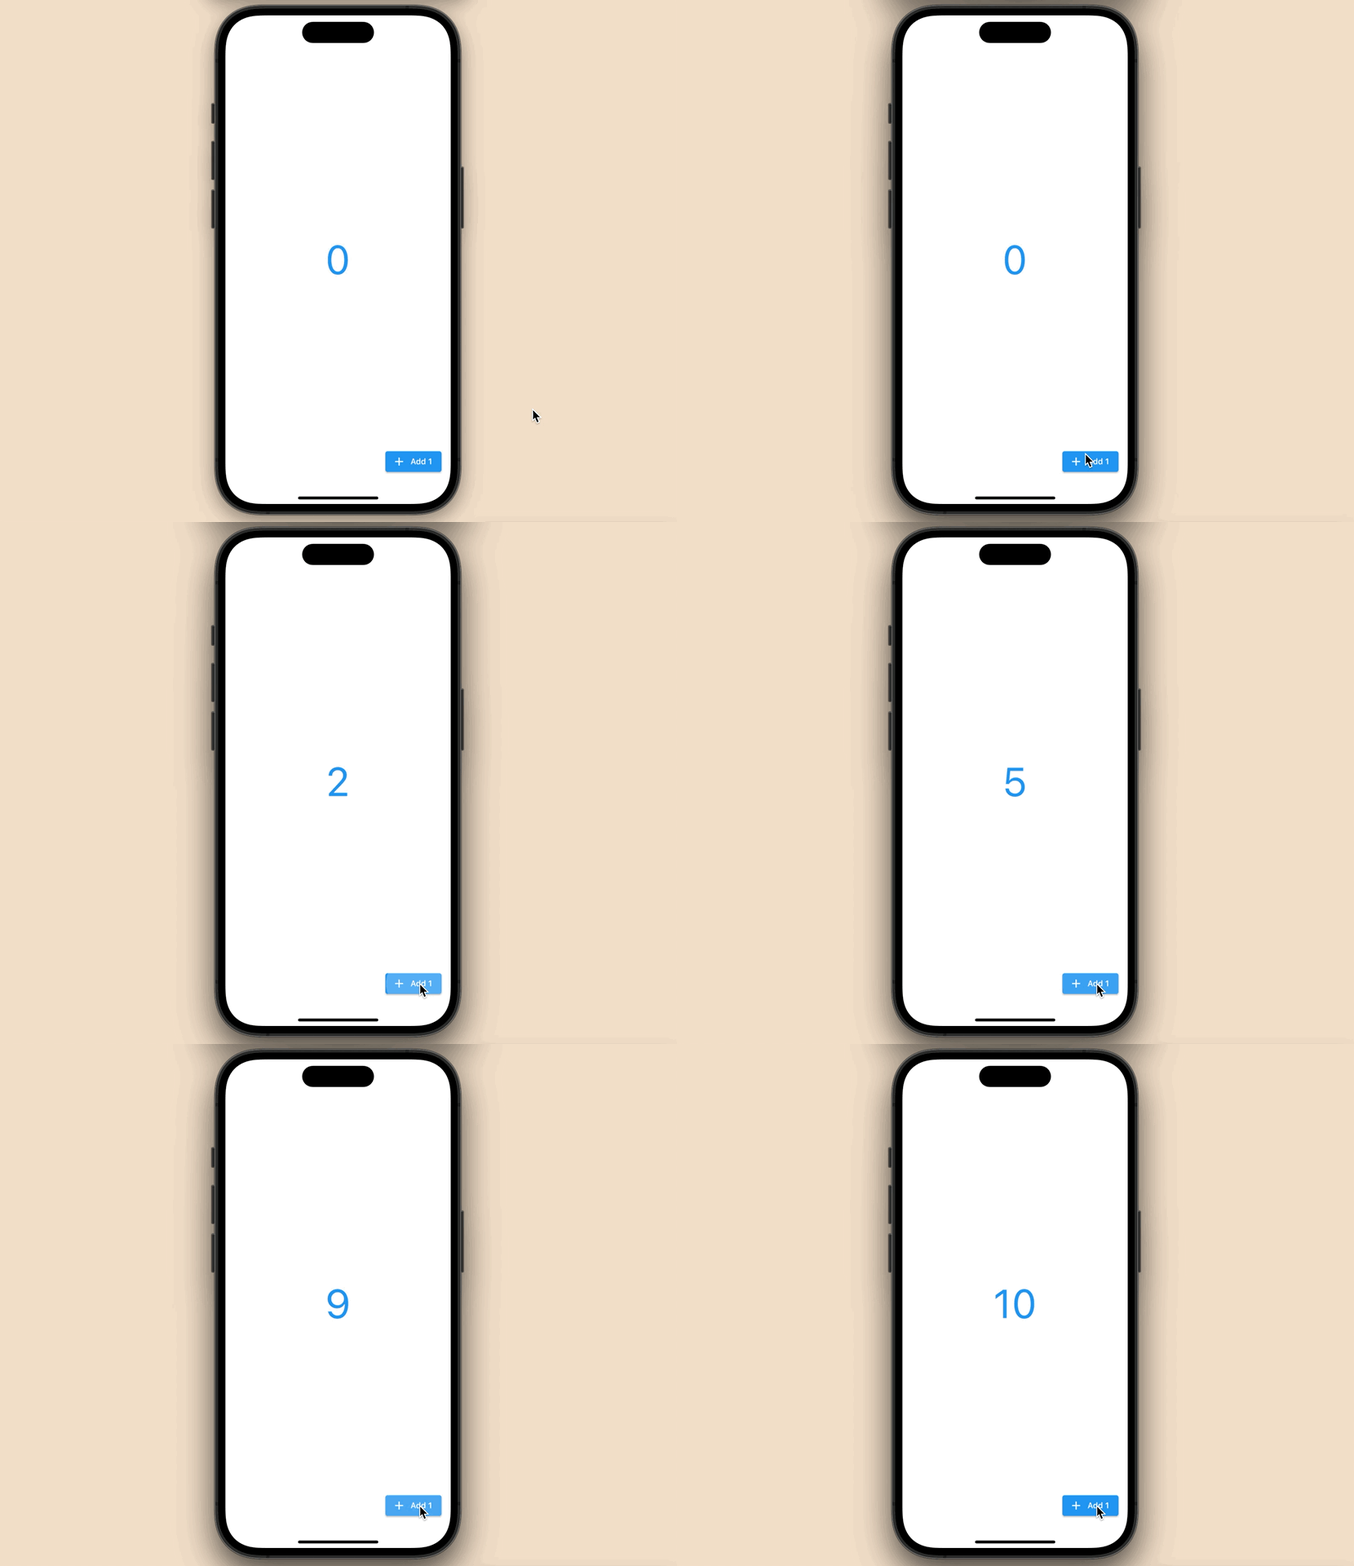
We’ll make a small Flutter app that contains a floating button and a text widget. In the beginning, the text widget displays 0. Each time the user presses the button, the value increases by 1.
Here’s how it works:
The code (that uses the useState hook):
// main.dart
import 'package:flutter/material.dart';
import 'package:flutter_hooks/flutter_hooks.dart';

void main() {
  runApp(const MyApp());
}

class MyApp extends StatelessWidget {
  const MyApp({Key? key}) : super(key: key);

  @override
  Widget build(BuildContext context) {
    return const MaterialApp(
      // Remove the debug banner
      debugShowCheckedModeBanner: false,
      title: 'Kindacode.com',
      home: HomePage(),
    );
  }
}

class HomePage extends HookWidget {
  const HomePage({Key? key}) : super(key: key);
  @override
  Widget build(BuildContext context) {
    final number = useState(0);
    return Scaffold(
      body: Center(
        child: Center(
          child: Text(
            number.value.toString(),
            style: const TextStyle(fontSize: 70, color: Colors.blue),
          ),
        ),
      ),
      floatingActionButton: ElevatedButton.icon(
        icon: const Icon(Icons.add),
        label: const Text('Add 1'),
        onPressed: () {
          number.value += 1;
        },
      ),
    );
  }
}
Here’s the code that uses a stateful widget (for comparison):
// main.dart
import 'package:flutter/material.dart';

void main() {
  runApp(const MyApp());
}

class MyApp extends StatelessWidget {
  const MyApp({Key? key}) : super(key: key);

  @override
  Widget build(BuildContext context) {
    return const MaterialApp(
      // Remove the debug banner
      debugShowCheckedModeBanner: false,
      title: 'Kindacode.com',
      home: HomePage(),
    );
  }
}

class HomePage extends StatefulWidget {
  const HomePage({Key? key}) : super(key: key);
  @override
  State<HomePage> createState() => _HomePageState();
}

class _HomePageState extends State<HomePage> {
  int value = 0;

  @override
  Widget build(BuildContext context) {
    return Scaffold(
      body: Center(
        child: Center(
          child: Text(
            value.toString(),
            style: const TextStyle(fontSize: 70, color: Colors.blue),
          ),
        ),
      ),
      floatingActionButton: ElevatedButton.icon(
        icon: const Icon(Icons.add),
        label: const Text('Add 1'),
        onPressed: () {
          setState(() {
            value += 1;
          });
        },
      ),
    );
  }
}
Afterword
You’ve learned the fundamentals of hooks in Flutter. These things are not mandatory but give you another way to write cleaner and better code. If you’d like to explore more new and interesting things about modern mobile development with Flutter, take a look at the following articles:
- Using Chip widget in Flutter: Tutorial & Examples
- Using Provider for State Management in Flutter
- Using GetX (Get) for Navigation and Routing in Flutter
- Flutter: ValueListenableBuilder Example
- Flutter: 2 Ways to Make a Dark/Light Mode Toggle
- Flutter: Making a Length Converter from Scratch
You can also take a tour around our Flutter topic page and Dart topic page to see the latest tutorials and examples.


