


This tutorial shows you how to track your React app (or website) traffic with Google Analytics.
Prerequisites
To follow this tutorial, you should have the following:
- A Google Analytics account
- Basic React knowledge
Installation
The react-ga package is an open-source library that is designed to work with the latest version of Google Analytics, Universal Analytics.
Add the package to your project:
npm install react-ga --saveCode
Create a file called myGa.js inside the src directory:
import ReactGA from 'react-ga';

const myGa = () => {
    // replace this with your google analytics id
    const GA_ID = 'UA-000000-01';

    ReactGA.initialize(GA_ID);
    ReactGA.pageview(window.location.pathname + window.location.search);
};

export default myGa;
Usage
Simple way:
import React from 'react';
import myGa from './MyGa';

const MyComponent = () => {
    myGa();
   // other code here
};

export default MyComponent;
The better way is to implement with the useEffect hook:
import React, { useEffect } from 'react';
import myGa from './myGa';
const MyPage = () => {
useEffect(() => {
myGa();
}, []);
// other code
}
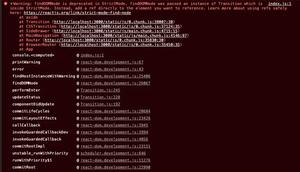
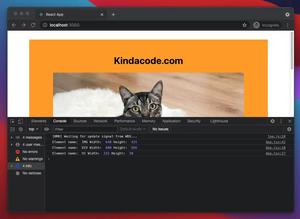
export default MyPage;Now check your work (note that it will work even on the localhost environment).
Further reading:
- React Router Dom: Implement a Not Found (404) Route
- React + TypeScript: Multiple Select example
- React + TypeScript: Making a Custom Context Menu
- React + TypeScript: Working with Radio Button Groups
- React Router: Passing Data (States) through Links
You can also check our React topic page and React Native topic page for the latest tutorials and examples.