This article shows you how to programmatically show or hide a password in an input field in React. We’ll use modern stuff, including hooks and functional components. Everything will be built from the ground, and no third-party libraries are required.
Table of Contents
Overview
In HTML and JSX, a password field is created with a <input> whose type is password:
<input type="password">All characters entered in this field will be obscured and shown as black dots. Therefore, when a user types in a password, someone behind him (or her) cannot see it. This is good because it increases the security of personal information. However, there might be cases where the user wants to see their password to ensure there is nothing wrong. To achieve this, as React developers, we can change the type attribute to text (in a dynamic way):
// This variable determines whether password is shown or not
const [isShown, setIsSHown] = useState(false);

// Implement input field
<input
          type={isShown ? "text" : "password"}
          placeholder="Password"
          className="input"
/>
For more clarity, please see the full example below.
The Complete Example
App Preview
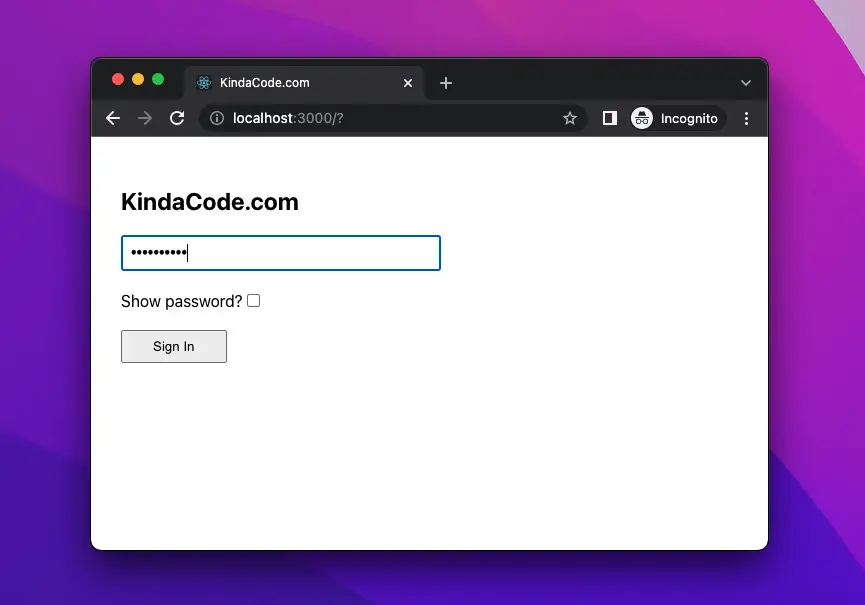
The little app we’re going to build contains a password field and a checkbox. The user can show/hide the characters they have typed by checking/unchecking the checkbox.
Here’s how it works in action:
The Code
1. Create a new React project:
npx create-react-app kindacode_password_toggleThe name is totally up to you.
2. Remove everything in src/App.js and add this:
import { useState } from "react";
import "./App.css";

function App() {
  // This variable determines whether password is shown or not
  const [isShown, setIsSHown] = useState(false);

  // This function is called when the checkbox is checked or unchecked
  const togglePassword = () => {
    setIsSHown((isShown) => !isShown);
  };

  return (
    <div className="App">
      <h2>KindaCode.com</h2>
      <form className="form" onSubmit={(e) => e.preventDefault()}>
        <input
          type={isShown ? "text" : "password"}
          placeholder="Password"
          className="input"
        />

        <div className="checkbox-container">
          <label htmlFor="checkbox">Show password?</label>
          <input
            id="checkbox"
            type="checkbox"
            checked={isShown}
            onChange={togglePassword}
          />
        </div>
        <button
          className="button"
          onClick={() => {
            /* Do something here */
          }}
        >
          Sign In
        </button>
      </form>
    </div>
  );
}

export default App;
3. And here’s for src/App.css:
.App {
  padding: 30px;
}

.input {
  padding: 7px 8px;
  width: 300px;
  font-size: 16px;
  font-family: caption;
}

.checkbox-container {
  margin: 20px 0;
}

.button {
  padding: 7px 30px;
}
4. Now get it up and running:
npm startAnd go to http://localhost:3000 to check the result.
Conclusion
We’ve examined an end-to-end example of implementing password toggle functionality from scratch. Only a few lines of code are needed, and no third-party packages are required. If you’d like to explore more new and interesting things in the modern React world, take a look at the following articles:
- React: Get the Position (X & Y) of an Element
- React + TypeScript: Making a Reading Progress Indicator
- React Router: How to Highlight Active Link
- React + TypeScript: Working with Props and Types of Props
- React + TypeScript: Re-render a Component on Window Resize
- React + TypeScript: Handling onScroll event
You can also check our React category page and React Native category page for the latest tutorials and examples.


