

React Navigation is a great library for React Native to navigate. If you’re using createBottomTabNavigator and want to hide the bottom tab bar on a specific screen, just set the tabBarStyle option to { display: ‘none’ }, like this:
// React Navigation 6
options={{
   tabBarStyle: { display: "none" },
}}
For more clarity, check the complete example below (which uses React Navigation 6 – the latest version).
Table of Contents
The Example
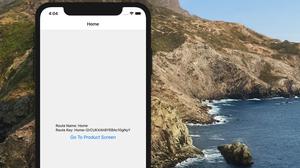
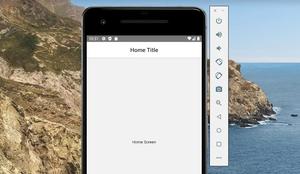
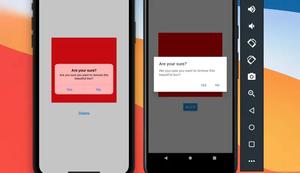
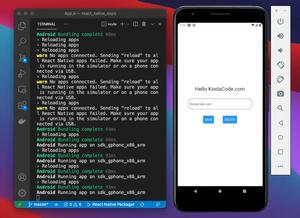
App Preview
This sample app contains 3 screens: Home, Product, and Contact. The bottom tab bar is only visible on the Home screen. It doesn’t show up on the Product and Contact screens.
Here’s how our app works:
The Code
1. Adding the required libraries to our project:
npm i @react-navigation/native @react-navigation/bottom-tabs2. To make the bottom tab bar more attractive and meaningful, we use some icons provided by the React Native Vector Icons package:
npm i react-native-vector-icons3. Remove all of the unwanted code in your App.js and add the following:
import React from "react";
import { View, Text, StyleSheet } from "react-native";
import { NavigationContainer } from "@react-navigation/native";
import { createBottomTabNavigator } from "@react-navigation/bottom-tabs";
import MaterialCommunityIcons from "react-native-vector-icons/MaterialCommunityIcons";

const Tab = createBottomTabNavigator();

// Home Screen
const HomeScreen = (props) => {
  return (
    <View style={styles.screen}>
      <Text style={styles.screenName}>Kindacode.com</Text>
    </View>
  );
};

// Product Screen
const ProductScreen = (props) => {
  return (
    <View style={styles.screen}>
      <Text style={styles.screenName}>Product Screen</Text>
    </View>
  );
};

// Contact Screen
const ContactScreen = (props) => {
  return (
    <View style={styles.screen}>
      <Text style={styles.screenName}>Contact Screen</Text>
    </View>
  );
};

function App() {
  return (
    <NavigationContainer>
      <Tab.Navigator>
        <Tab.Screen
          name="Home"
          component={HomeScreen}
          options={{
            tabBarIcon: () => (
              <MaterialCommunityIcons name="home" size={30} color="blue" />
            ),
          }}
        />
        <Tab.Screen
          name="Product"
          component={ProductScreen}
          options={{
            // hide the bottom tab bar on Product Screen
            tabBarStyle: { display: "none" },
            tabBarIcon: () => <MaterialCommunityIcons name="cart" size={30} />,
          }}
        />
        <Tab.Screen
          name="Contact"
          component={ContactScreen}
          options={{
            // hide the bottom tab bar on Contact Screen
            tabBarStyle: { display: "none" },
            tabBarIcon: () => <MaterialCommunityIcons name="email" size={30} />,
          }}
        />
      </Tab.Navigator>
    </NavigationContainer>
  );
}

// Just some styles
// https://www.kindacode.com/cat/mobile/react-native/
const styles = StyleSheet.create({
  screen: {
    flex: 1,
    justifyContent: "center",
    alignItems: "center",
  },
  screenName: {
    fontSize: 40,
  },
});

export default App;
4. Run the app and check the result:
npm startConclusion
You’ve gone through a complete example of hiding the bottom tab bar on specific screens in a React Native app that uses React Navigation 6. If you’d like to explore more new and interesting about React Native, take a look at the following articles:
- Using Image Picker and Camera in React Native (Expo)
- How to render HTML content in React Native
- React Native FlatList: Tutorial and Examples
- Working with CheckBox in React Native
- How to implement tables in React Native
You can also check our React topic page and React Native topic page for the latest tutorials and examples.
![[Solved] React Native Error: No bundle URL present](https://www.kindacode.com/media/thumbnails/2024-11/Screen-Shot-2020-04-28-at-17.44.18-1.png)