The example below describes how to use a multiple select in a React project written in TypeScript. You will learn to get the selected values as well as display them on the screen. Everything will be made from scratch without any third-party libraries. Modern features of React like hooks and functional components will be implemented instead of old-fashioned class-based components.
Without any further ado, let’s see how it works.
Table of Contents
Example
App Preview
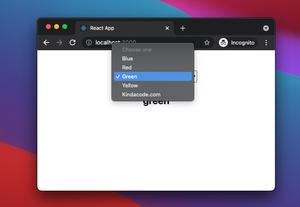
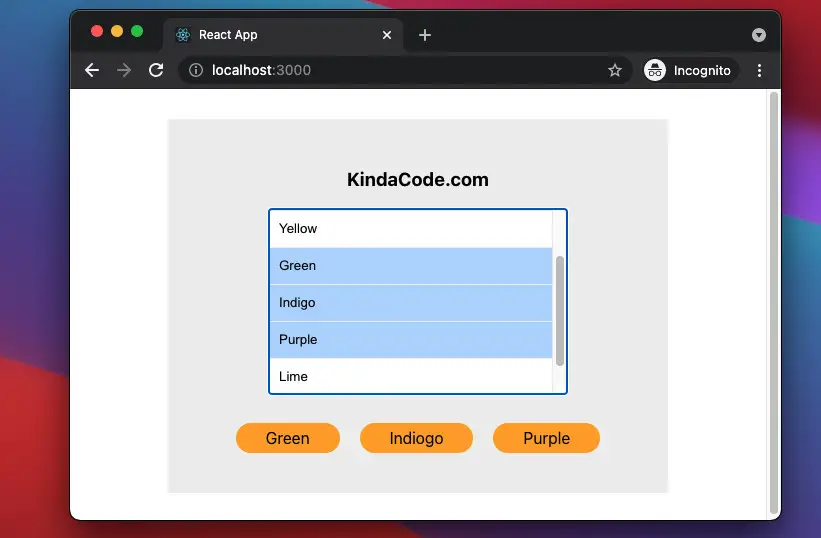
The demo app we are going to build contains a multi-select that lets a user choose some colors he or she loves. Selected colors will be shown right below the select component.
Note that the way to select multiple options depends on the operating system you are on:
- Windows: Hold down the Ctrl key then use your mouse to select multiple options
- For Mac: Hold down the Command key then use your mouse to select multiple options
The Code
1. Create a new project:
npx create-react-app kindacode_example --template typescript2. Remove the boilerplate in src/App.tsx and add the following code (this code go with explanations):
// App.tsx
// Kindacode.com
import React, { useState } from "react";
import "./App.css";

const App = () => {
  // This holds the selected values
  const [colors, setColors] = useState<String[]>();

  // Handle the onChange event of the select
  const onChangeHandler = (event: React.ChangeEvent<HTMLSelectElement>) => {
    const selectedOptions = event.currentTarget.selectedOptions;

    const newColors = [];
    for (let i = 0; i < selectedOptions.length; i++) {
      newColors.push(selectedOptions[i].value);
    }

    setColors(newColors);
  };

  return (
    <div className="container">
      <h3>KindaCode.com</h3>
      <select multiple size={5} onChange={onChangeHandler} className="select">
        <option value="Blue">Blue</option>
        <option value="Red">Red</option>
        <option value="Yellow">Yellow</option>
        <option value="Green">Green</option>
        <option value="Indiogo">Indigo</option>
        <option value="Purple">Purple</option>
        <option value="Lime">Lime</option>
        <option value="Amber">Amber</option>
      </select>
      <br />
      <div>
        {/* Display the selected values */}
        {colors &&
          colors.map((color) => <span className="color">{color}</span>)}
      </div>
    </div>
  );
};

export default App;
3. Replace the default code in src/App.css with the following:
/*
App.css
Kindacode.com
 */

.container {
  box-sizing: border-box;
  margin: 30px auto;
  padding: 30px;
  width: 500px;
  display: flex;
  flex-direction: column;
  justify-content: center;
  align-items: center;
  background: #eee;
}

.select {
  width: 300px;
}

.select option {
  padding: 10px;
  border-bottom: 1px solid #eee;
}

.color {
  padding: 6px 30px;
  margin: 10px;
  background: orange;
  display: inline-block;
  border-radius: 100px;
}
4. Run your project and navigate to http://localhost:3000 to check the result.
Conclusion
Together we’ve built a simple app with a multi-select component. At this point, you are likely to have a better understanding of handling React events in TypeScript. If you’d like to explore more about modern frontend development, take a look at the following articles:
- React + TypeScript: onMouseOver & onMouseOut events
- React + TypeScript: Image onLoad & onError Events
- React + TypeScript: Handling Keyboard Events
- React + TypeScript: Password Strength Checker example
- React + TypeScript: setInterval() example (with hooks)
- React + TypeScript: Using setTimeout() with Hooks
You can also check our React category page and React Native category page for the latest tutorials and examples.
