This practical article walks you through a complete example of using the window.setInterval() method in combination with hooks (useState, useEffect, and useRef) in a React application that is written in TypeScript. No more rambling; let’s unveil what matters.
Table of Contents
A Quick Note
The setInterval() method is used to call a given function at specified intervals (in milliseconds). When writing code with TypeScript for a frontend app that runs in web browsers, the proper type for an interval is number, and the setInterval() method should be called explicitly with window.setInterval(), as follows:
let myInterval: number;

// setInterval
myInterval = window.setInterval(() => {/* ...*/}, 1000);

// clearInterval
window.clearInterval(myInterval);
In React, you can use setInterval() with the useRef, useState, and useEffect hooks like so:
const intervalref = useRef<number | null>(null);

// Start the interval
const startInterval = () => {
    if (intervalref.current !== null) return;
    intervalref.current = window.setInterval(() => {
      /* ...*/
    }, 1000);
};

// Stop the interval
const stopInterval = () => {
    if (intervalref.current) {
      window.clearInterval(intervalref.current);
      intervalref.current = null;
    }
};

// Use the useEffect hook to cleanup the interval when the component unmounts
useEffect(() => {
    // here's the cleanup function
    return () => {
      if (intervalref.current !== null) {
        window.clearInterval(intervalref.current);
      }
    };
}, []);
This explanation might seem vague and ambiguous. Please see the full working example below for more clarity.
The Example
App Preview
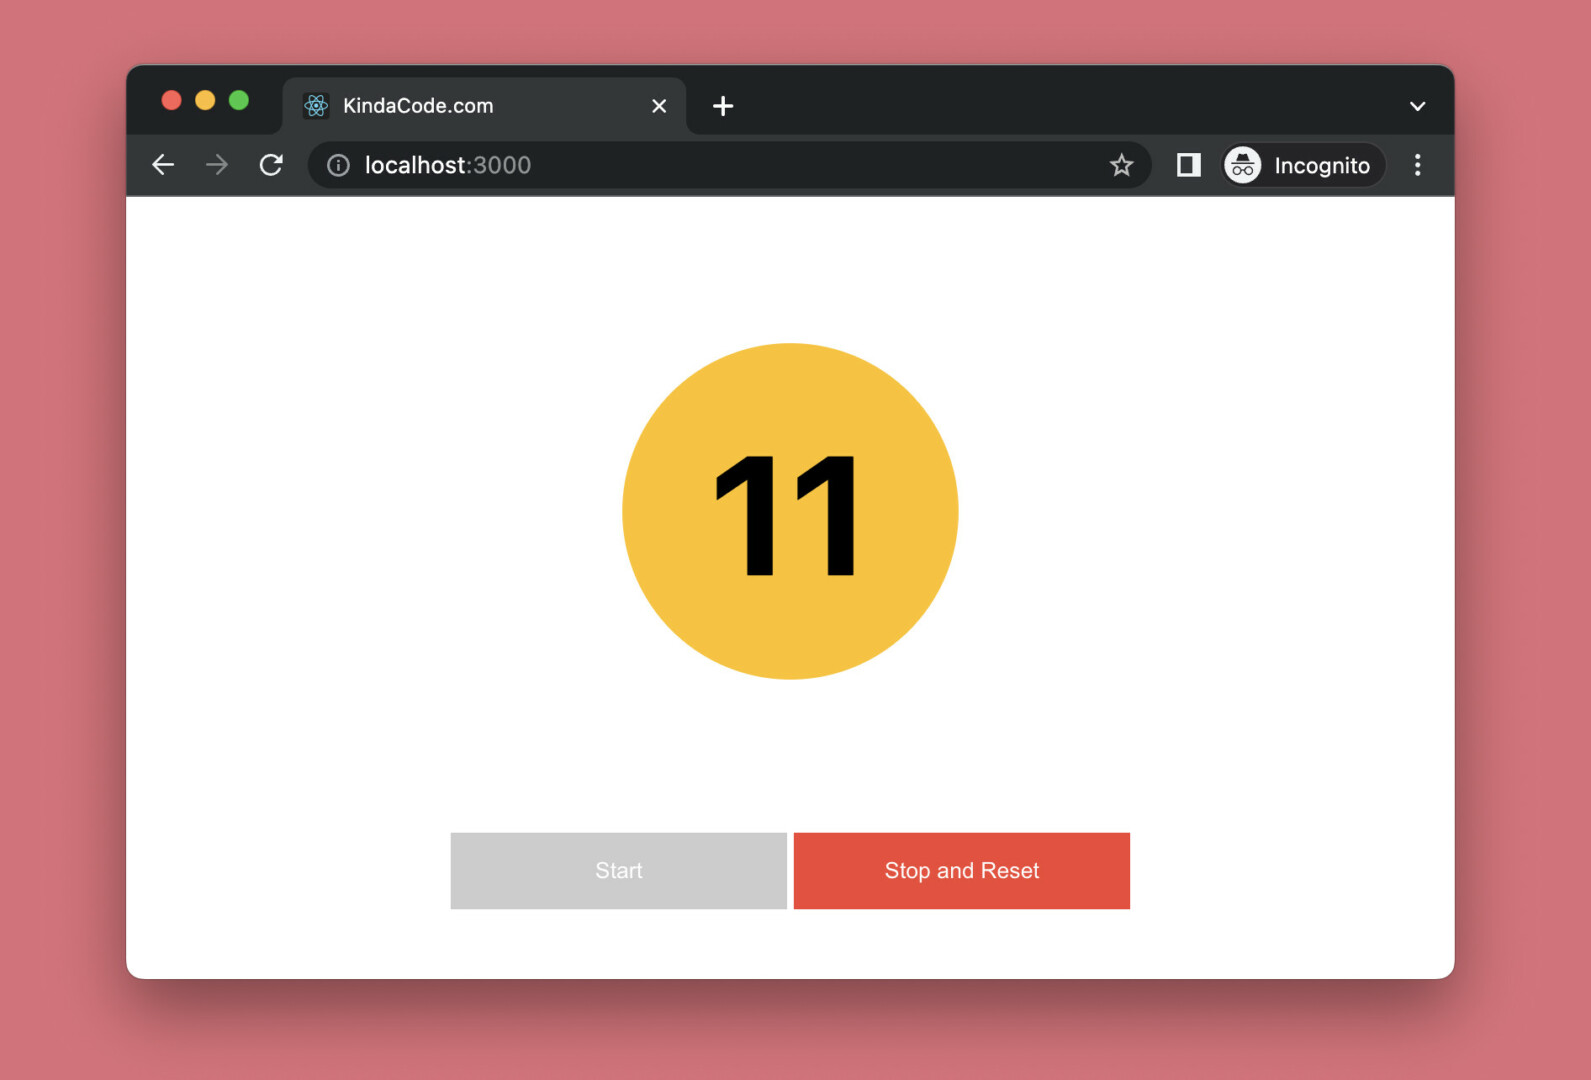
The sample demo we’re going to build is a kind of counter web app. It has 2 buttons:
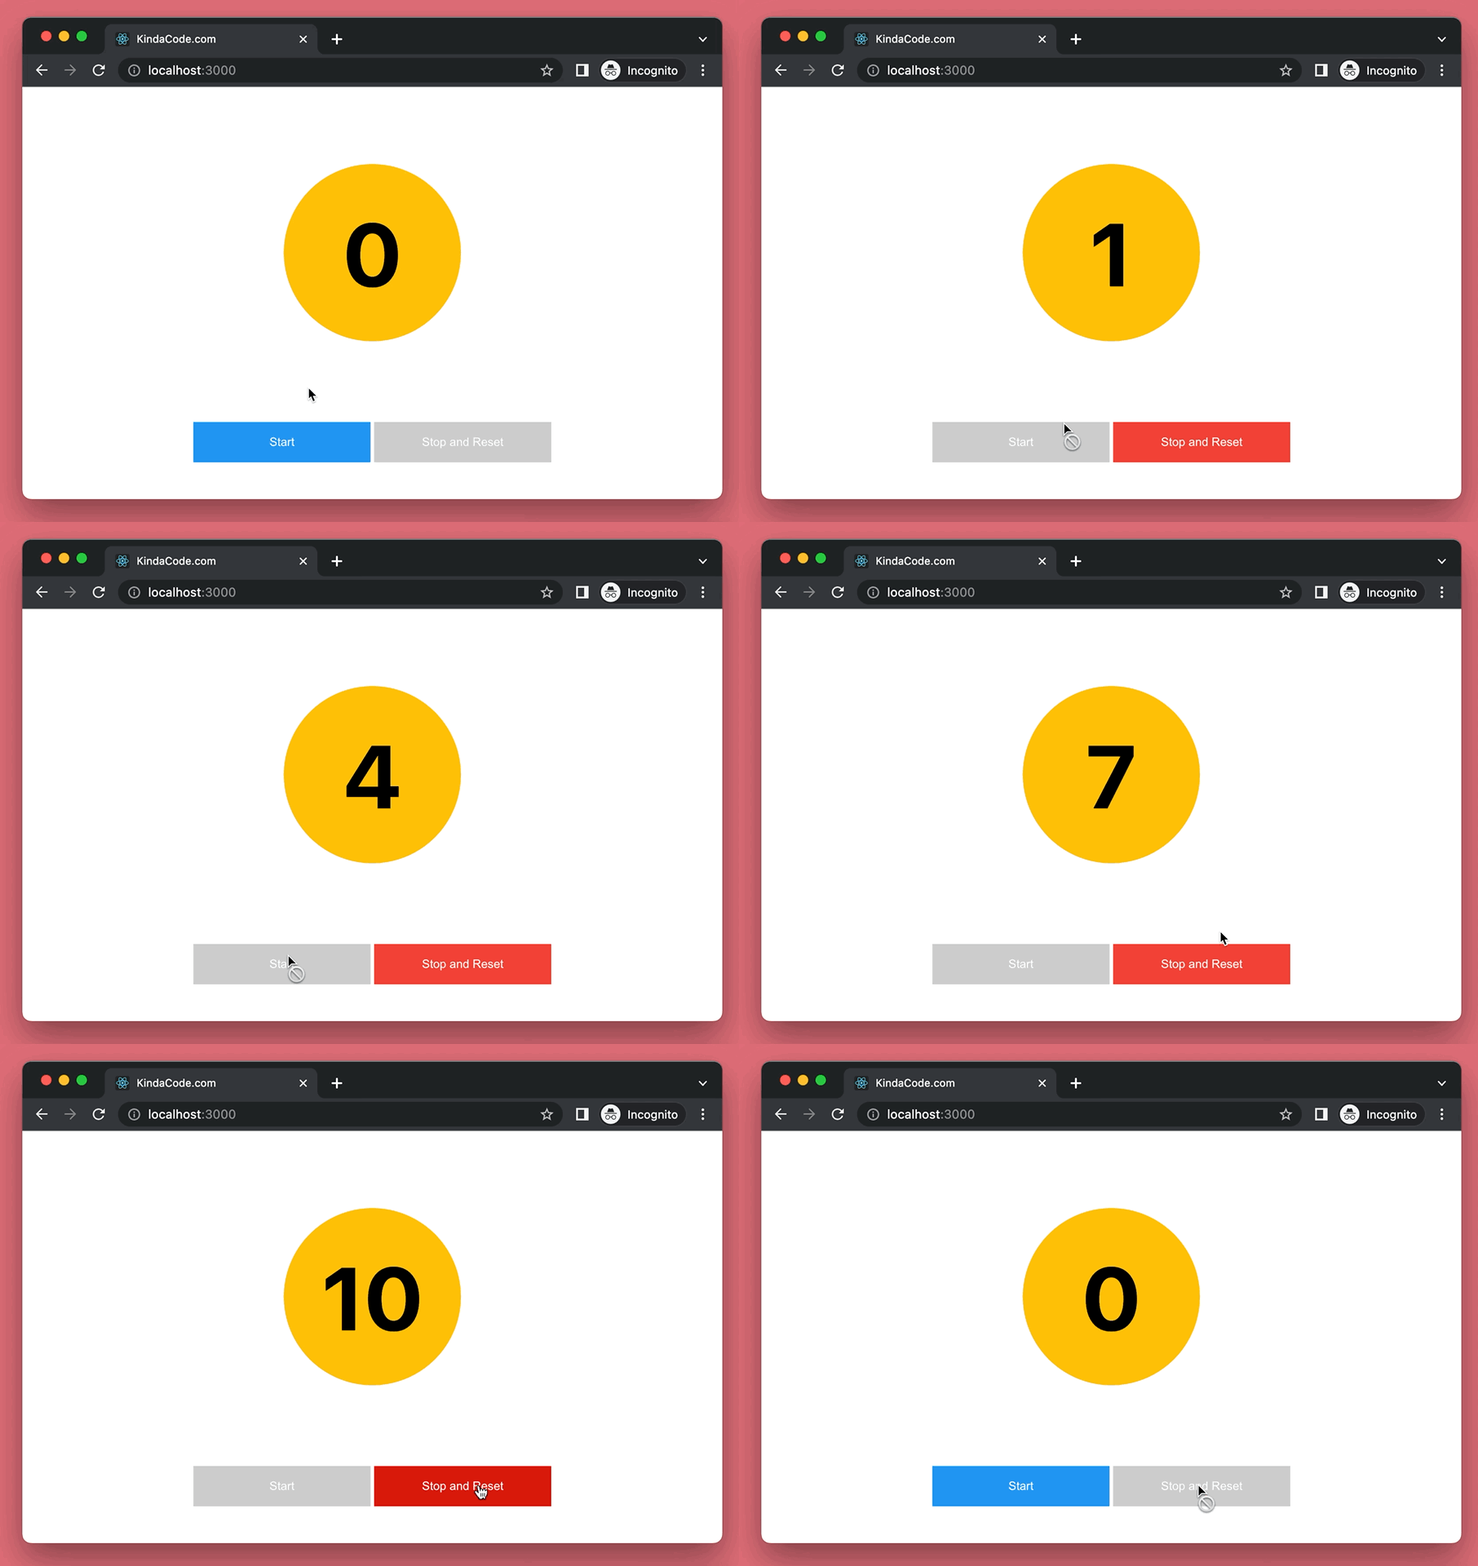
- Start: When this button is pressed, the counter will increase by 1 unit every second. Besides, this button will also be disabled.
- Stop and Reset: When the counter is not running, this button is disabled. When the counter starts running, this button is pressable. When it gets pressed, the counter will be stopped and reset to 0. It makes sense when we disable this button when the counter isn’t running.
The animated GIF screenshot below clearly depicts what you will accomplish by the end of the day:
The Code
1. To ensure that we start writing code at the same point, initialize a brand new React project with TypeScript:
npx create-react-app kindacode-example --template typescriptThe name is totally up to you. From now on, we’ll only care about 2 files: src/App.tsx and src/App.css.
2. Here’s the full source code for src/App.tsx (with explanations in the comments):
// Kindacode.com
// App.tsx
import React, { useState, useRef, useEffect } from 'react';
import './App.css';

const App = () => {
  // Count state
  // This will be displayed in the UI
  const [count, setCount] = useState(0);

  // Ref
  // This will be used to store the interval
  const intervalref = useRef<number | null>(null);

  // Start the interval
  // This will be called when the user clicks on the start button
  const startInterval = () => {
    if (intervalref.current !== null) return;
    intervalref.current = window.setInterval(() => {
      setCount((prevCount) => prevCount + 1);
    }, 1000);
  };

  // Stop the interval
  // This will be called when the user clicks on the stop button
  const stopInterval = () => {
    if (intervalref.current) {
      window.clearInterval(intervalref.current);
      setCount(0);
      intervalref.current = null;
    }
  };

  // Use the useEffect hook to cleanup the interval when the component unmounts
  useEffect(() => {
    // here's the cleanup function
    return () => {
      if (intervalref.current !== null) {
        window.clearInterval(intervalref.current);
      }
    };
  }, []);

  return (
    <div className='container'>
      {/* Render Count */}
      <h1 className='count'>{count}</h1>

      {/* Start & Stop buttons */}
      <div className='buttons'>
        <button
          // Disable the button if the interval is running
          disabled={intervalref.current !== null}
          onClick={startInterval}
          className='start-button'
        >
          Start
        </button>
        <button
          // Disable the button if the interval is not running
          disabled={intervalref.current === null}
          onClick={stopInterval}
          className='stop-button'
        >
          Stop and Reset
        </button>
      </div>
    </div>
  );
};

export default App;
3. Remove all of the default code in your App.css with the following:
/* App.css */
.container {
  padding: 20px;
  display: flex;
  flex-direction: column;
  align-items: center;
}

/* Style the "count" number */
.count {
  display: inline-flex;
  justify-content: center;
  align-items: center;
  width: 200px;
  height: 200px;
  border-radius: 50%;
  background: #ffc107;
  font-size: 100px;
}

/* The parent div of the two buttons */
.buttons {
  margin-top: 20px;
  display: flex;
  justify-content: center;
}

/* Start Button */
.start-button {
  background-color: #2196f3;
  border: none;
  color: white;
  width: 200px;
  padding: 15px 32px;
  margin: 4px 2px;
  cursor: pointer;
}

.start-button:hover {
  background-color: #0b7dda;
}

.start-button:disabled {
  background-color: #ccc;
  cursor: not-allowed;
}

/* Stop Button */
.stop-button {
  background-color: #f44336;
  border: none;
  color: white;
  width: 200px;
  padding: 15px 32px;
  margin: 4px 2px;
  cursor: pointer;
}

.stop-button:hover {
  background-color: #da190b;
}

.stop-button:disabled {
  background-color: #ccc;
  cursor: not-allowed;
}
4. Boot it up by performing the command below:
npm startFinally, head to http://localhost:3000 to view the result.
Conclusion
You’ve learned how to use the setInterval() function with hooks in a React project implemented with TypeScript. With this knowledge in mind, you can develop more complex and complicated things in the future.
If you’d like to explore more new and awesome stuff in the modern React development world, take a look at the following articles;
- React + TypeScript: Making a Reading Progress Indicator
- React + TypeScript: Working with Props and Types of Props
- React + TypeScript: Re-render a Component on Window Resize
- React + TypeScript: Handle onCopy, onCut, and onPaste events
- React + TypeScript: Making a Custom Context Menu
- How to Use Tailwind CSS in React
You can also check our React category page and React Native category page for the latest tutorials and examples.


