This short and straight-to-the-point article shows you a couple of different ways to center an element whose position is set to fixed in Tailwind CSS.
Using position and translating utilities
1. To center a fixed element both vertically and horizontally, use these classes:
fixed top-1/2 left-1/2 -translate-y-1/2 -translate-x-1/22. To center it vertically, use:
fixed top-1/2 -translate-y-1/2 3. To center it horizontally, use:
fixed left-1/2 -translate-x-1/2Example:
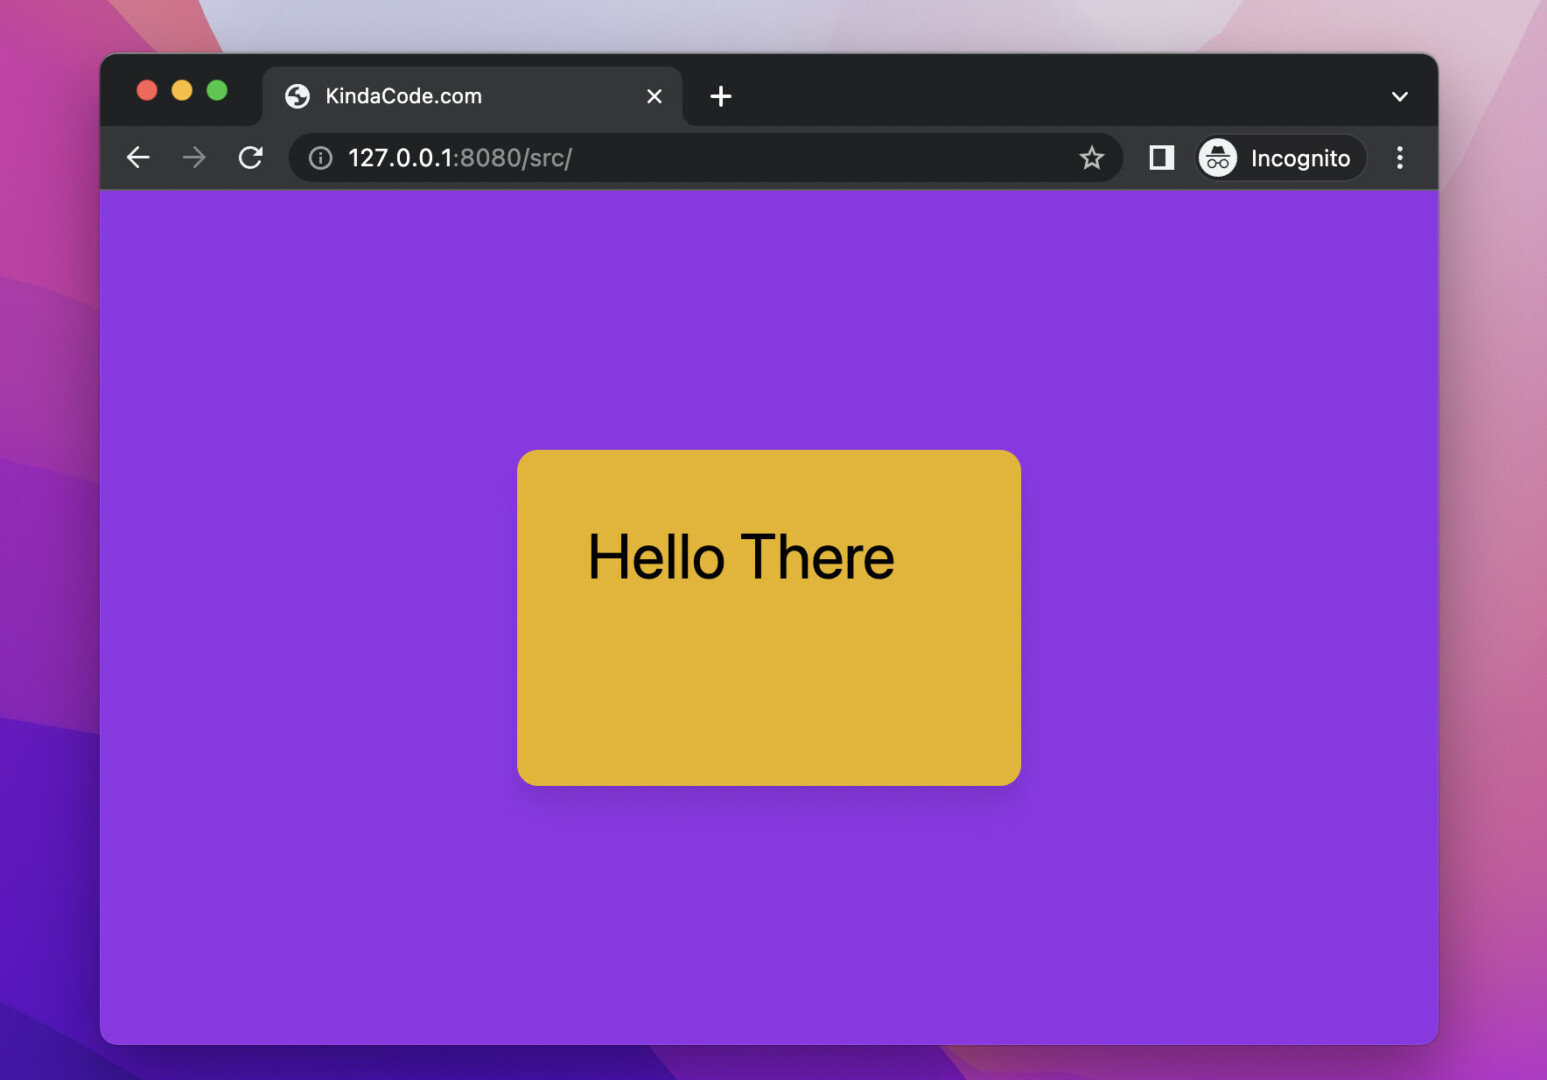
<body class="bg-purple-600">
    <div class="w-72 h-48
            fixed
            top-1/2 left-1/2 -translate-y-1/2 -translate-x-1/2
            bg-yellow-500 drop-shadow-xl rounded-xl p-10">
        <h1 class="text-4xl">Hello There</h1>
    </div>
</body>
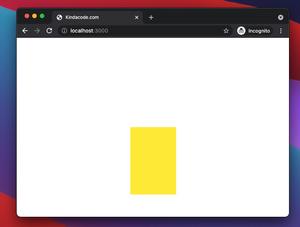
Screenshot:
Using Flex
1. To center your fixed element both vertically and horizontally, use:
 <div class="flex justify-center items-center">
        <!-- Your Fixed Element Here -->
</div>
2. To center your fixed element on the vertical axis, use:
 <div class="flex items-center">
        <!-- Your Fixed Element Here -->
</div>
3. If you want to center your fixed element on the horizontal axis, do like so:
 <div class="flex justify-center">
        <!-- Your Fixed Element Here -->
</div>
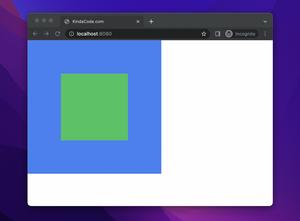
Example:
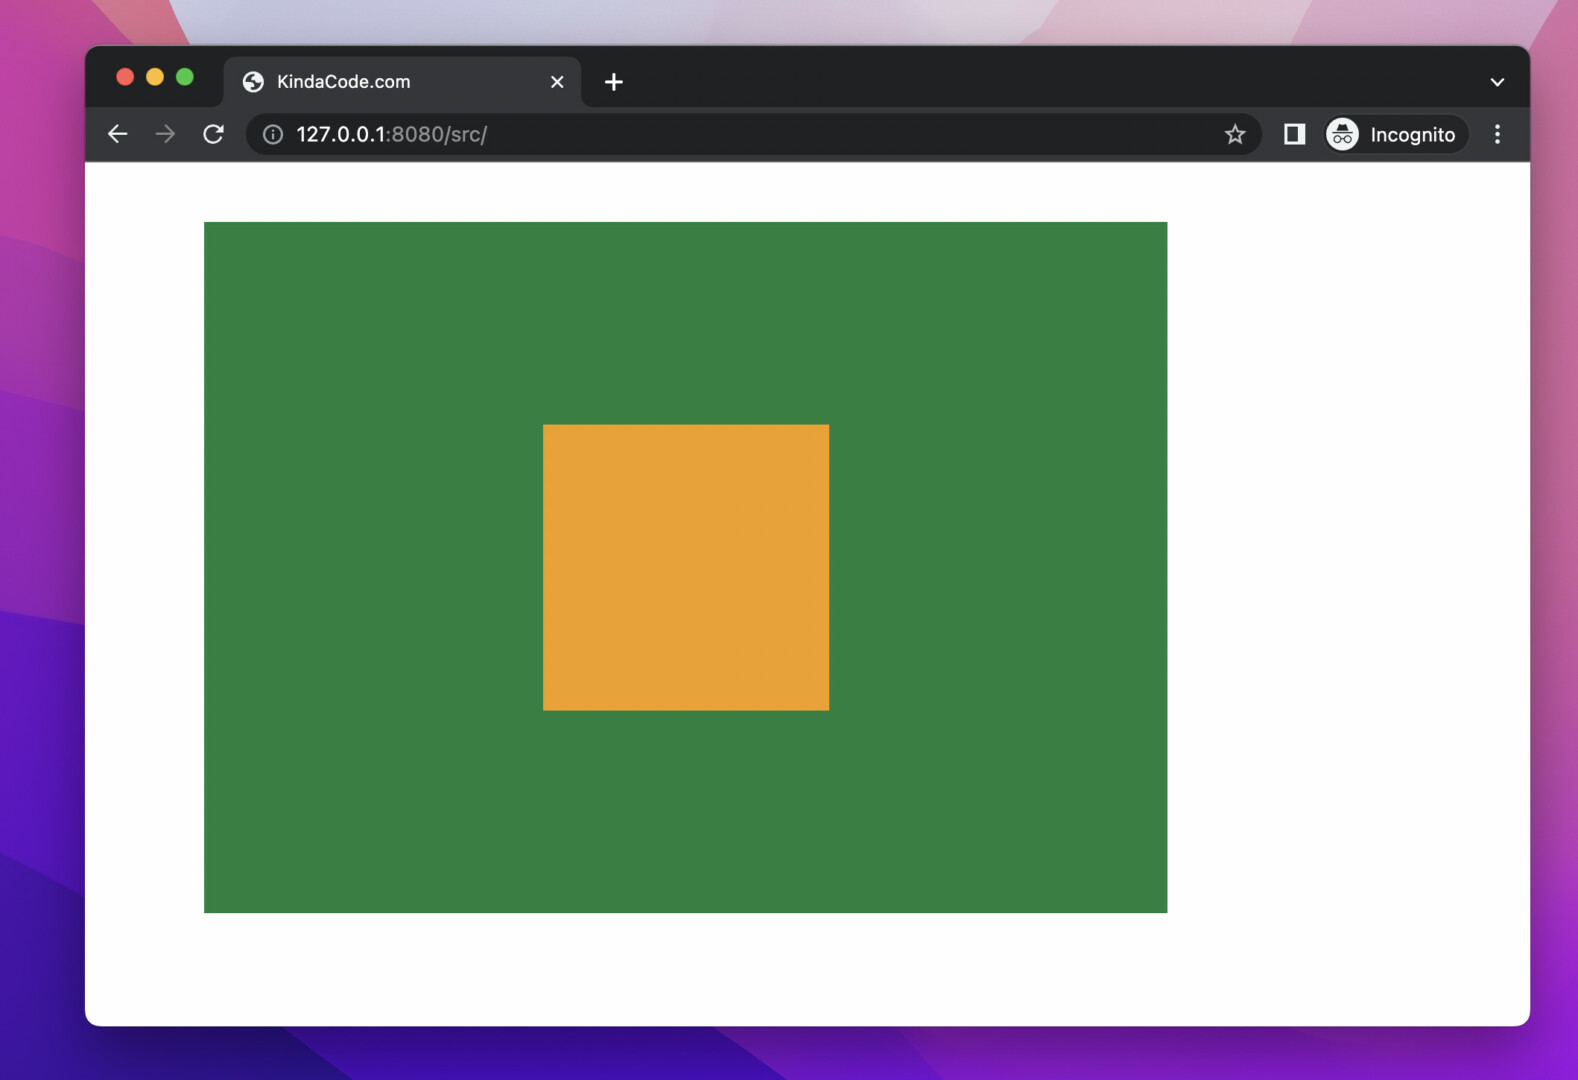
<body>
    <div class="w-2/3 h-[80vh] ml-20 mt-10 bg-green-700
    flex justify-center items-center">
        <div class="w-48 h-48 bg-amber-500"></div>
    </div>
</body>
Screenshot:
That’s it. Further reading:
- Tailwind CSS: How to Create a Fixed Top Menu Bar
- Tailwind CSS: Create a Fixed/Sticky Footer Menu
- How to Create a Fixed Sidebar with Tailwind CSS
- Tailwind CSS: How to Create a Hoverable Dropdown Menu
- Tailwind CSS: Use a Checkbox to Show/Hide an Element
- Tailwind CSS: Create a horizontal line with text in the middle
You can also check out our CSS category page for the latest tutorials and examples.
