An off-canvas menu is a side navigation menu that pushes the content to the right (or left, bottom, top directions) when it shows up (it doesn’t overlap or cover content). A user can open or close an off-canvas menu by clicking a button or something like that. This article shows you how to create an off-canvas menu with Tailwind CSS and a few lines of vanilla Javascript code (it’s fine if you’re unfamiliar with this programming language).
Table of Contents
Example Preview
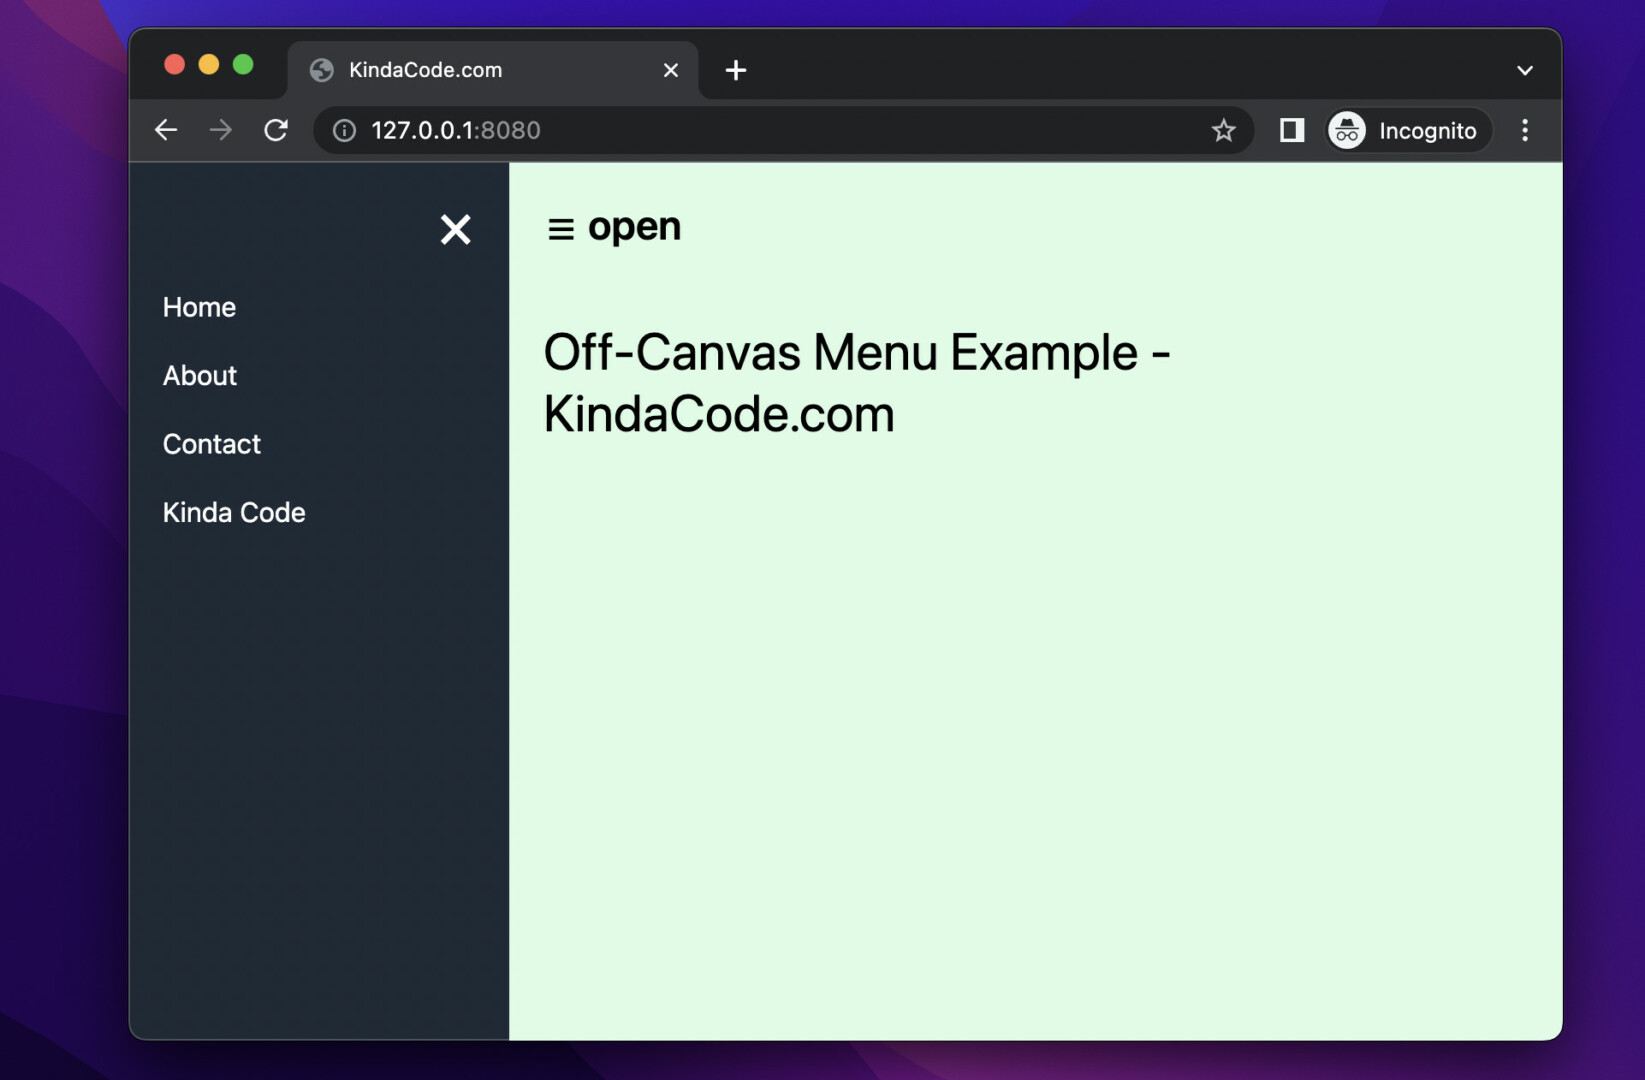
The small demo we’re going to make has an open button. When this button is clicked, the off-canvas menu will come to the viewport from the left side. In the menu, there are some links go along with a close button that can be used to hide the menu.
Here’s how it works:
The Complete Code
You can copy the whole code below then paste it into a blank HTML file. Open this HTML file with your web browser and you’ll see the result immediately.
<!doctype html>
<html>
<head>
<meta charset="UTF-8">
<meta name="viewport" content="width=device-width, initial-scale=1.0">
<meta http-equiv="X-UA-Compatible" content="ie=edge">
<script src="https://cdn.tailwindcss.com"></script>
<title>KindaCode.com</title>
</head>
<body class="bg-green-100 flex">
<asdie id="menu" class="w-56 -ml-56 h-screen flex bg-gray-800 duration-700">
<div class="w-full flex flex-col text-white px-5 py-4 space-y-4">
<a href="javascript:void(0)" onclick="closeMenu()"
class="text-right text-4xl hover:text-red-400">×</a>
<a href="#" class="hover:text-amber-500">Home</a>
<a href="#" class="hover:text-amber-500">About</a>
<a href="#" class="hover:text-amber-500">Contact</a>
<a href="#" class="hover:text-amber-500">Kinda Code</a>
</div>
</asdie>
<main id="main" class="p-5">
<span onclick="openMenu()" class="text-2xl font-semibold cursor-pointer hover:text-blue-500">☰ open</span>
<h2 class="text-3xl mt-10">Off-Canvas Menu Example - KindaCode.com</h2>
</main>
<!-- Javascript code -->
<script>
var menu = document.getElementById("menu");
var main = document.getElementById("main");
// show the menu
function openMenu() {
menu.classList.remove('-ml-56');
menu.classList.add('ml-0');
}
// make the menu "go away"
function closeMenu() {
menu.classList.remove('ml-0');
menu.classList.add('-ml-56');
}
</script>
</body>
</html>Code Explained
The point here is to set the left margin of the menu to a negative number whose absolute value is the width of the menu. In the code above, the left margin is -ml-56 (-224px) and the width is w-56 (224px).
When the openMenu() function is triggered, we set the left margin of the menu to zero. On the other hand, when the closeMenu() function is called, we set the left margin to -ml-56 again.
To make the animation smooth, we add the duration-700 utility class.
The End
We’ve examined an end-to-end example of creating an off-canvas menu with Tailwind CSS and plain Javascript. You can modify the code, add some things, and remove some things to make it suit your needs.
Keep the ball rolling and continue learning more new and exciting stuff about modern web development by taking a look at the following articles:
- How to Create Toggleable Tabs with Tailwind CSS
- Tailwind CSS: How to Create a Back To Top Button
- Tailwind CSS: Create a Responsive Top Navigation Menu
- How to Create Triangles with Tailwind CSS (4 Examples)
- Tailwind CSS: Create a Fixed/Sticky Footer Menu
- Using Tailwind CSS with Font Awesome Icons: A Deep Dive
You can also check out our CSS category page for the latest tutorials and examples.
