This article covers almost everything you need to know about using Font Awesome icons in Flutter.
Table of Contents
Overview
Font Awesome is a popular icon kit for websites and mobile apps which contains thousands of free icons (you can see the full list of free icons here).
You can easily add Font Awesome icons to your Flutter app with the flutter_font_awesome package.
To implement a Font Awesome icon, we use the following constructor:
FaIcon(
  IconData? icon,
  {
     Key? key,
     double? size,
     Color? color,
     String? semanticLabel,
     TextDirection? textDirection
  }
)
Here are the details about the properties:
| Property | Type | Description |
|---|---|---|
| icon | IconData? | which icon will be shown |
| key | Key? | the key of the icon widget |
| size | double? | how big the icon is |
| color | Color? | set the color for the icon |
| semanticLabel | String? | semantic label |
| textDirection | TextDirection? | the text direction to use to render the icon |
Sample usage:
FaIcon(
      FontAwesomeIcons.accessibleIcon,
      color: Colors.red,
      size: 80,
),
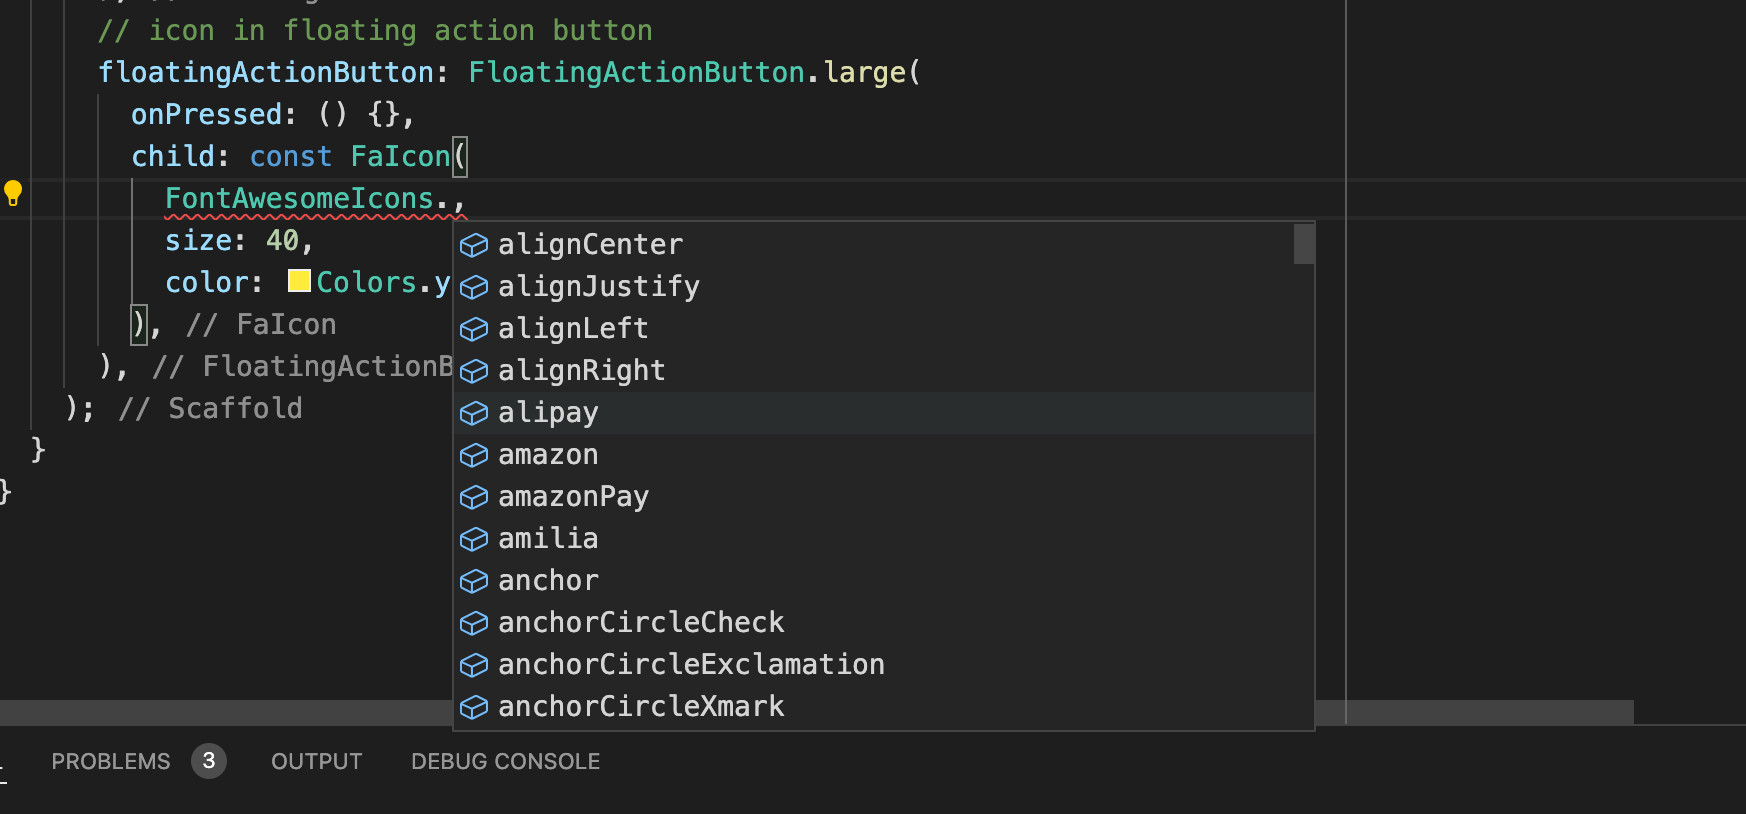
Your IDE (I’m using VS Code) will suggest available icons as you type FontAwesomeIcons. like this:
To get a better understanding, see the complete example below.
Example
Preview
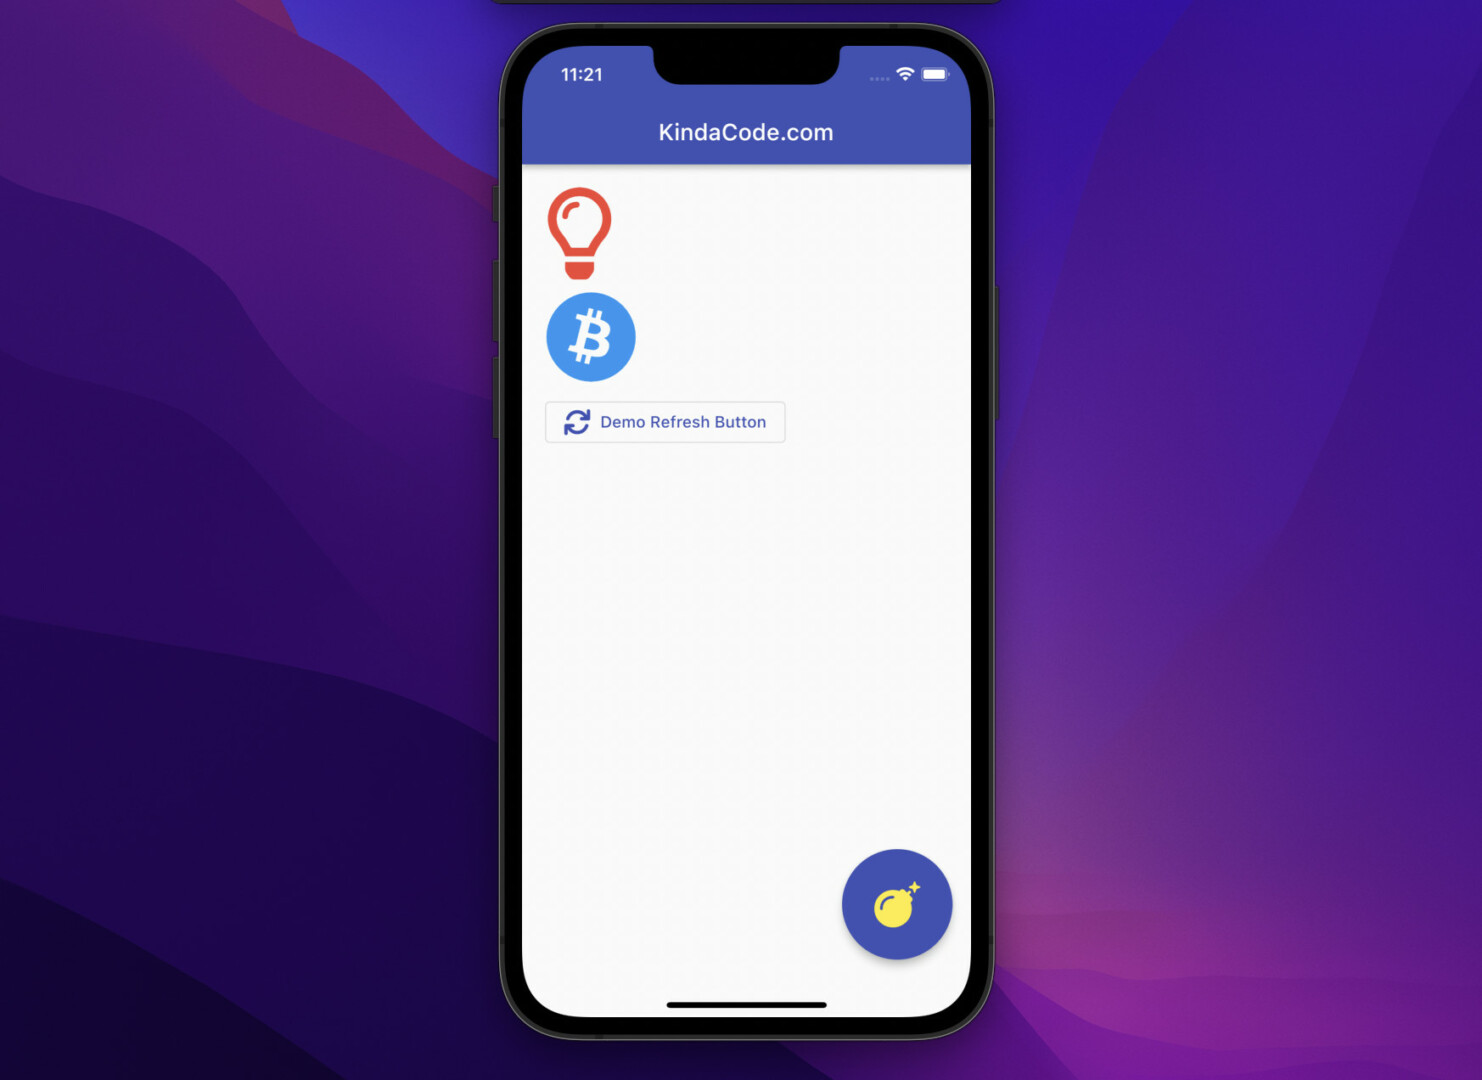
This tiny app does nothing but displays some Font Awesome icons:
The Code
You can install the flutter_font_awesome package by running the command below:
flutter pub add font_awesome_flutterHere’s the full source code in main.dart with explanations:
import 'package:flutter/material.dart';

// import font awesome
import 'package:font_awesome_flutter/font_awesome_flutter.dart';

void main() {
  runApp(const MyApp());
}

class MyApp extends StatelessWidget {
  const MyApp({Key? key}) : super(key: key);

  @override
  Widget build(BuildContext context) {
    return MaterialApp(
      // Remove the debug banner
      debugShowCheckedModeBanner: false,
      title: 'KindaCode.com',
      theme: ThemeData(
        primarySwatch: Colors.indigo,
      ),
      home: const HomePage(),
    );
  }
}

class HomePage extends StatelessWidget {
  const HomePage({Key? key}) : super(key: key);

  @override
  Widget build(BuildContext context) {
    return Scaffold(
      appBar: AppBar(title: const Text('KindaCode.com')),
      body: Padding(
        padding: const EdgeInsets.all(20),
        child: Column(crossAxisAlignment: CrossAxisAlignment.start, children: [
          // a simple icon
          const FaIcon(
            FontAwesomeIcons.lightbulb,
            color: Colors.red,
            size: 80,
          ),
          const SizedBox(
            height: 10,
          ),
          // another simple icon
          const FaIcon(
            FontAwesomeIcons.bitcoin,
            color: Colors.blue,
            size: 80,
          ),
          const SizedBox(
            height: 10,
          ),
          // icon in button
          OutlinedButton.icon(
              onPressed: () {},
              icon: const FaIcon(
                FontAwesomeIcons.arrowsRotate,
              ),
              label: const Text('Demo Refresh Button')),
          const SizedBox(
            height: 10,
          ),
        ]),
      ),
      // icon in floating action button
      floatingActionButton: FloatingActionButton.large(
        onPressed: () {},
        child: const FaIcon(
          FontAwesomeIcons.bomb,
          size: 40,
          color: Colors.yellow,
        ),
      ),
    );
  }
}
Conclusion
You’ve learned how to use Font Awesome in Flutter. As of now, you have one more option to add icons to your apps. If you’d like to explore more new and fascinating things in the modern Flutter world, take a look at the following articles:
- Flutter: Floating Action Button examples (basic & advanced)
- Flutter: ListTile with multiple Trailing Icon Buttons
- Flutter: Save Icon to Database, File, Shared Preferences
- How to use Cupertino icons in Flutter
- How to implement a loading dialog in Flutter
- Flutter: Don’t use BuildContexts across async gaps
You can also check out our Flutter category page or Dart category page for the latest tutorials and examples.


