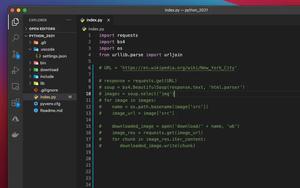
If you are tired of pressing Alt + Z (Windows) or Option + Z (macOS) each time you want to turn on Word Wrap in Visual Studio Code, the steps listed below will help you.
1. Go to:
- Windows: File > Preferences > Setting (shortcuts: Ctrl + ,).
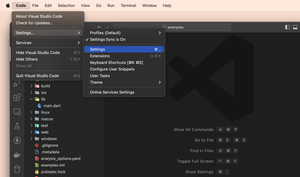
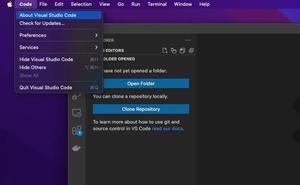
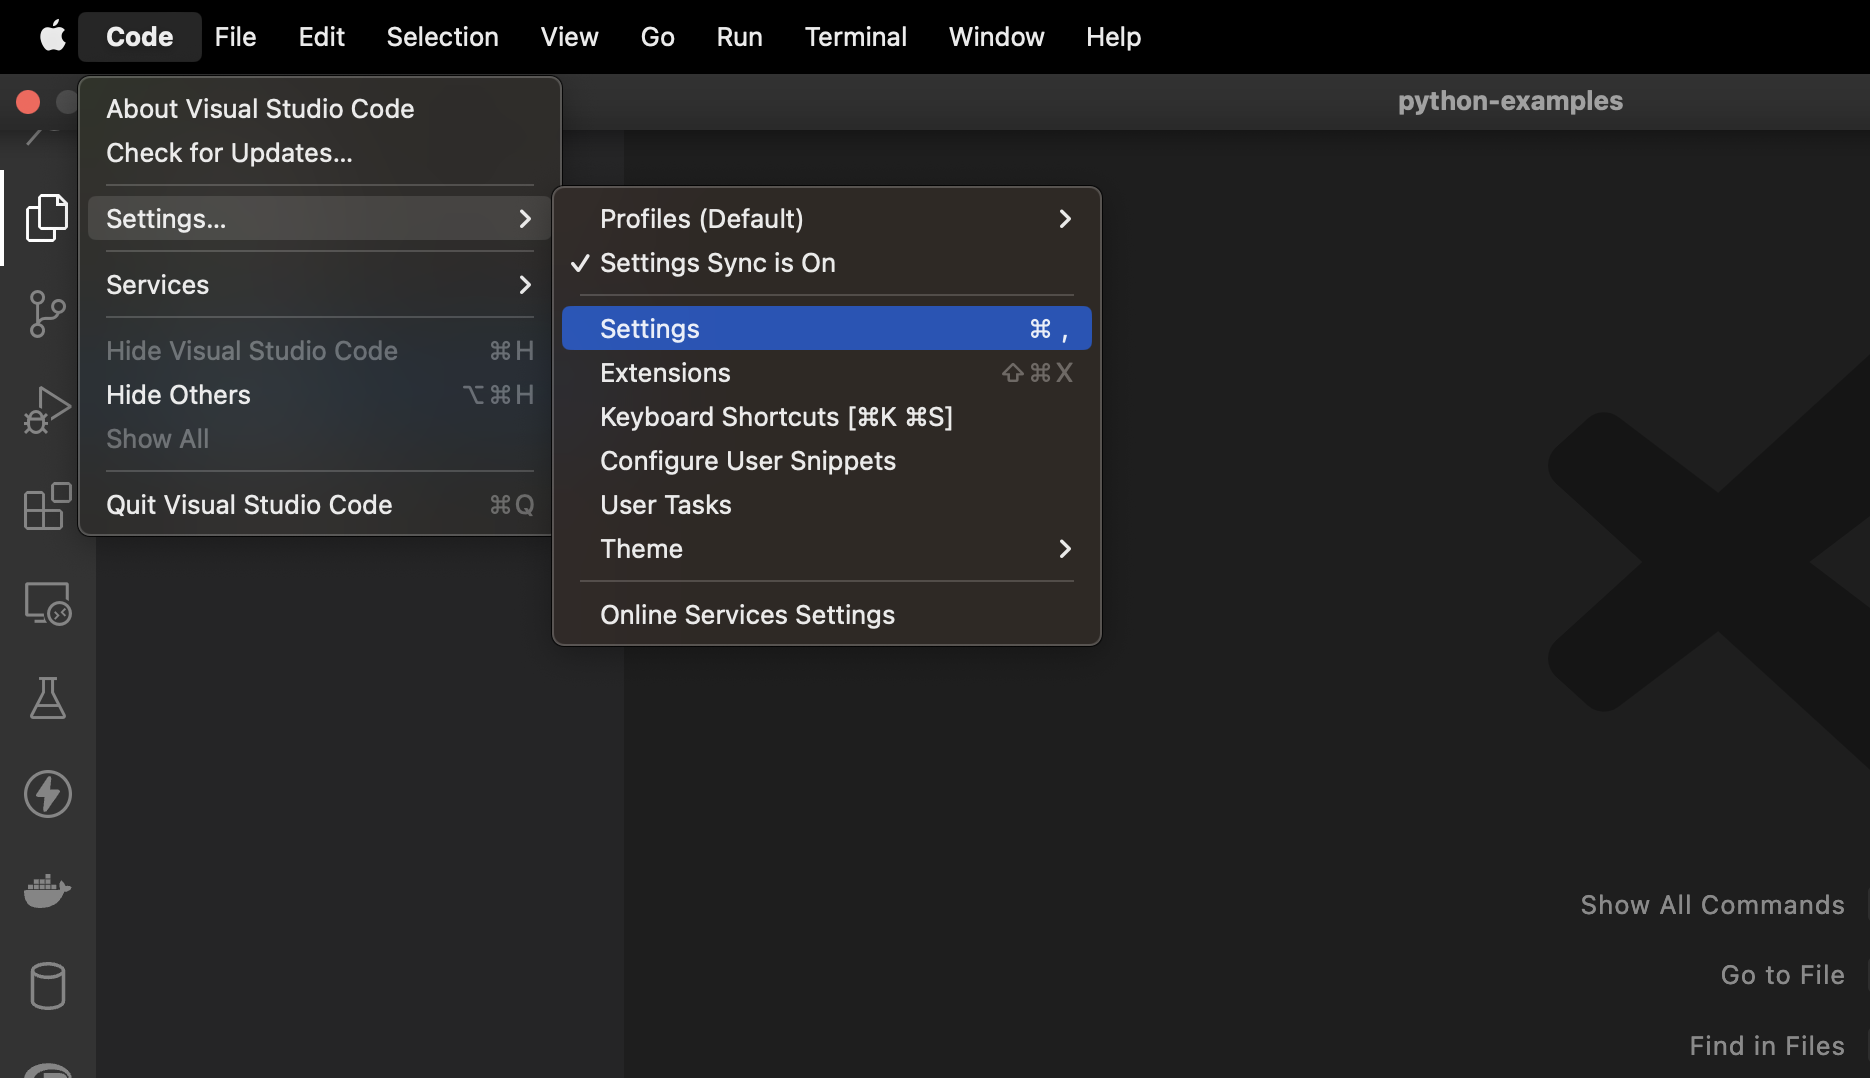
- MacOS: Code > Settings… > Settings (shortcuts: Cmd + ,).
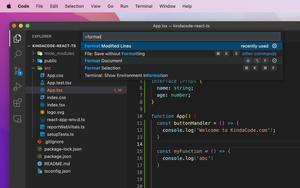
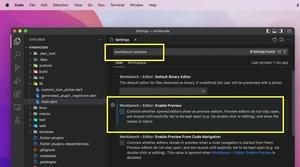
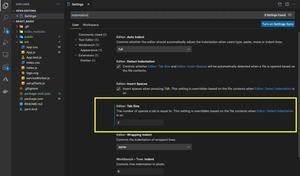
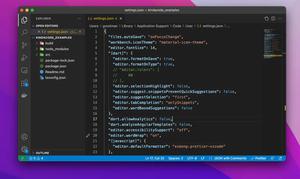
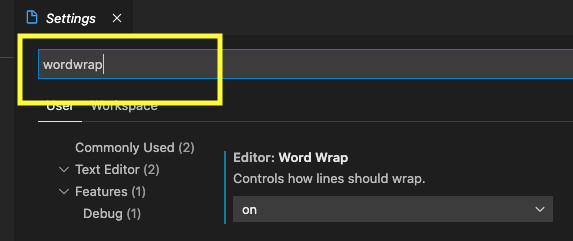
2. Type “word wrap” into the search field and you will see the search results immediately. Head to the Editor: Word Wrap section:
3. Select on from the drop-down:
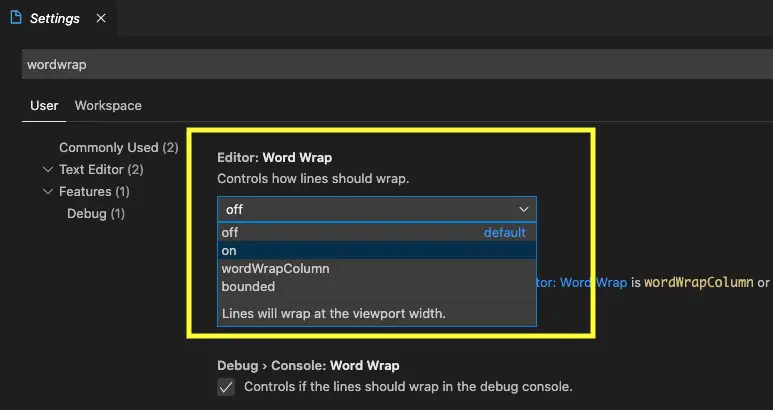
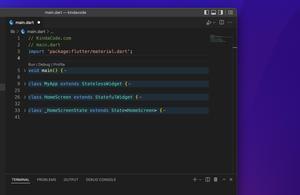
Done. Your settings will be saved automatically. From now on, all documents opened by Visual Studio Code will wrap text and code by default.
Further reading:
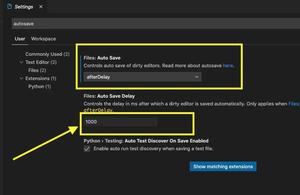
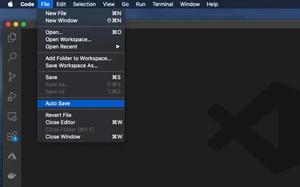
- How to toggle Auto Save in VS Code
- Open Android emulator/ iOS simulator using VS Code
- VS Code: Customizing the Bottom Status Bar
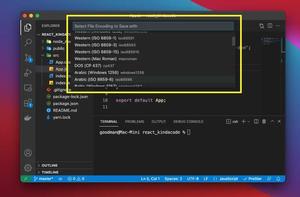
- How to Change File Encoding in VS Code
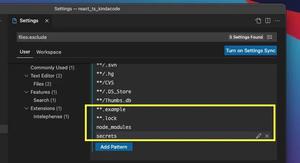
- VS Code: Hide Specific Files/Folders from the Left SIdebar
You can also check out our Visual Studio Code topic page for more tips and tricks to improve your producibility and coding experience.