This concise and straight-to-the-point article shows you how to change your VS Code’s color theme.
1. Launch VS Code and:
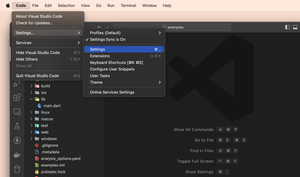
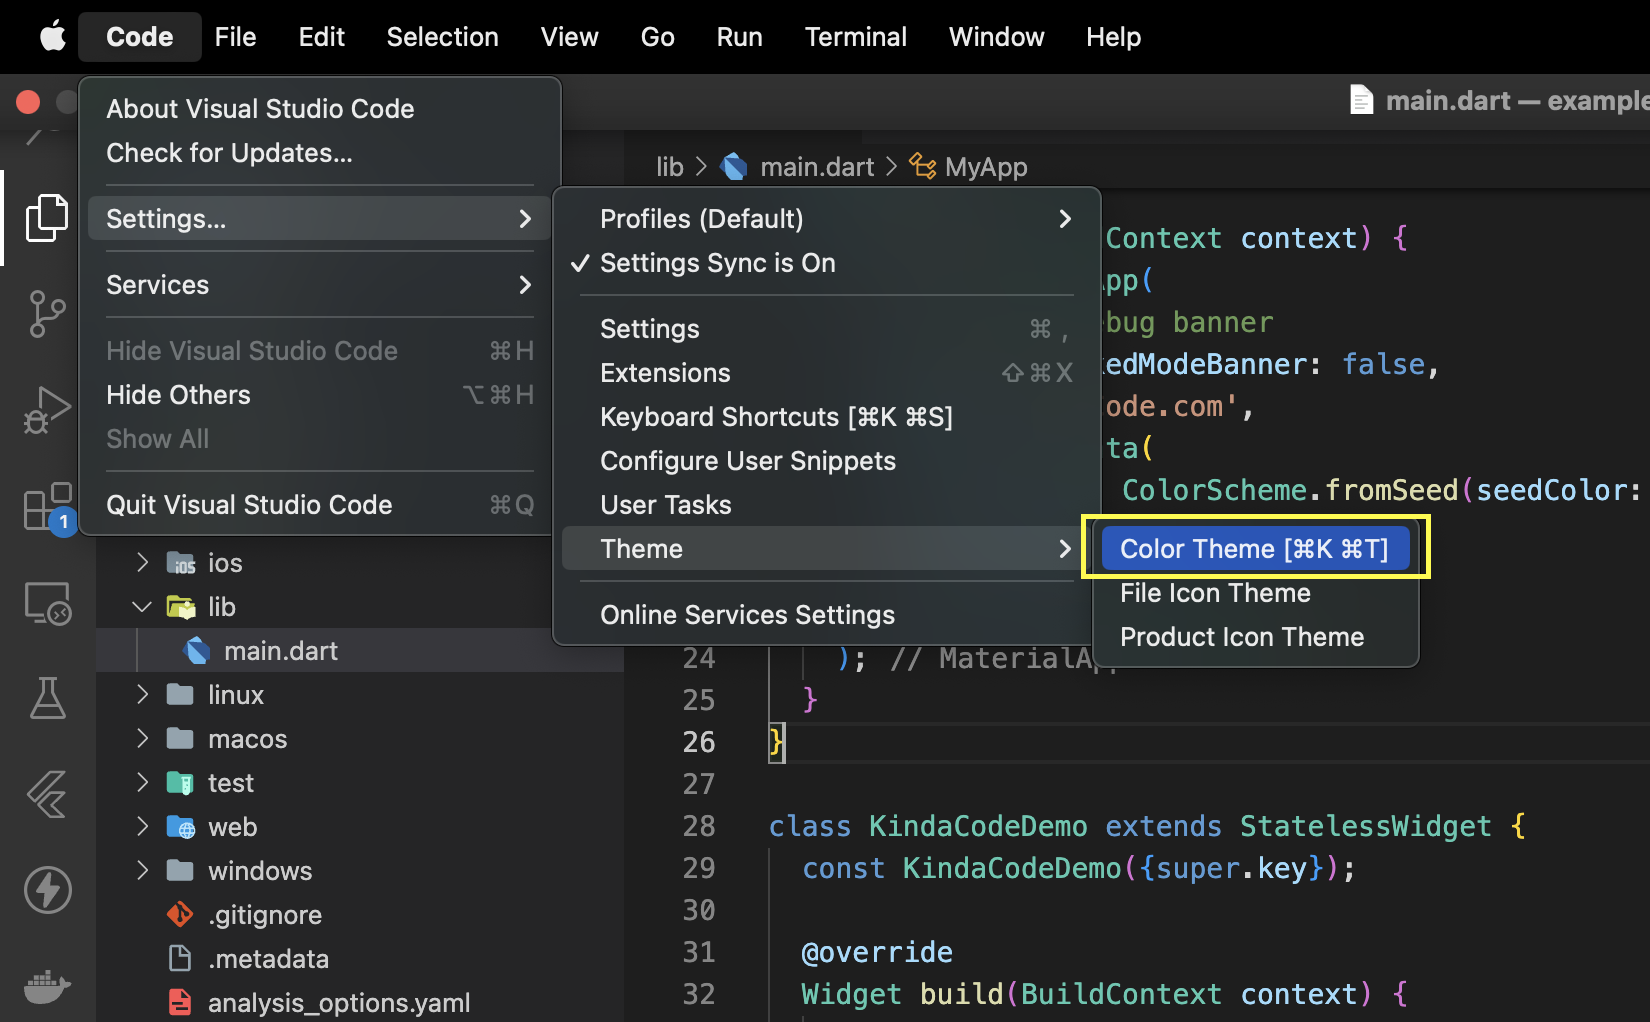
- If you’re using macOS, go to Code > Settings > Theme > Color Theme (or hit
Command+KthenCommand+T). - If you’re using Windows, go to File > Preferences > Theme > Color Theme (or press
Ctrl+KthenCtrl+T).
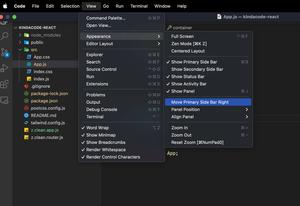
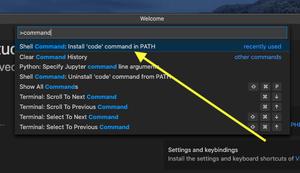
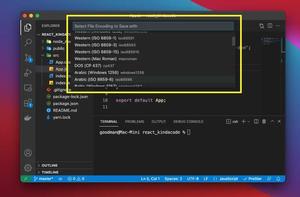
2. Select the theme you like from the list:
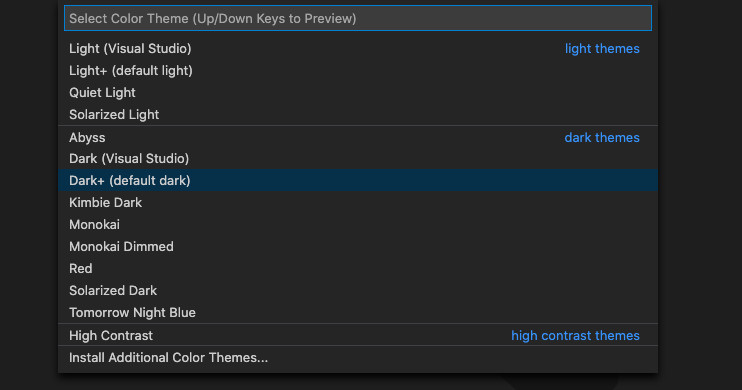
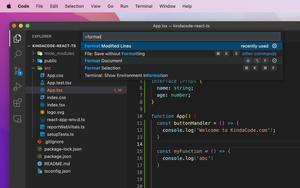
The change will be reflected immediately (if you see nothing happening, reload or restart your VS Code).
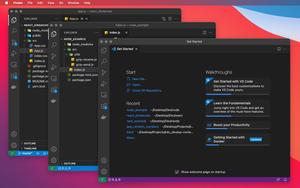
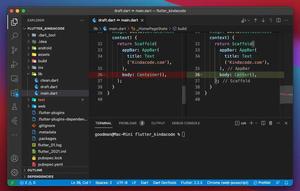
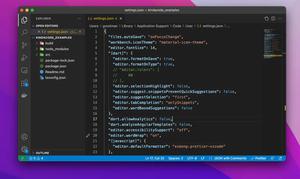
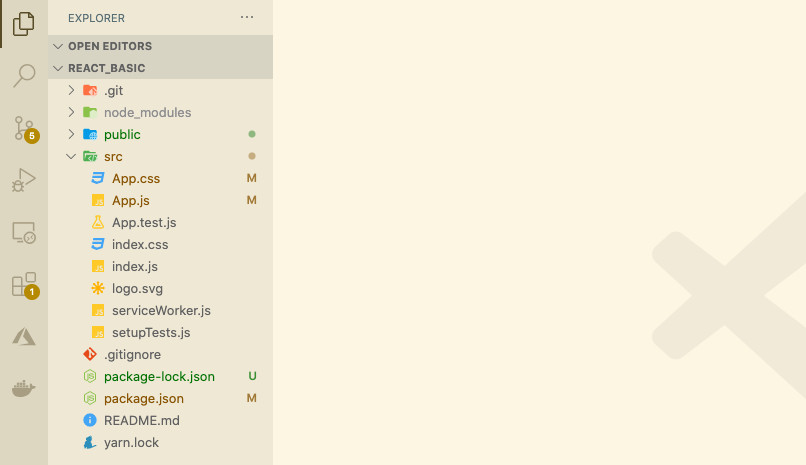
For example, this is how my VS Code looks like when I select the Solarized Light theme:
That’s it. Further reading:
- 2 ways to check your VS Code version
- VS Code: How to Pin/Unpin a File (2 Approaches)
- VS Code: How to Render Whitespace Characters
- How to Change File Encoding in VS Code
- VS Code: Prevent Single-Child Folders from Being Merged
- VS Code: Customizing the Bottom Status Bar
You can also check out our Visual Studio Code topic page for more tips and tricks to improve your producibility and coding experience.